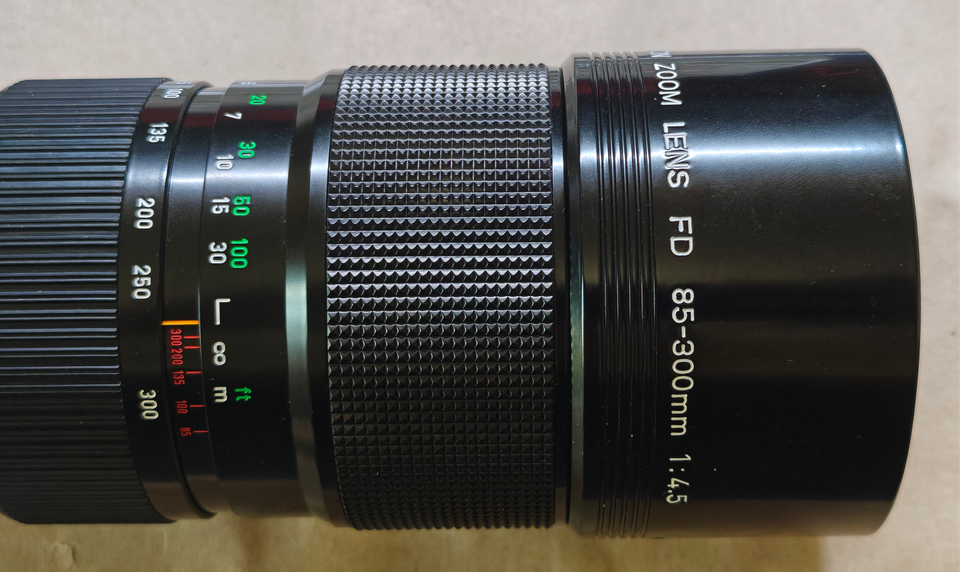
Canon FD 85-300mm f4.5 disassembly
This is work-in-progress
Instructions might be out of order
Required tools
- Wera 118022 JCIS PH0 screwdriver
Mount removal
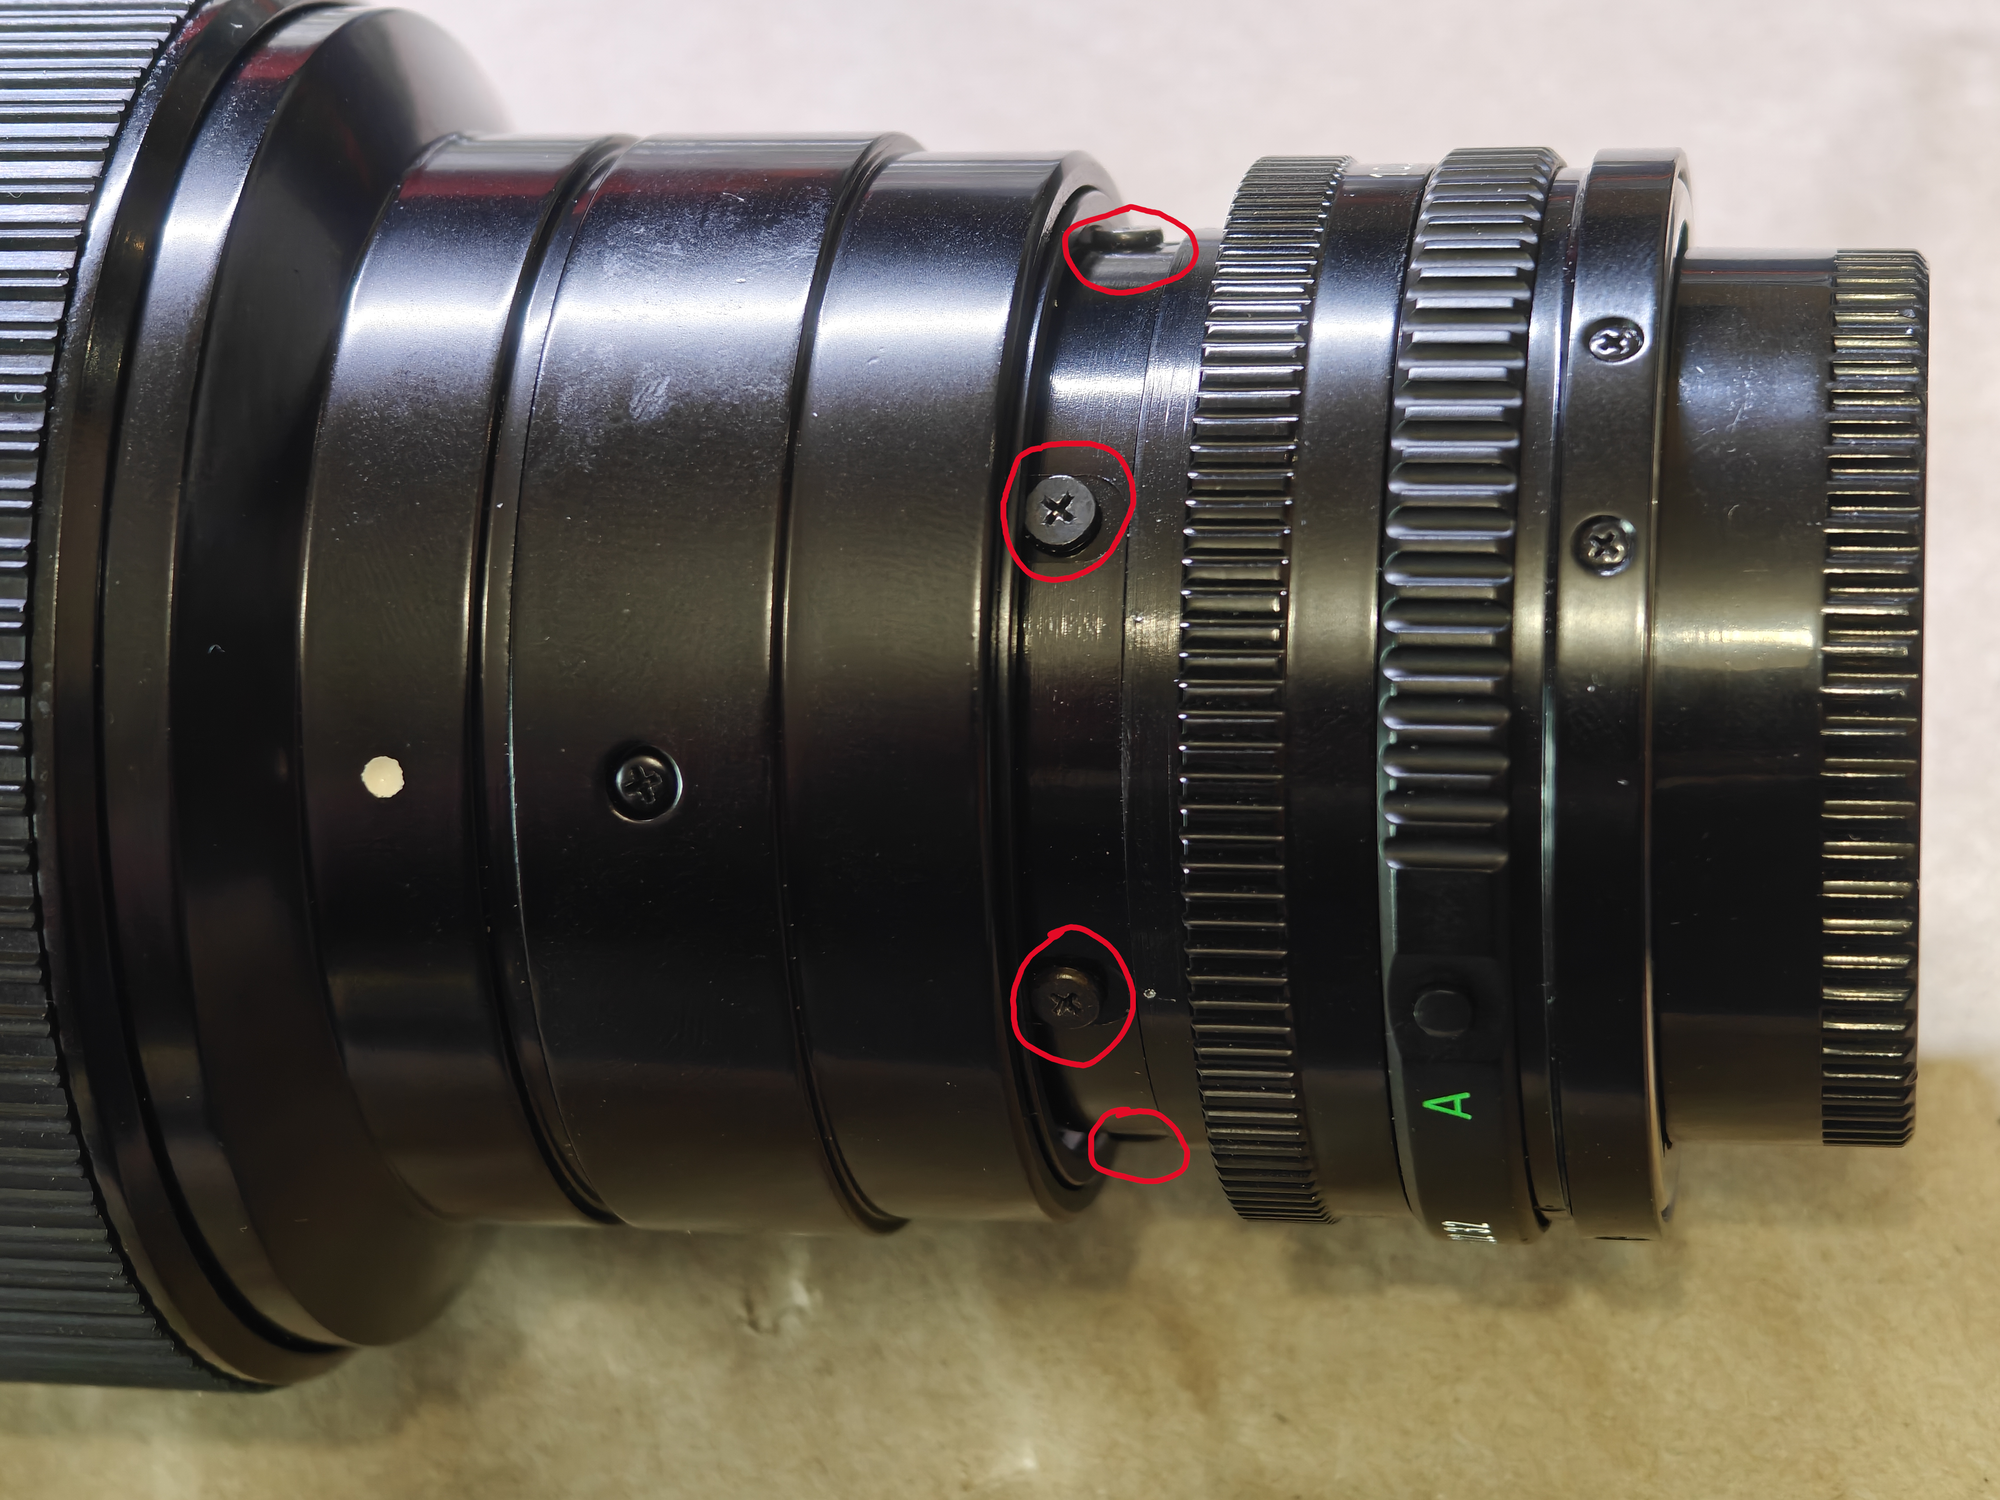
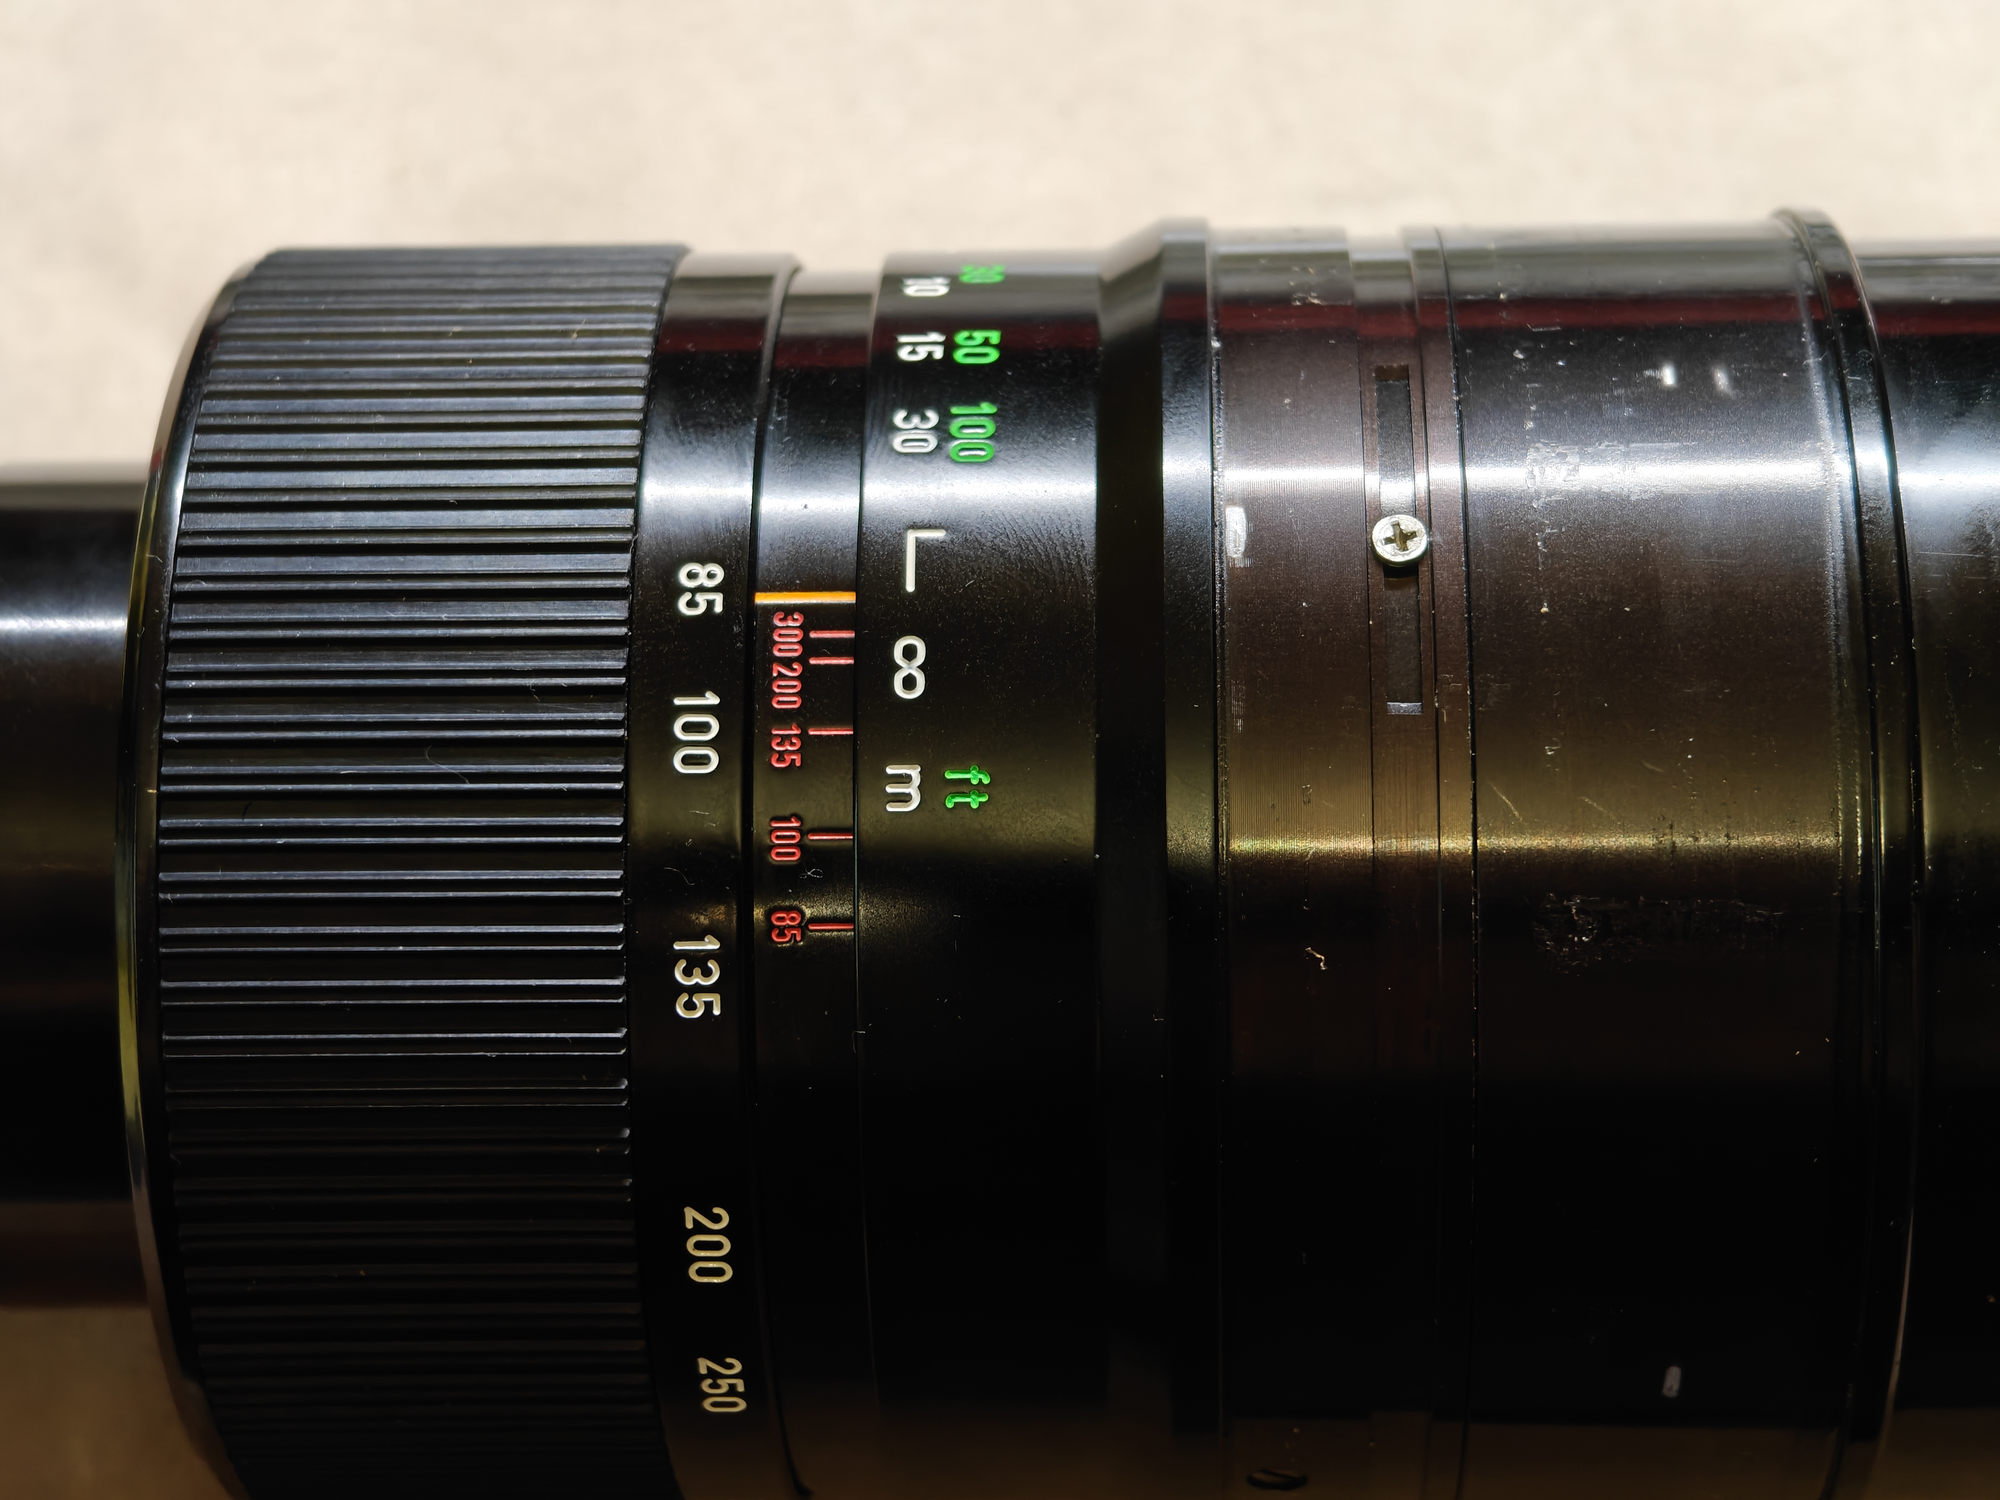
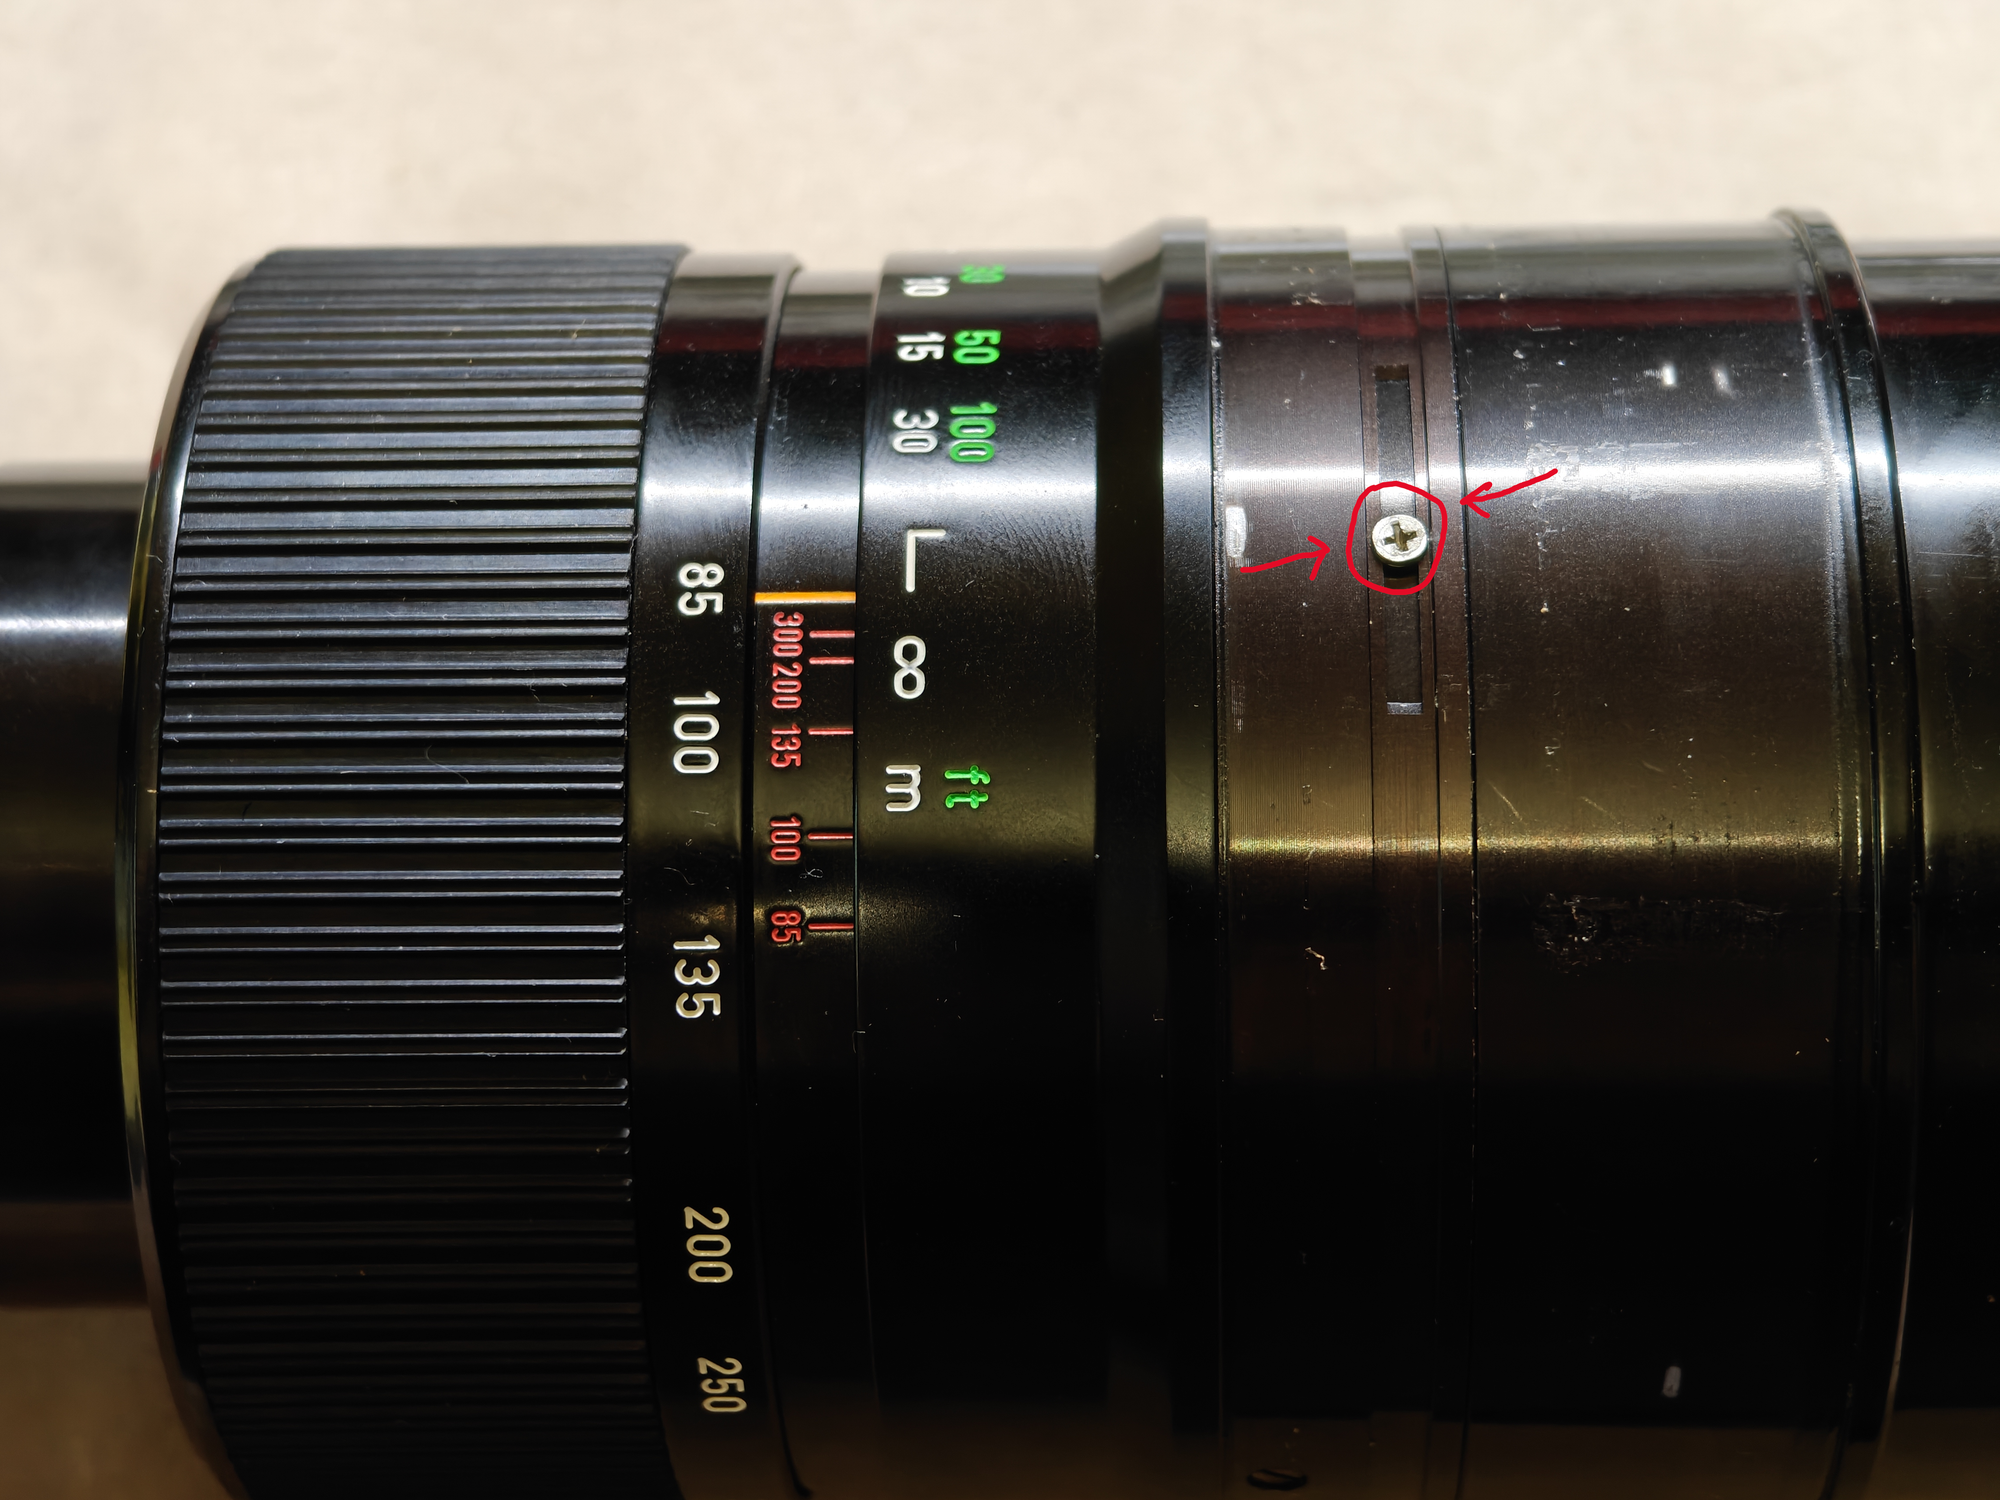
- Loosen 3 grub screws around perimeter for covering ring, the ring will be able to drop down into the cavity left for it
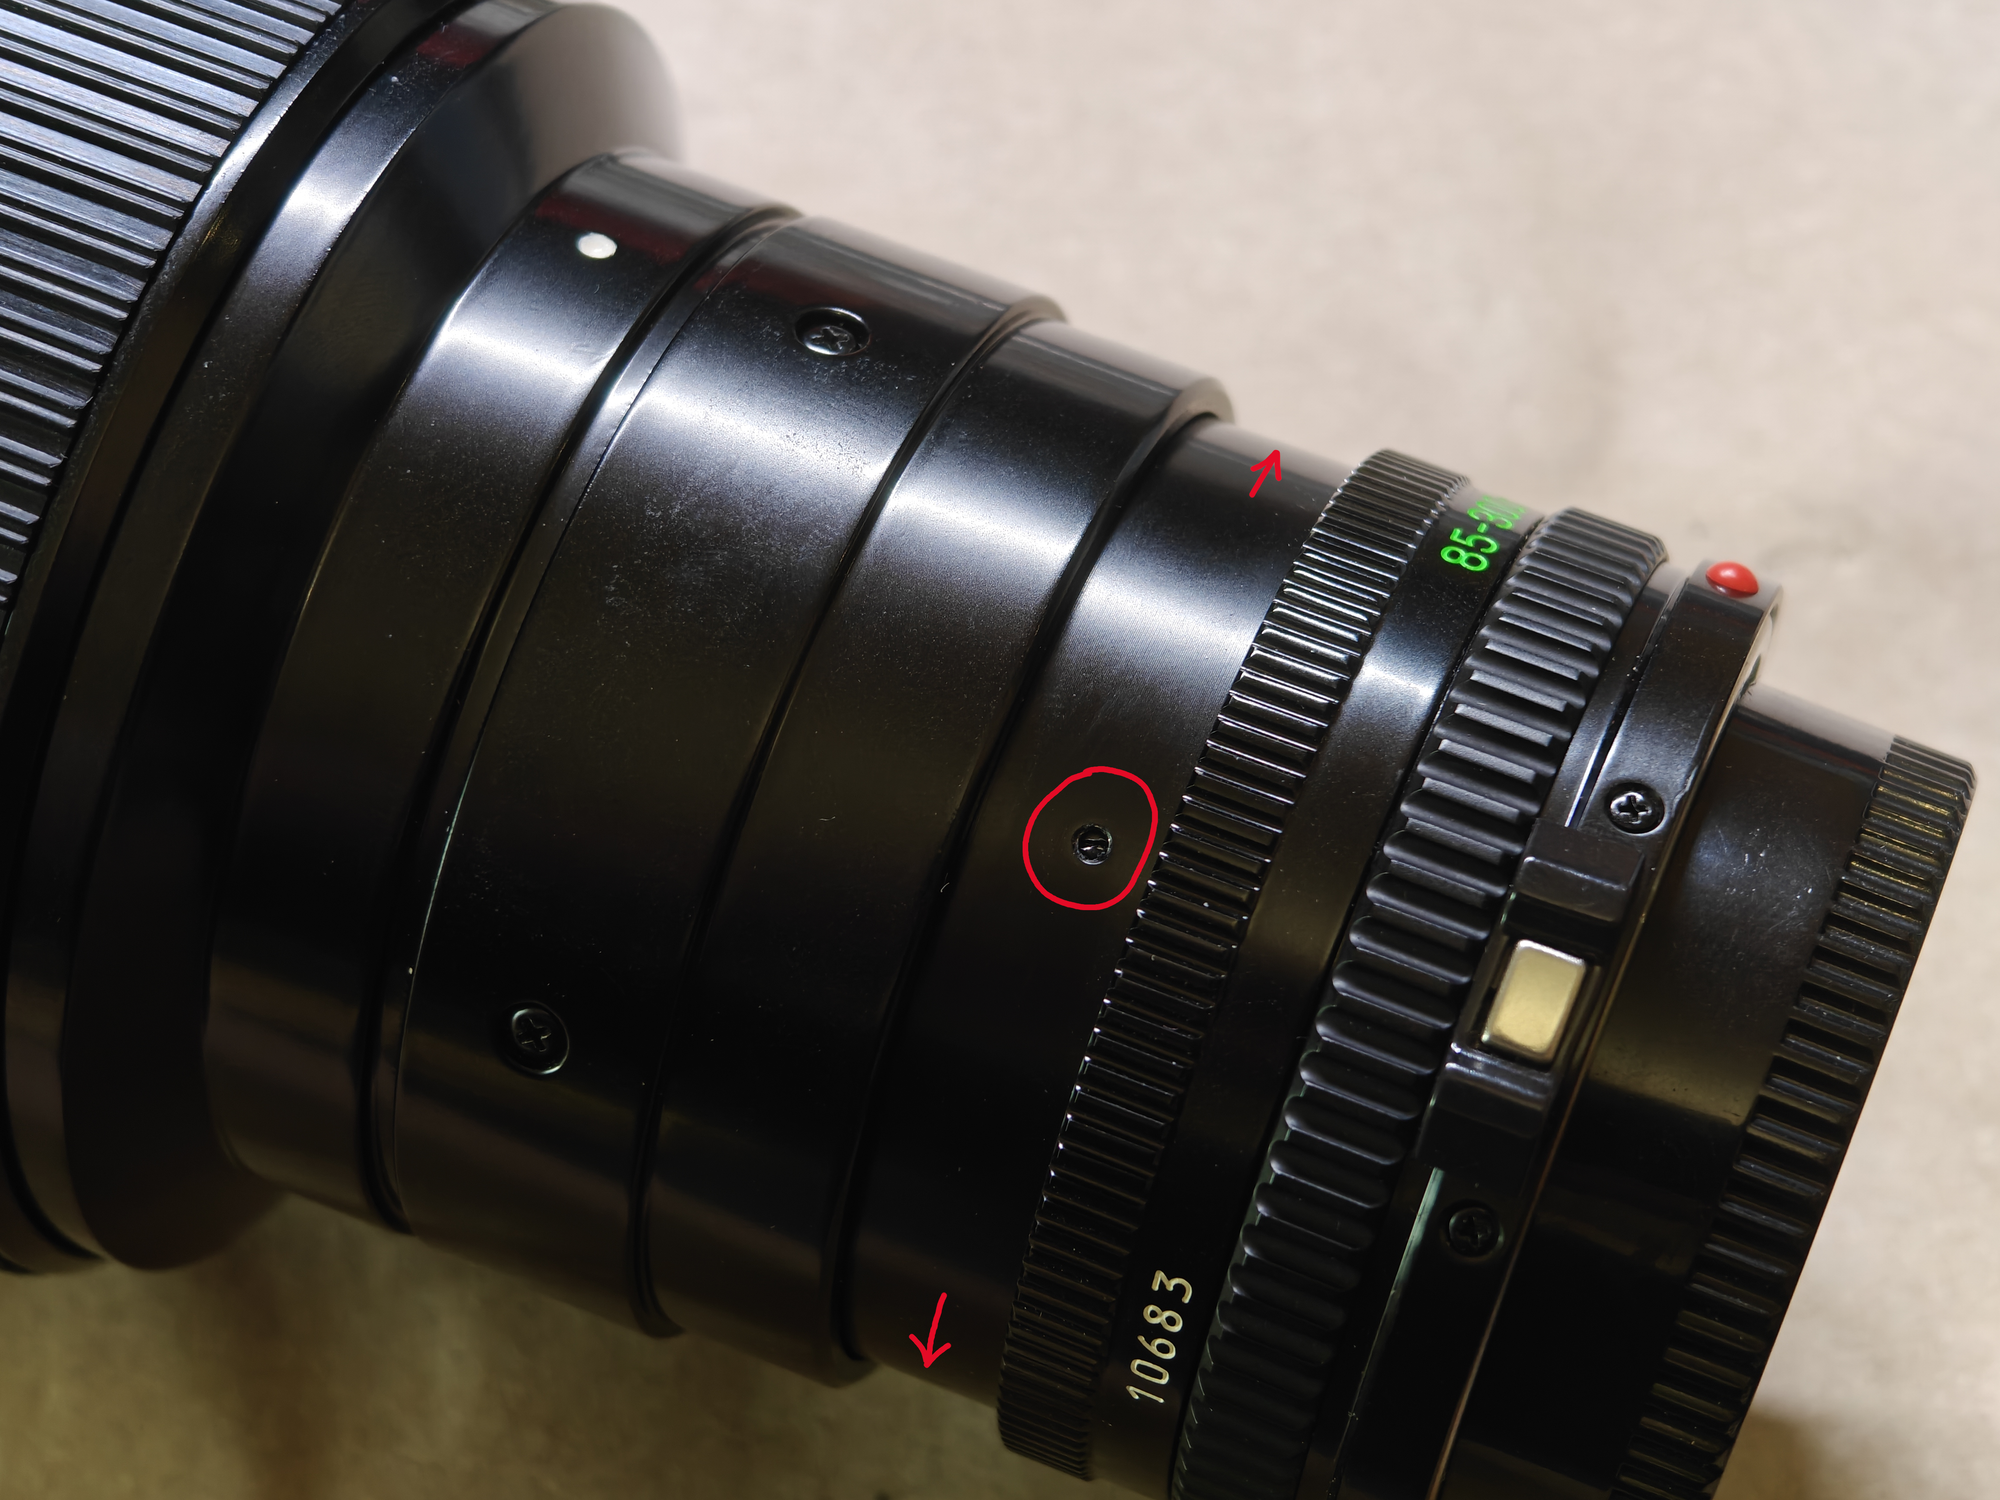
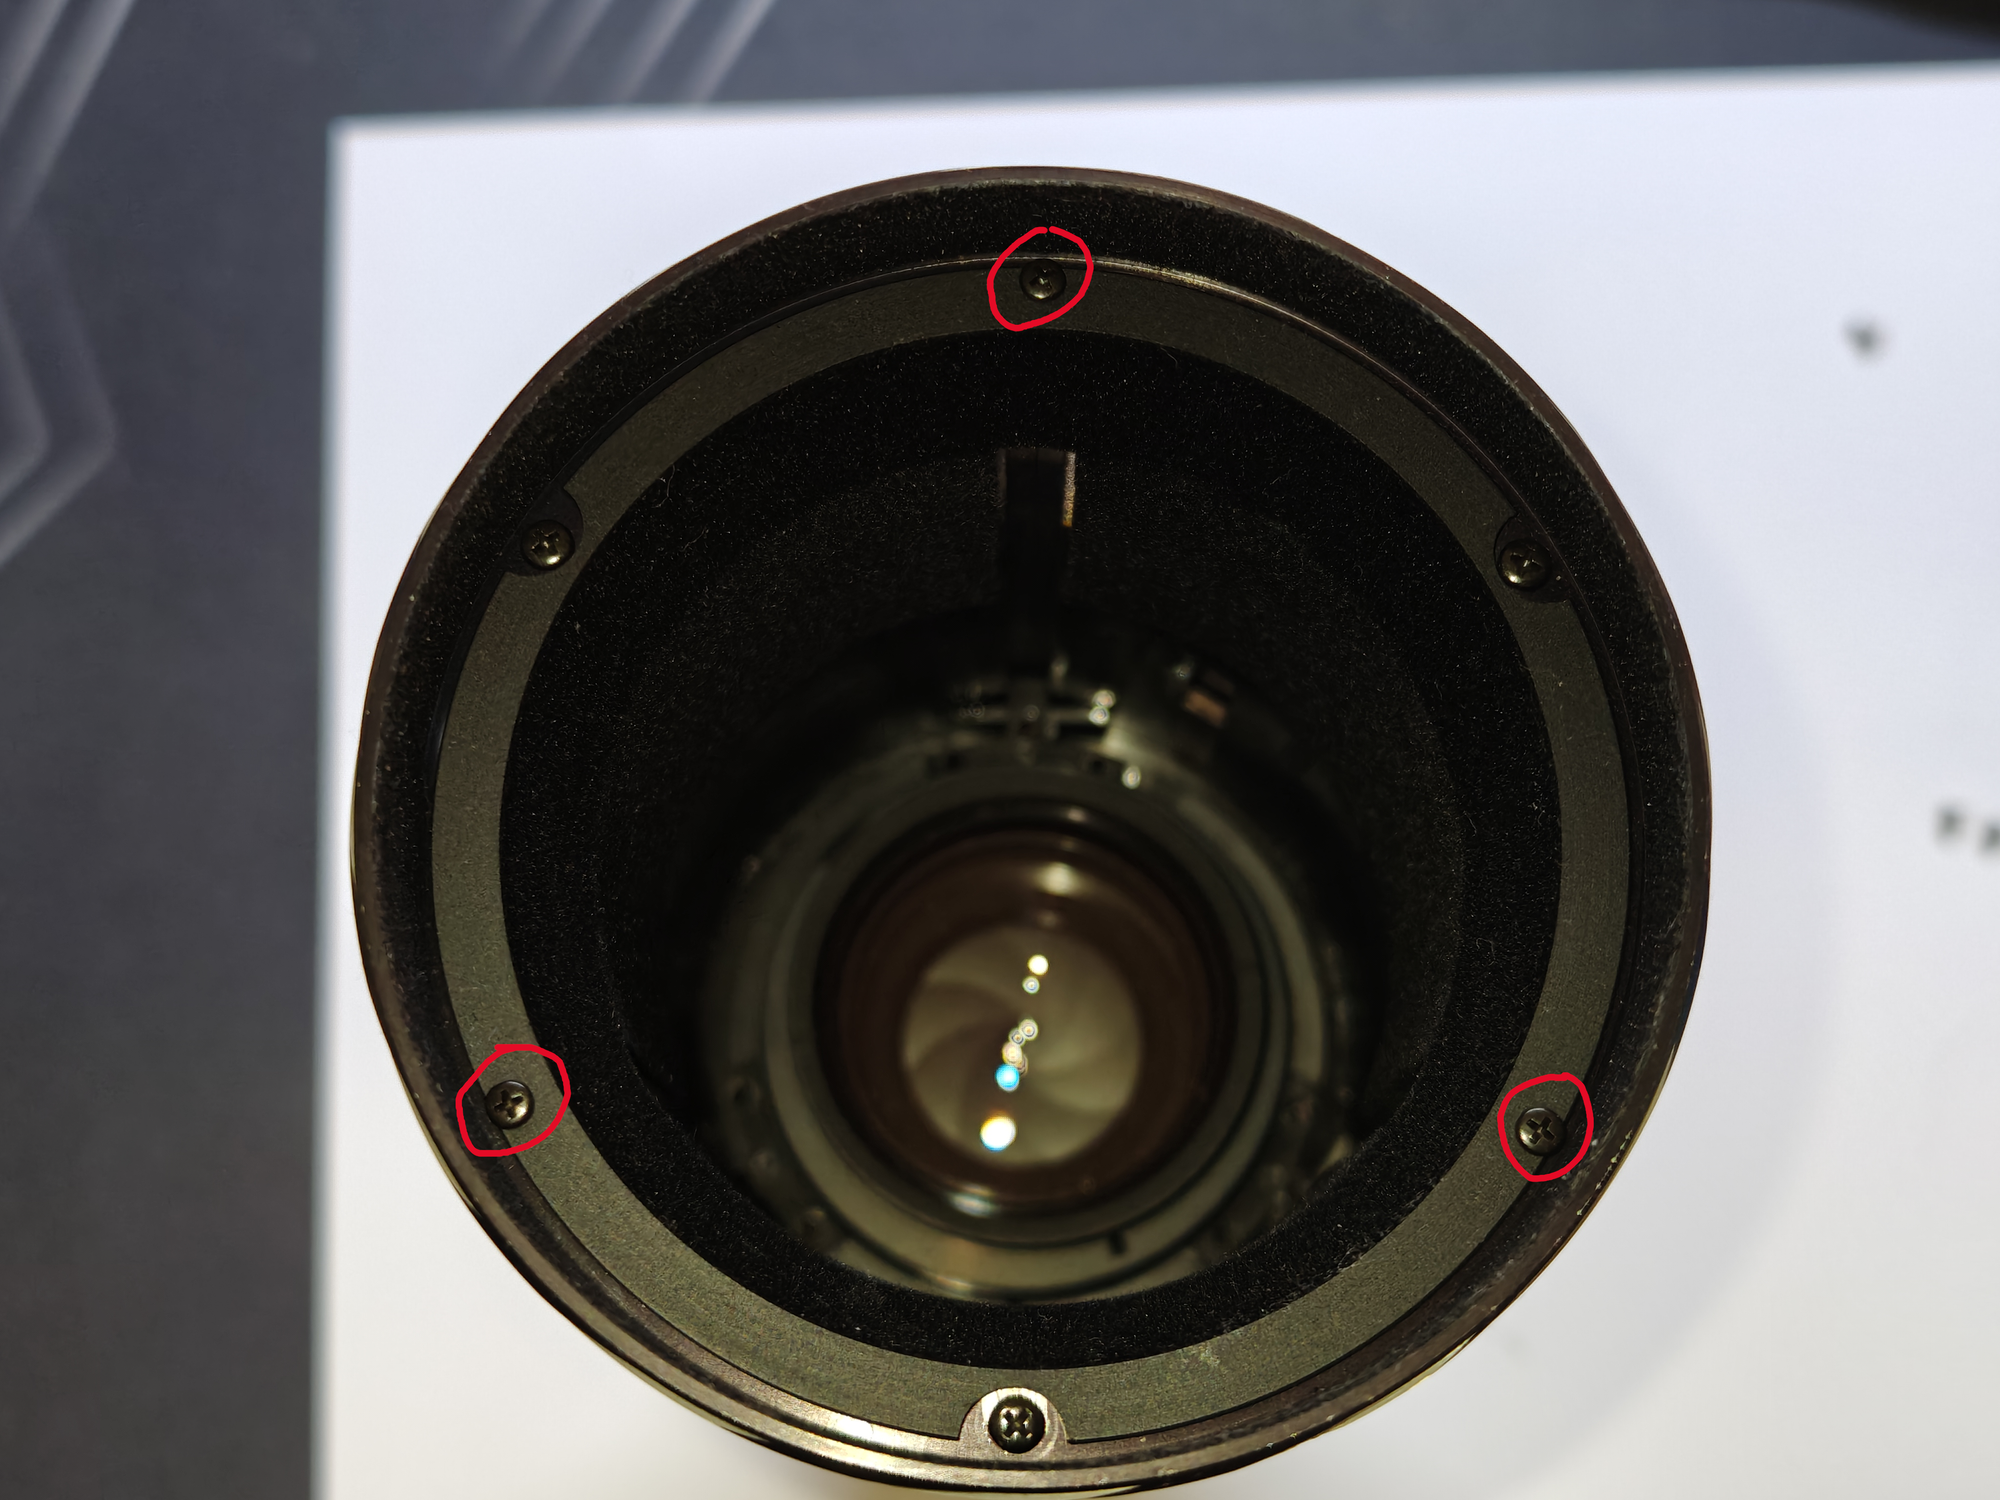
- Remove 6 screws which hold the FD mount to the lens
Remember the orientation, for me orange aperture mark perfectly aligned with one of the white dots when used with tripod mount
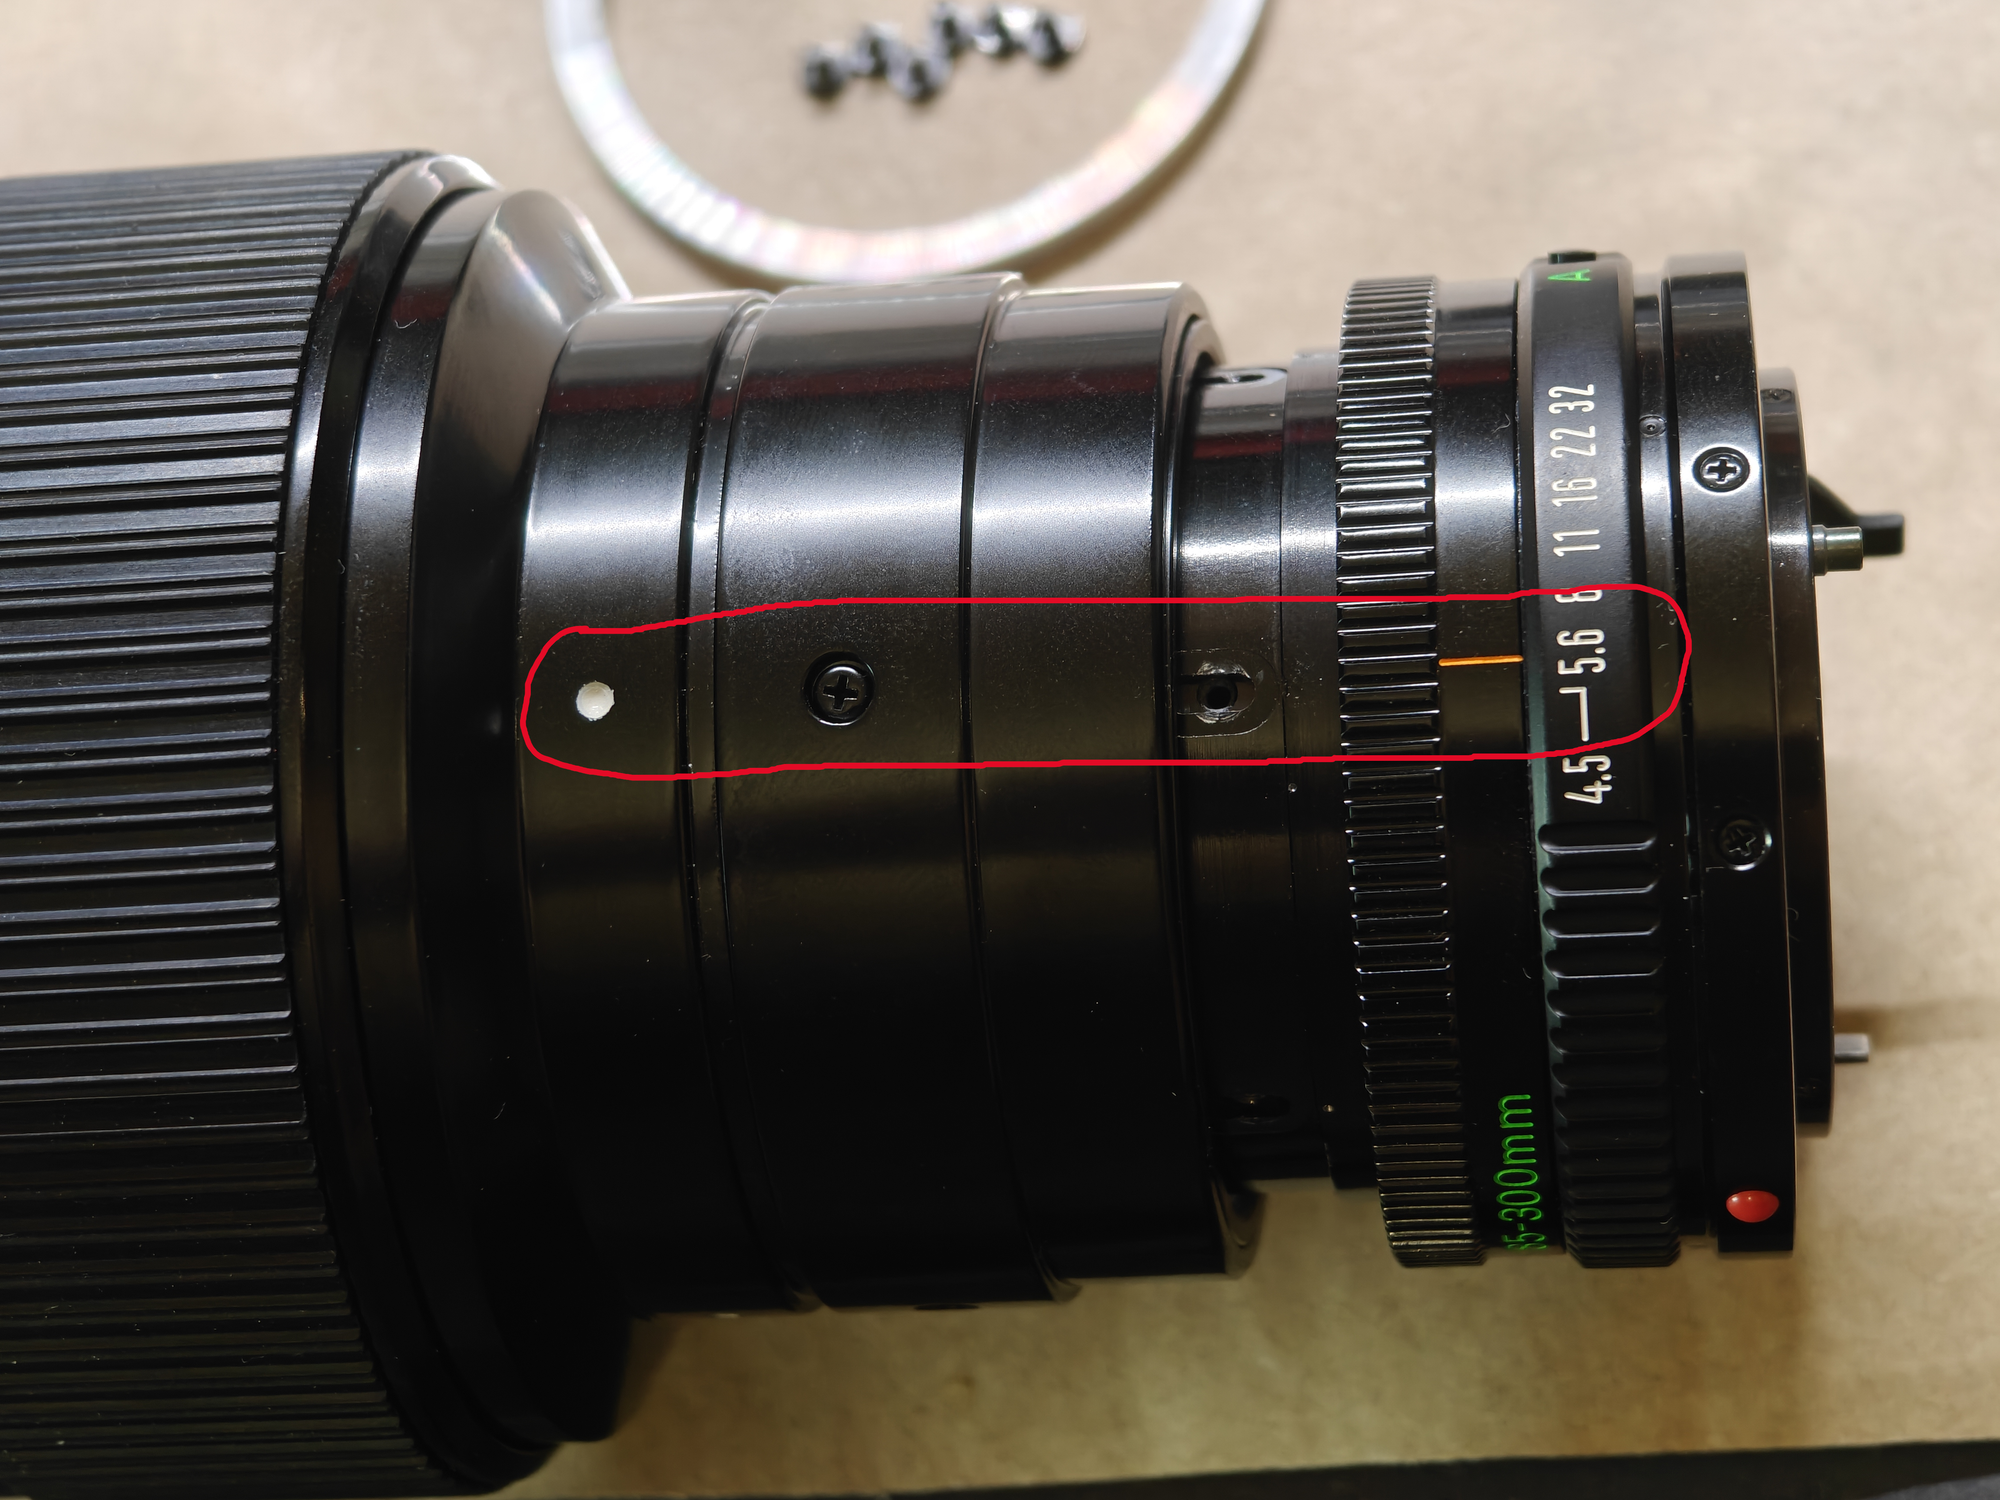
When removing the mount, be careful, aluminum spacer might drop out when lifting the mount
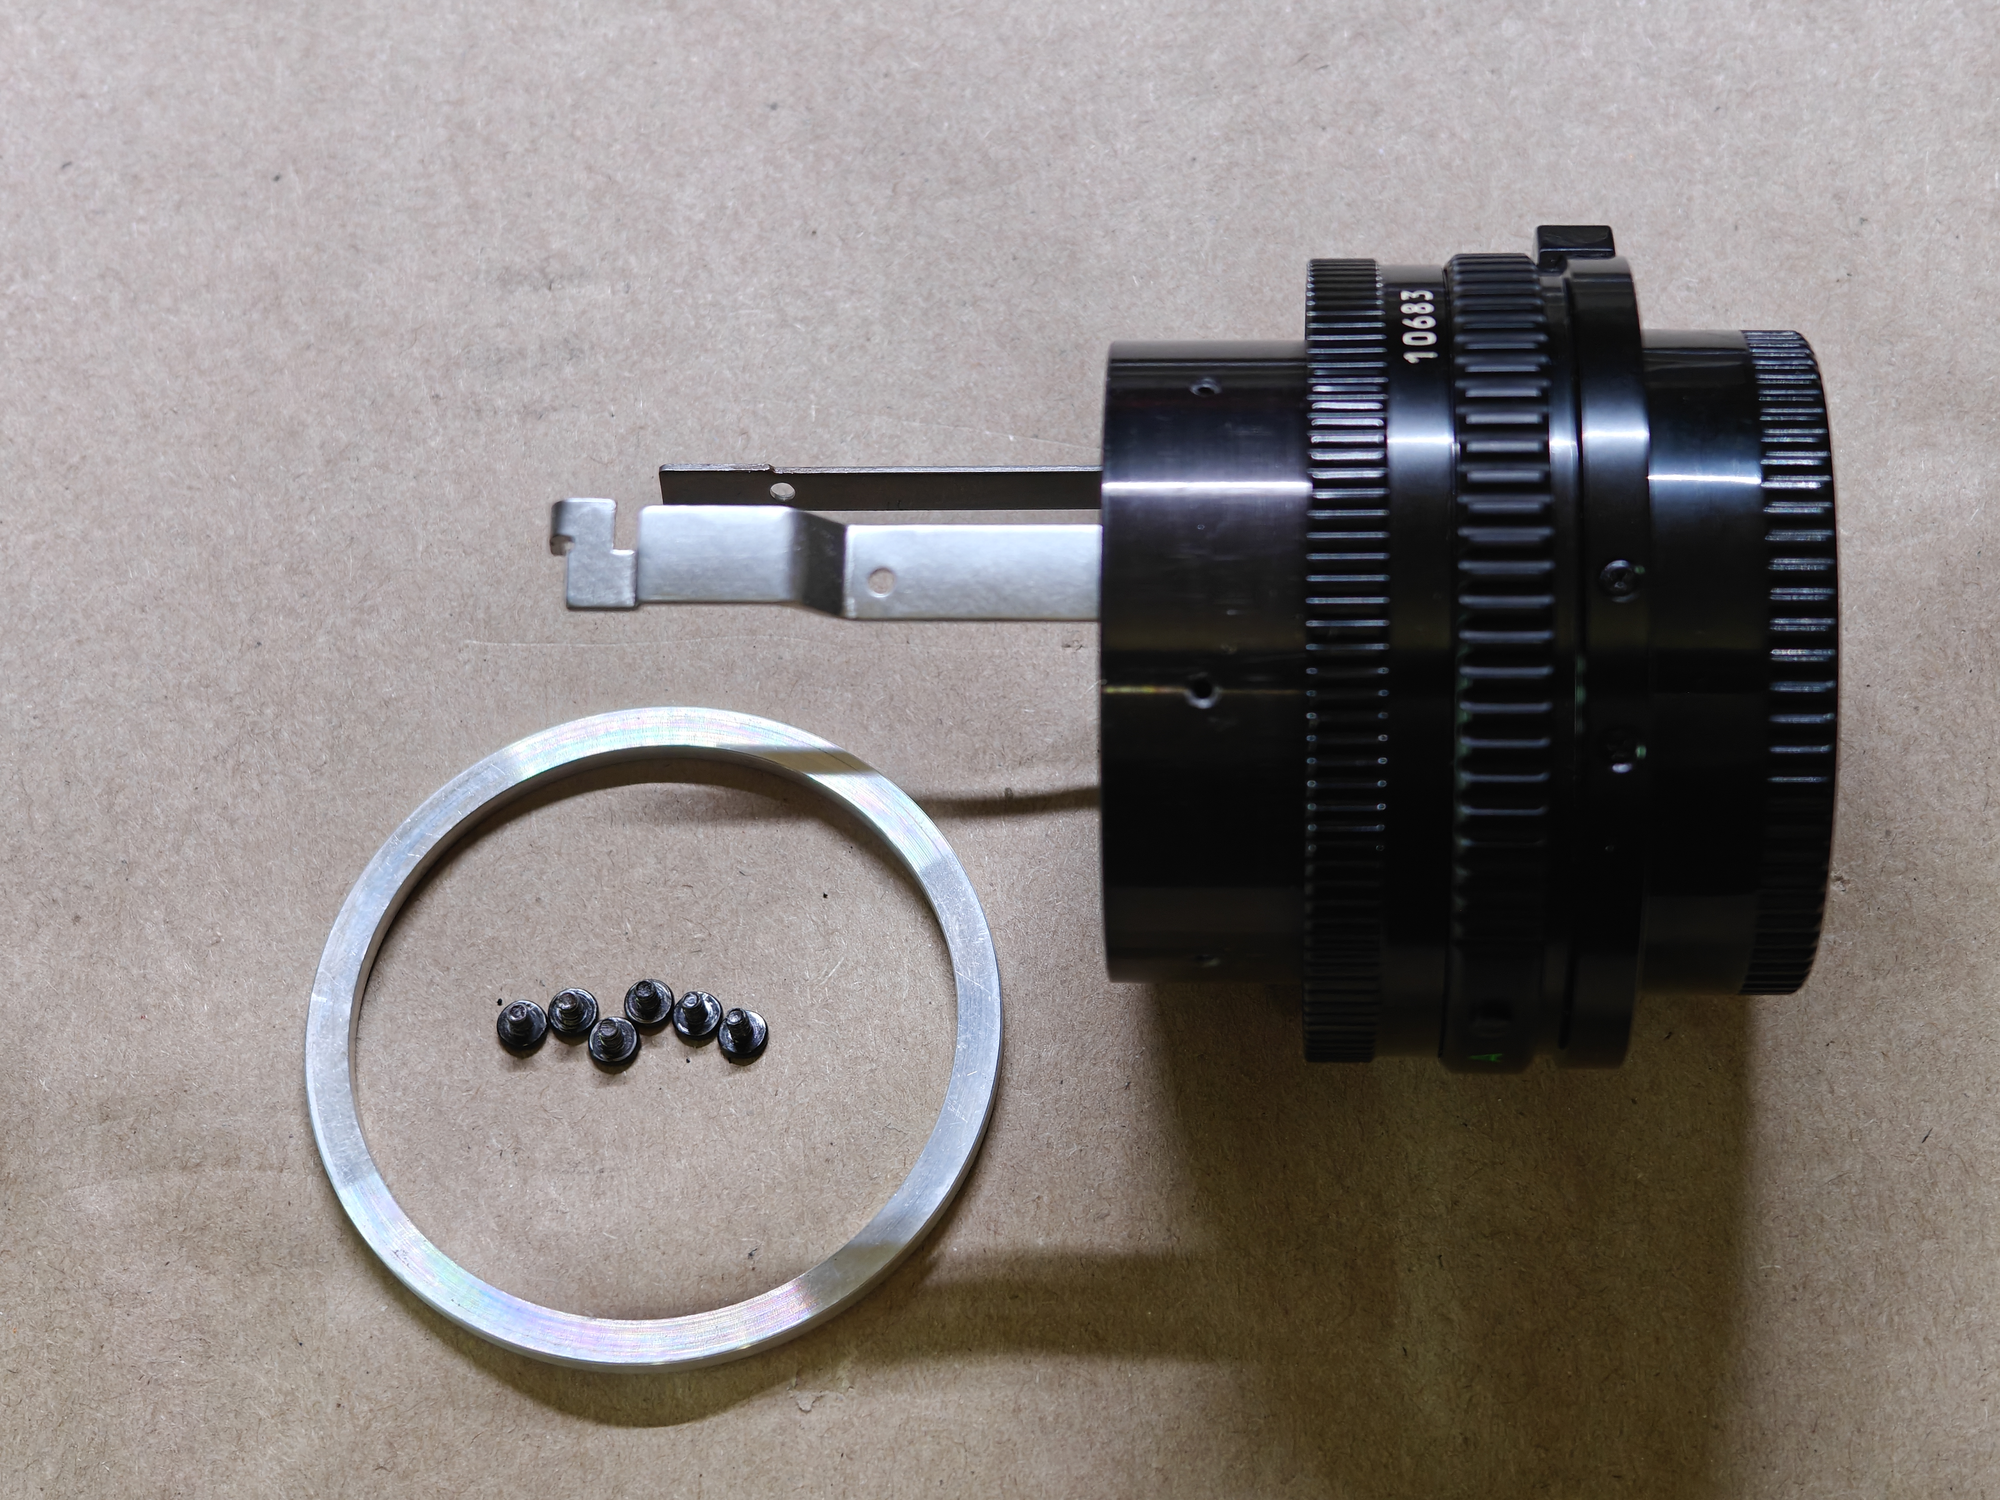
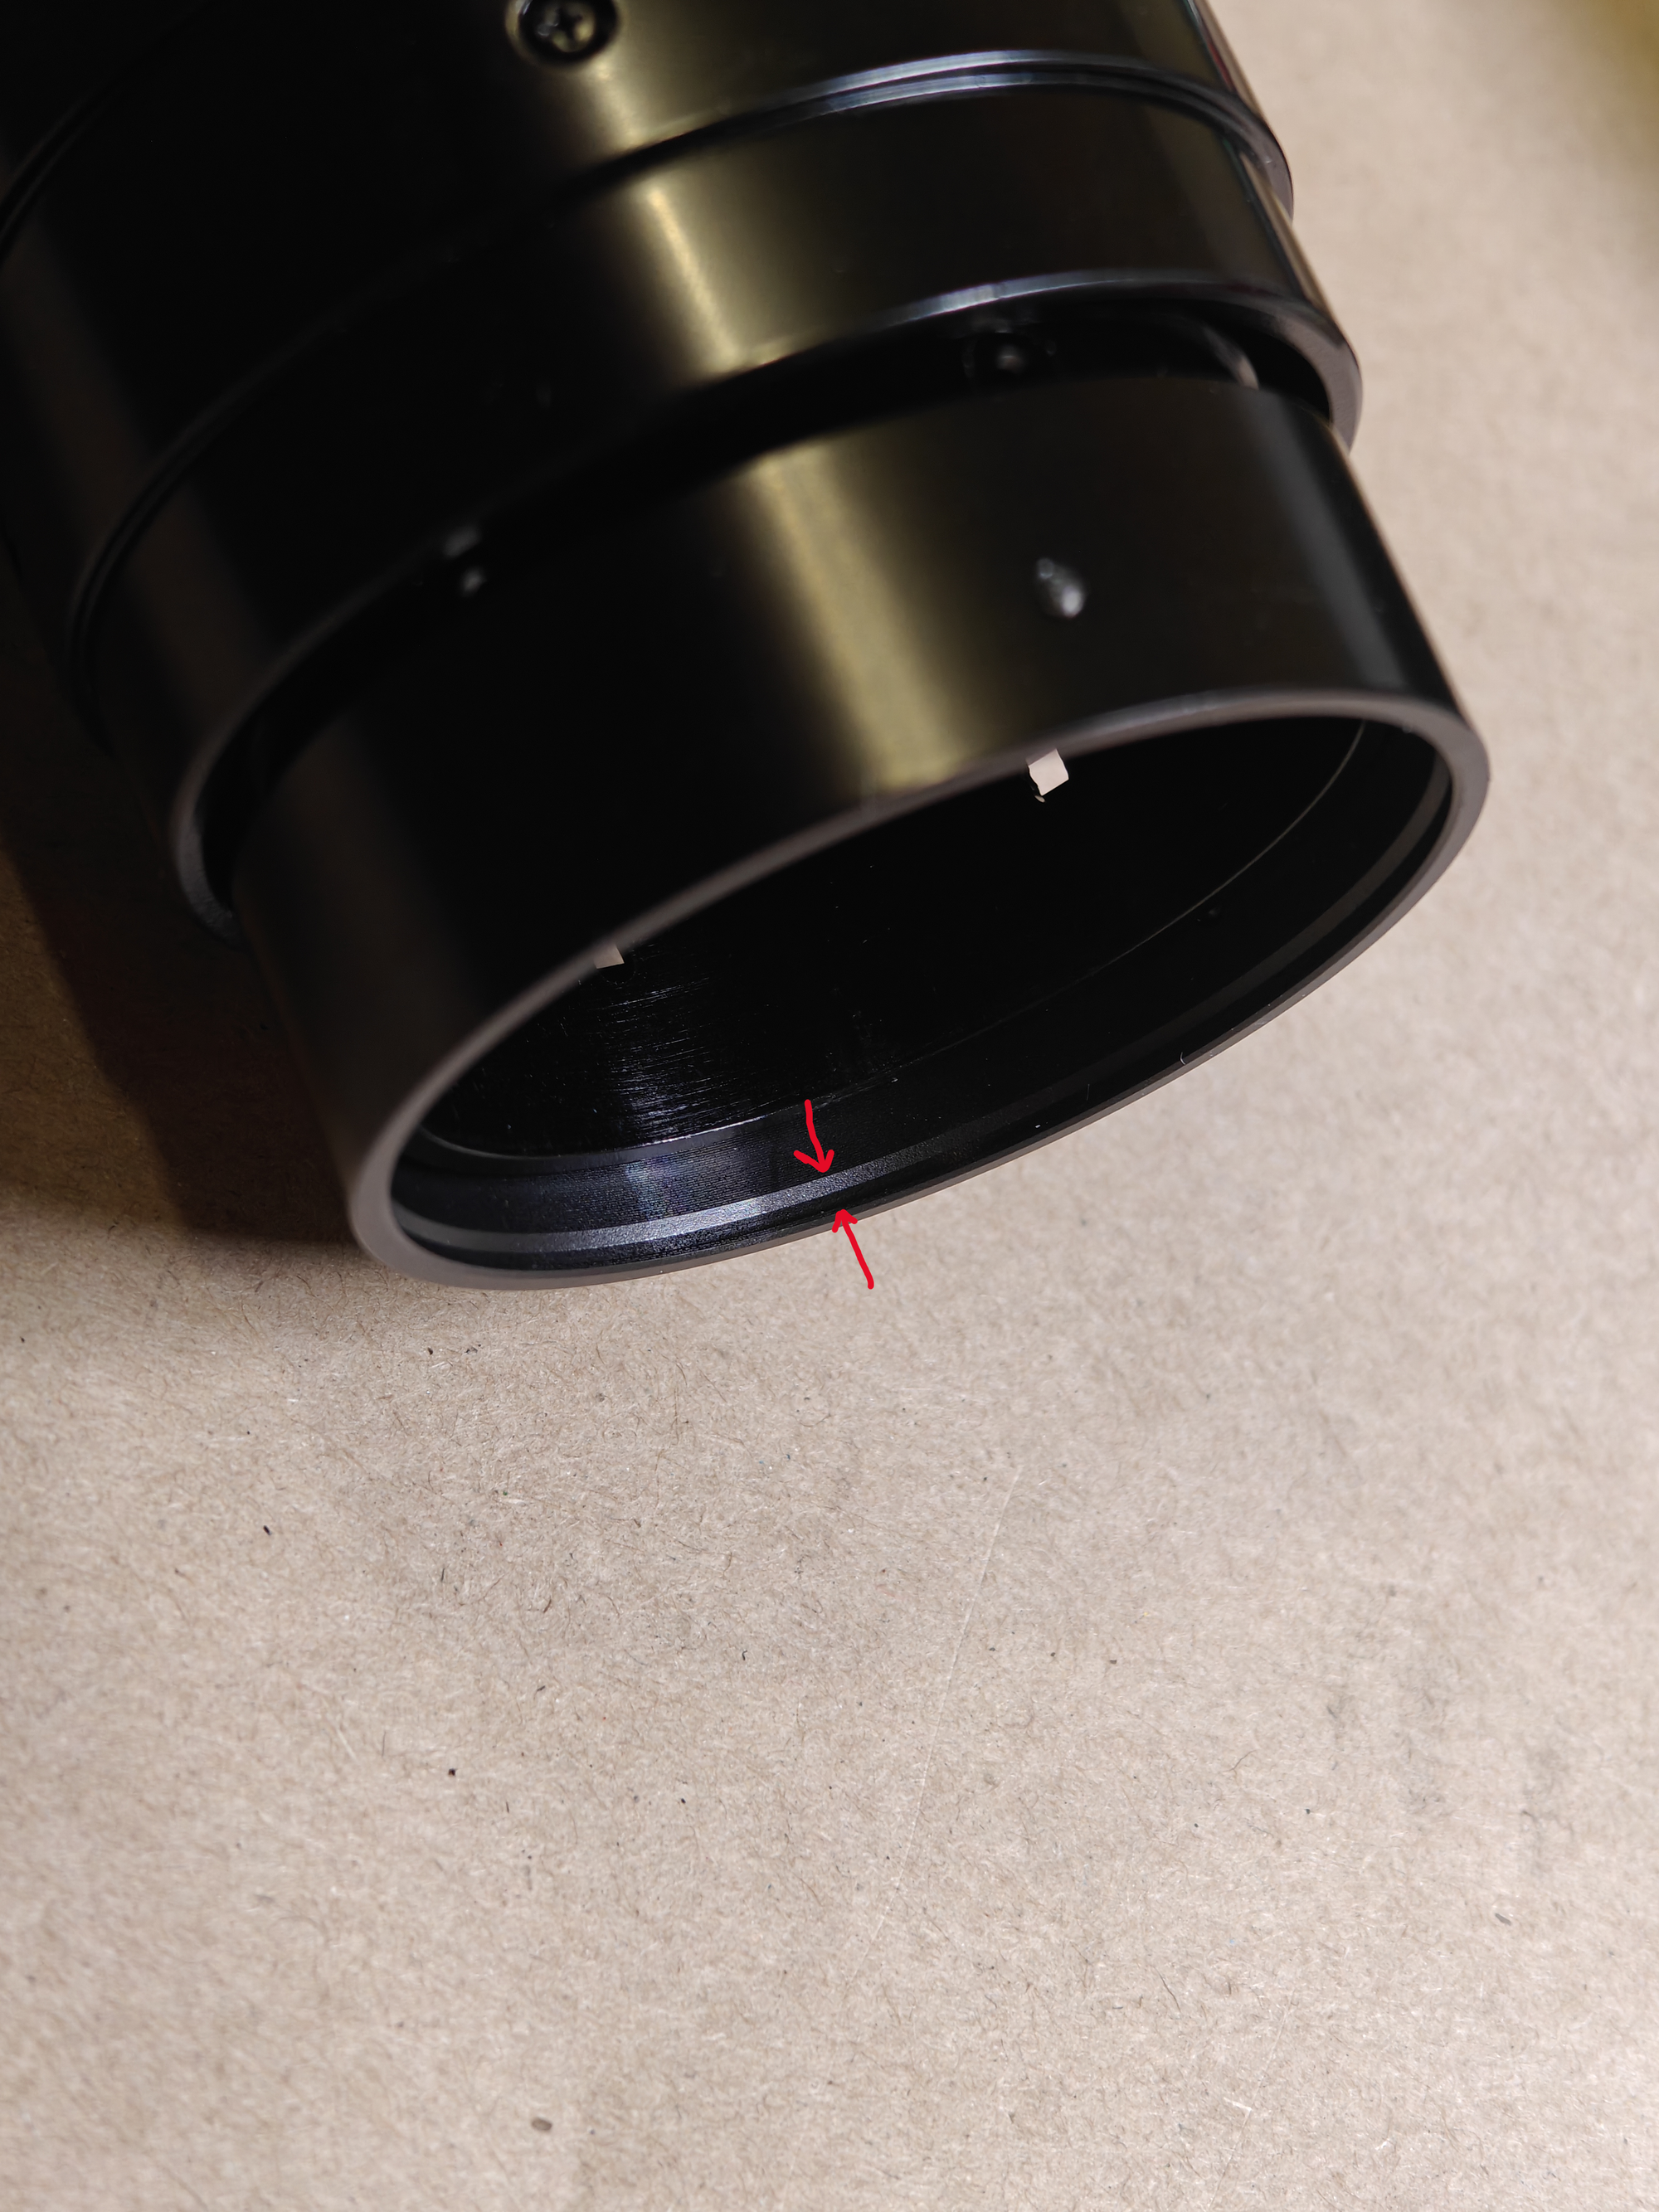
- Remove the covering right which previously fell into the cavity when loosening the 3 grub screws, remember how it was oriented. In my case groove inside the ring was towards the mount
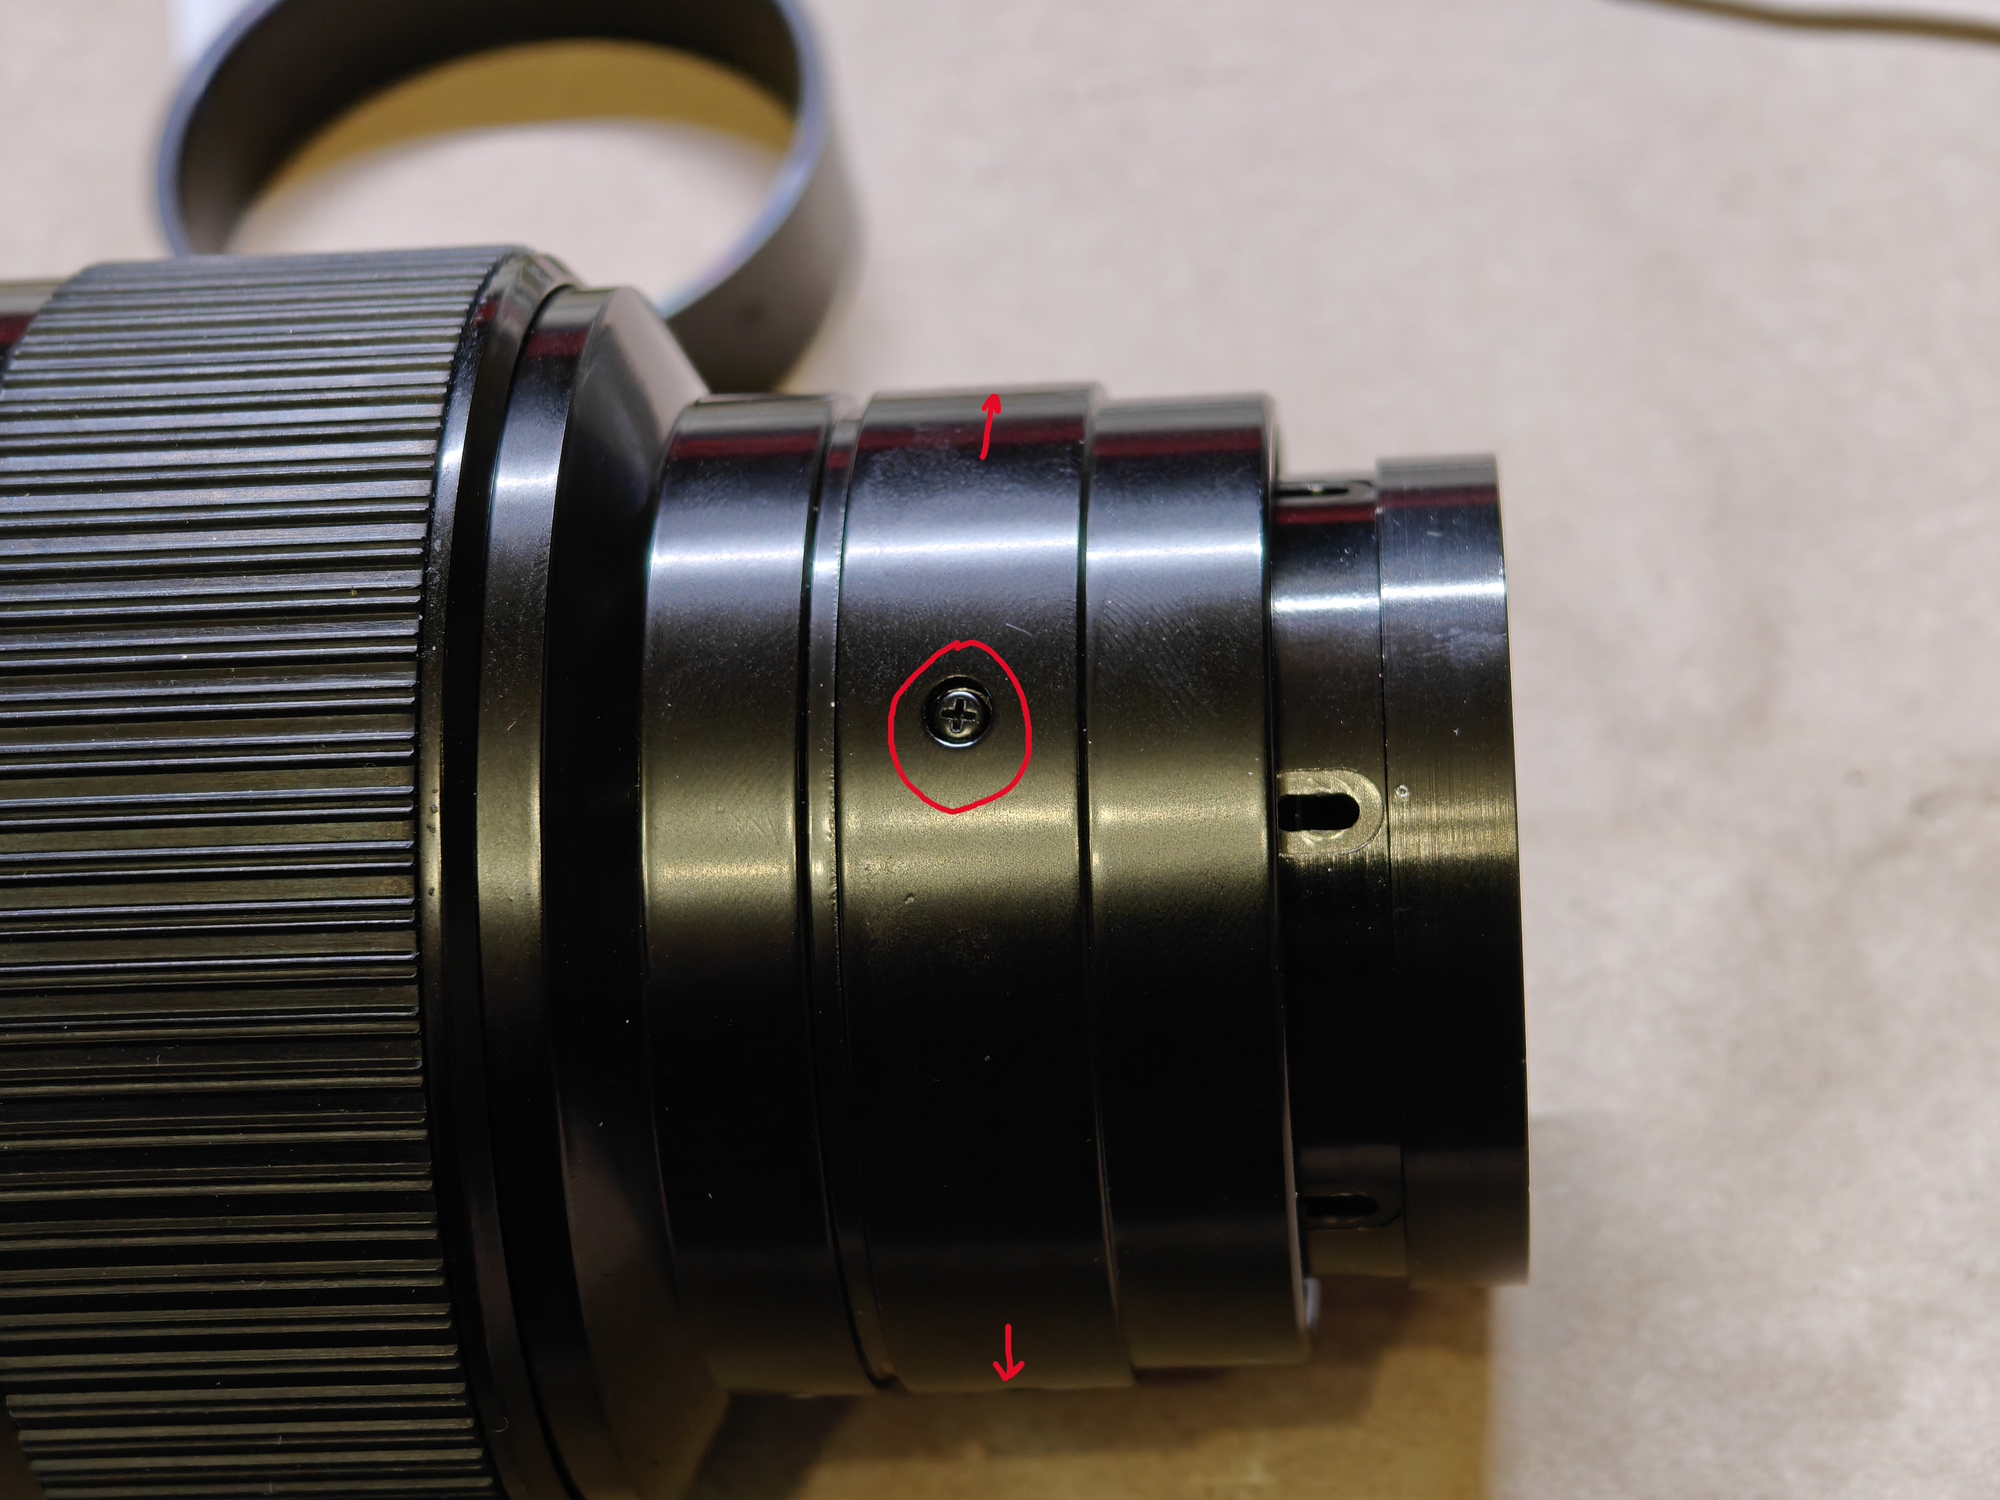
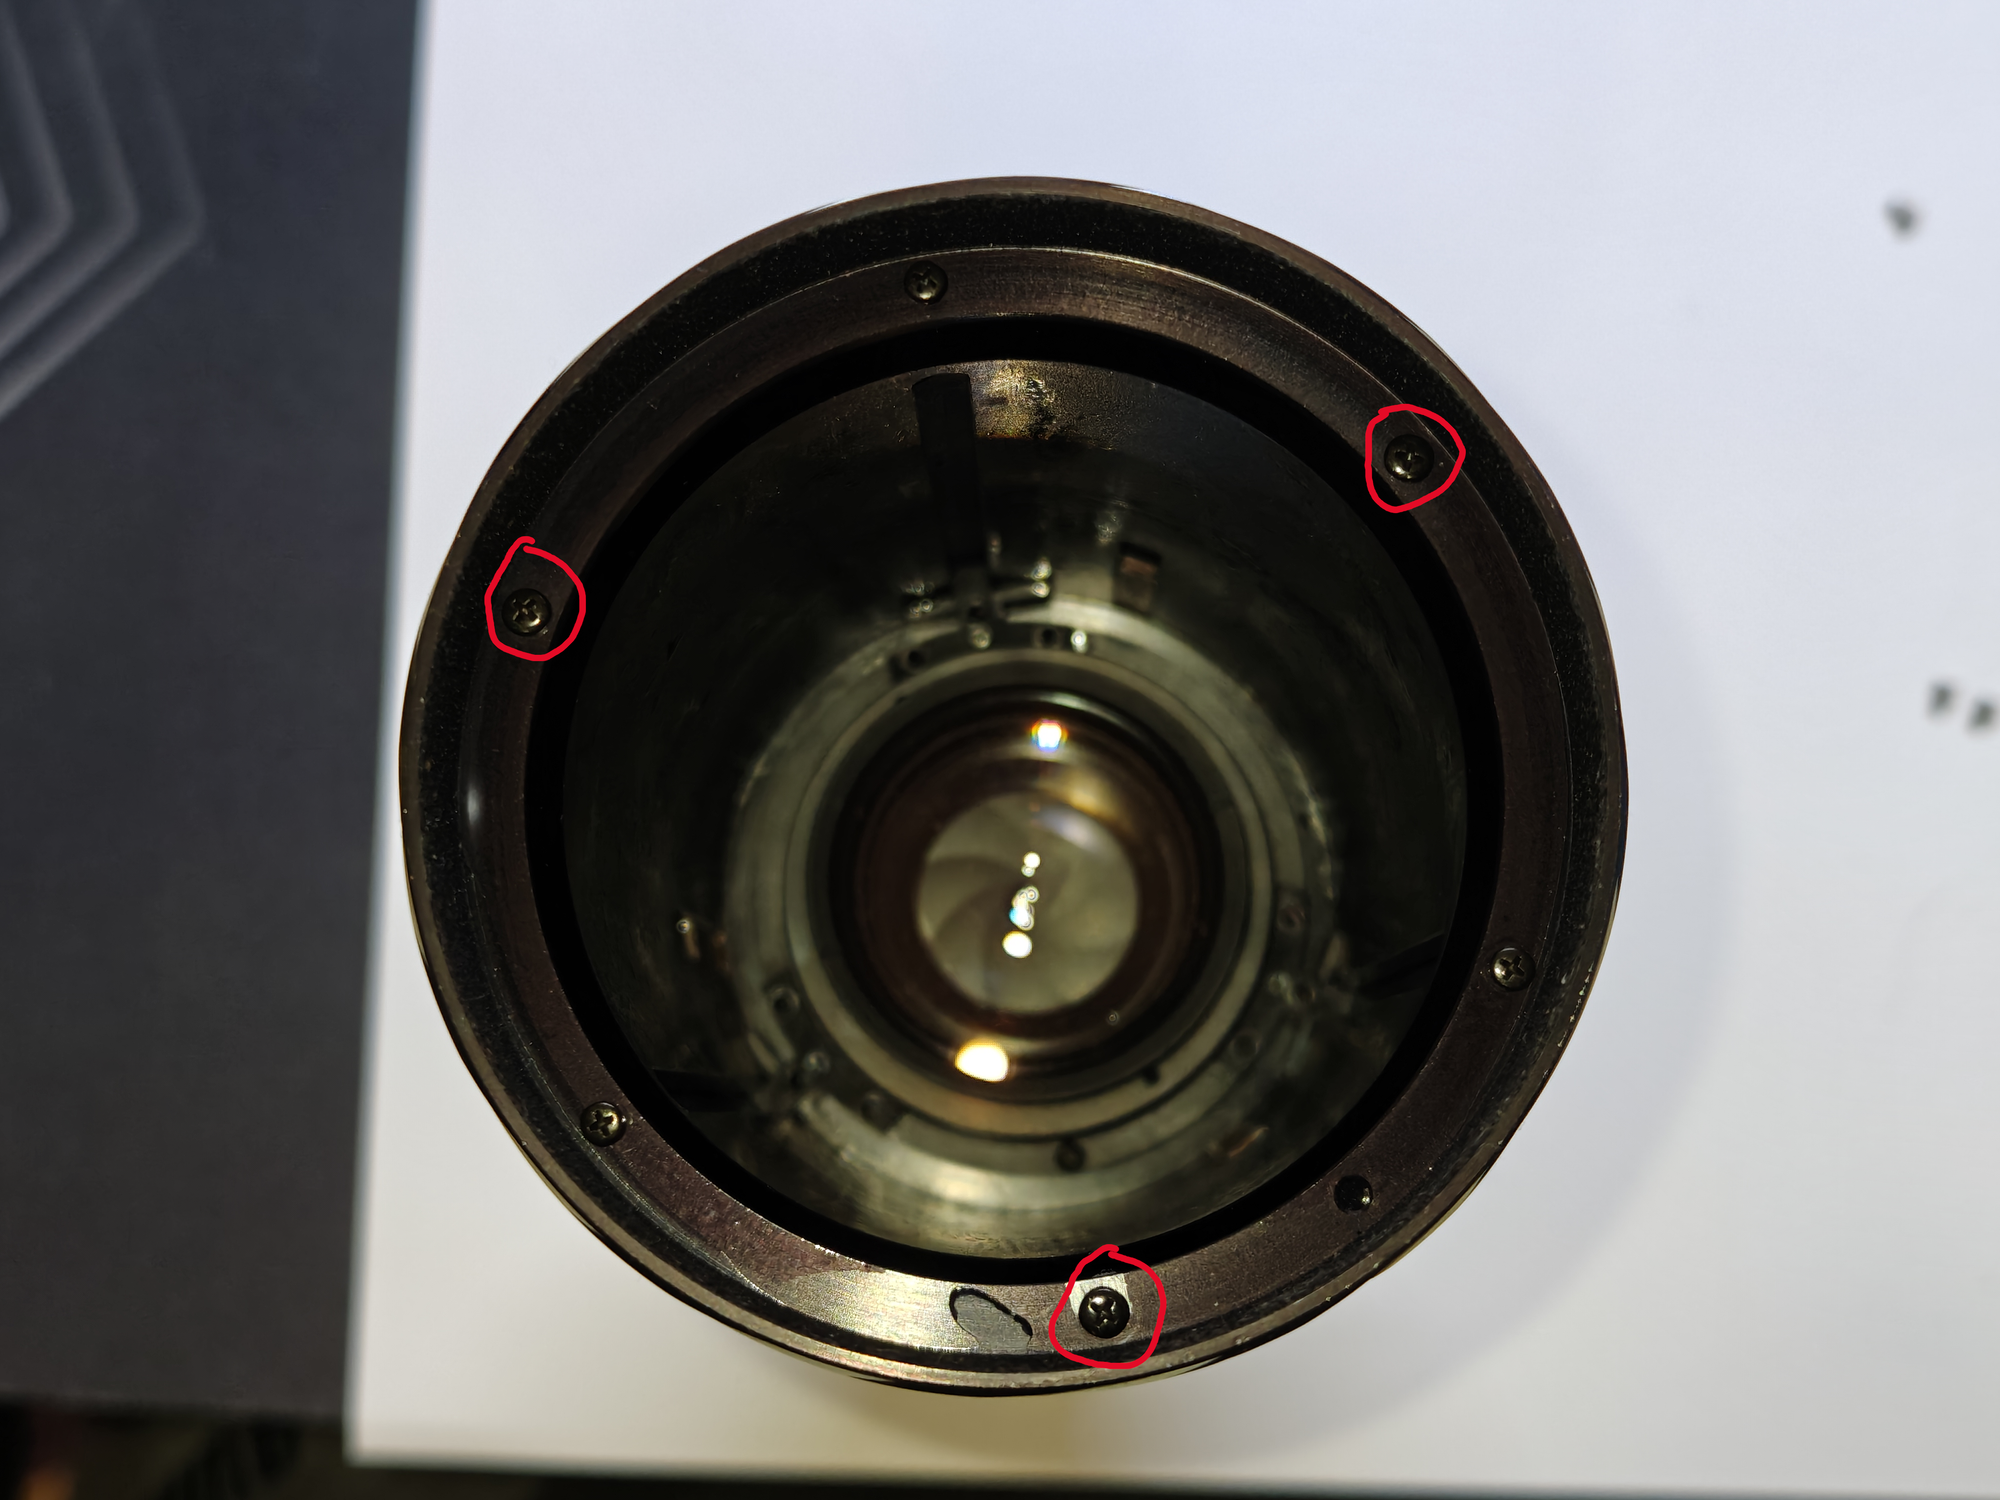
- Remove transitional/clamp ring by removing 4 screws around it's perimeter, keeping track of orientation is not important, as all the screw holes line up only in one place
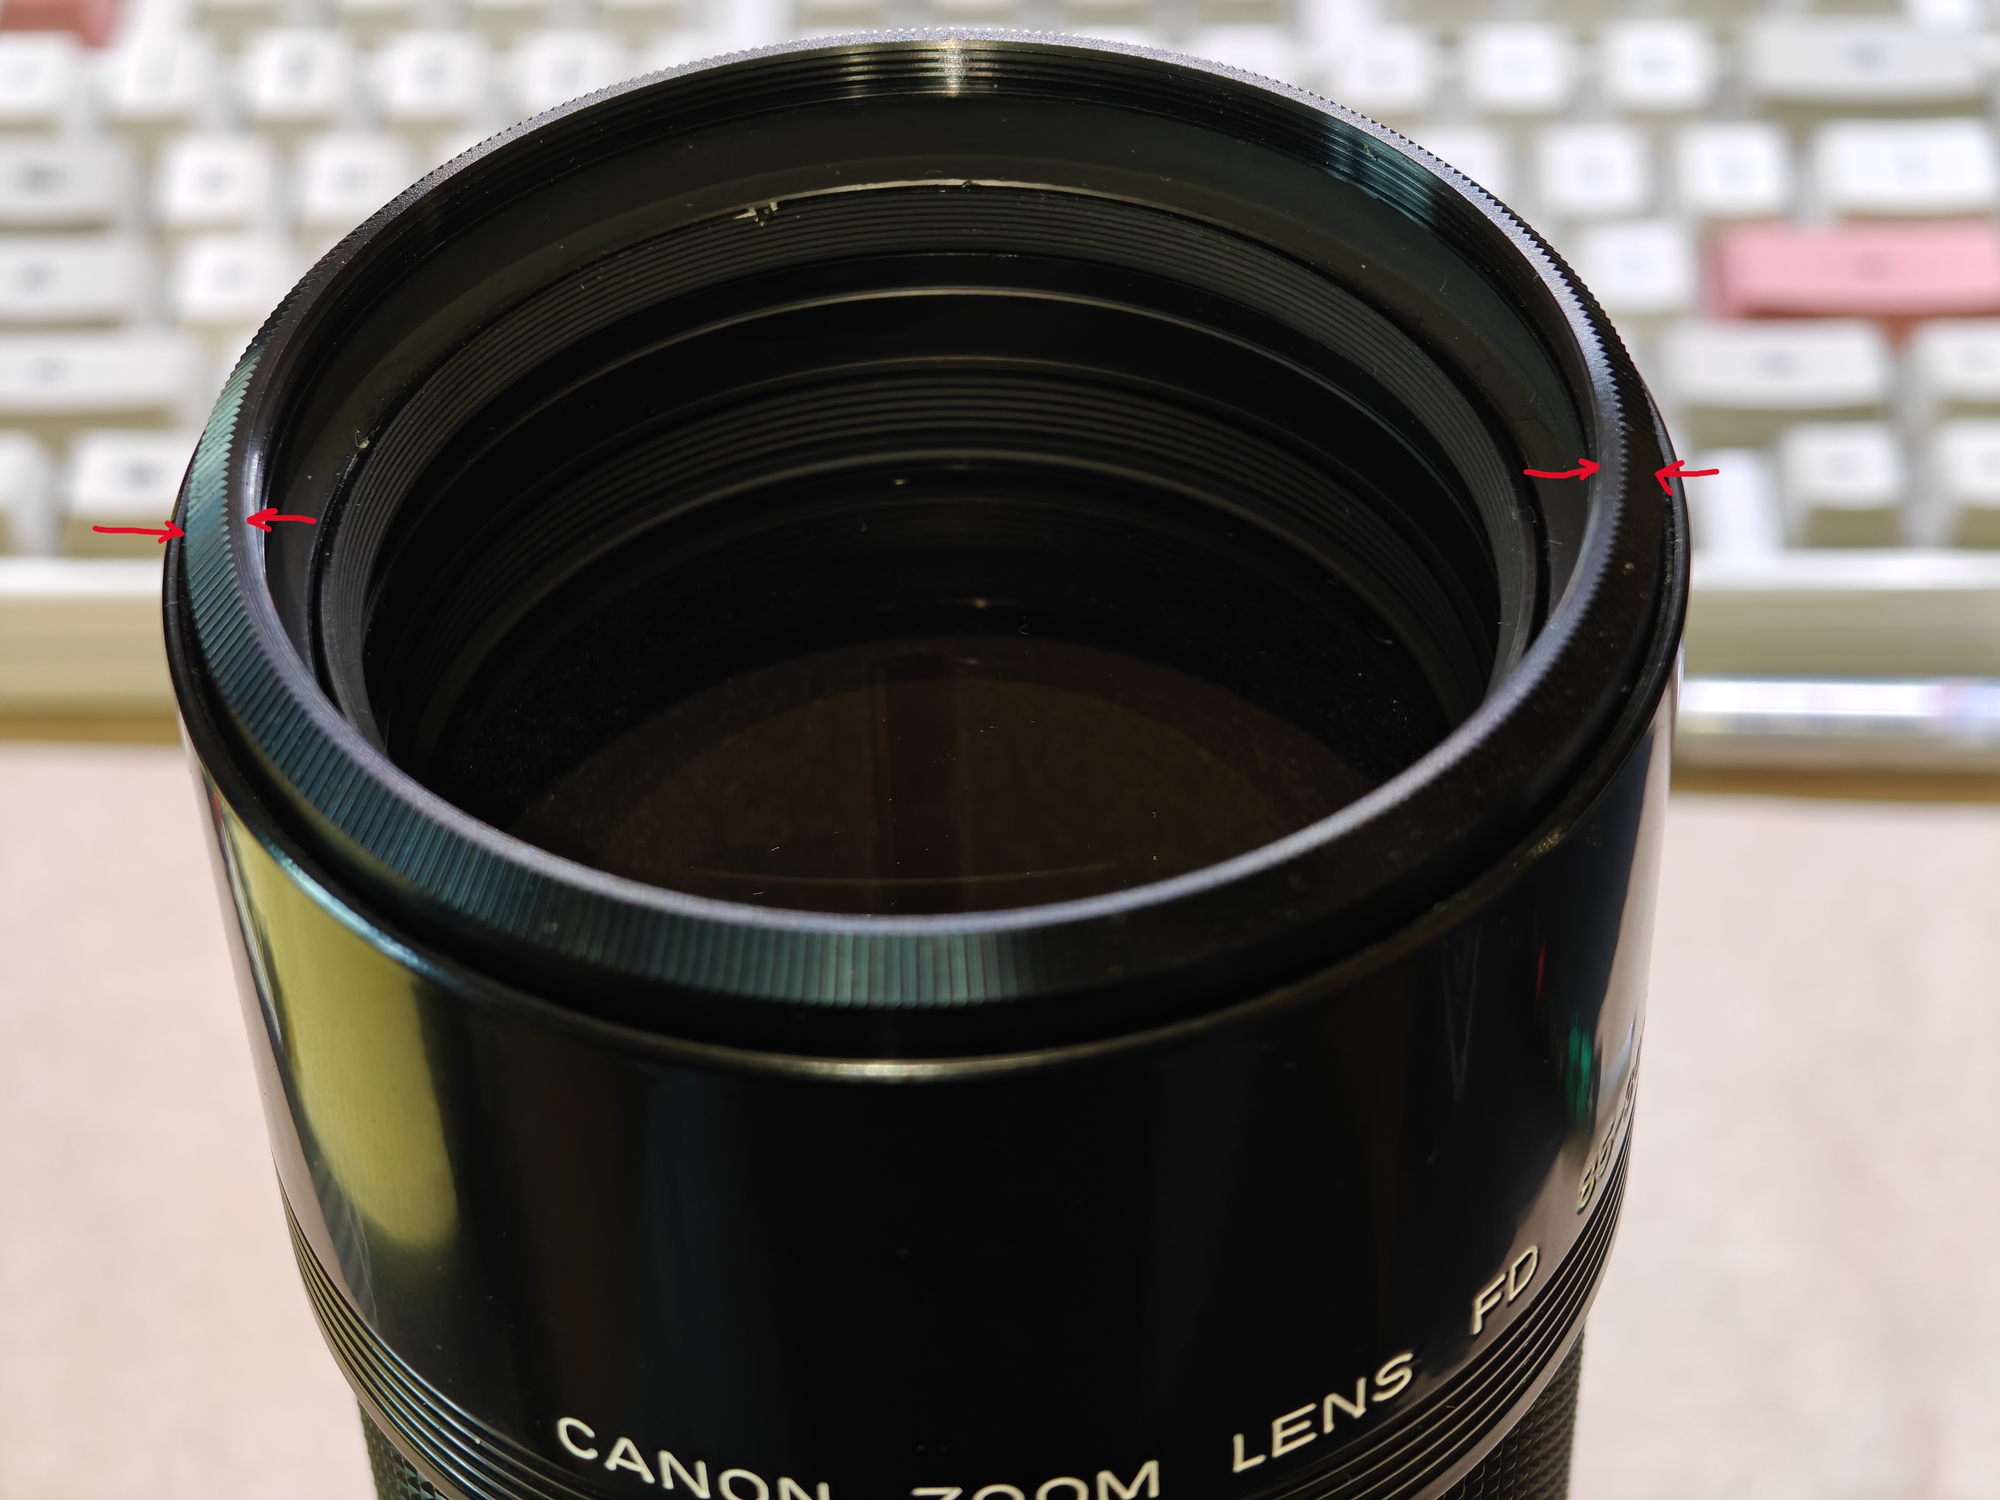
- Remove decorative ring in around the front element, it unscrews in standard direction, loosening when turning counter clock wise. However if you cant seem to do it, it might be first to remove the front element (step 6), then try again this step by putting fingers from inside the ring and turning it
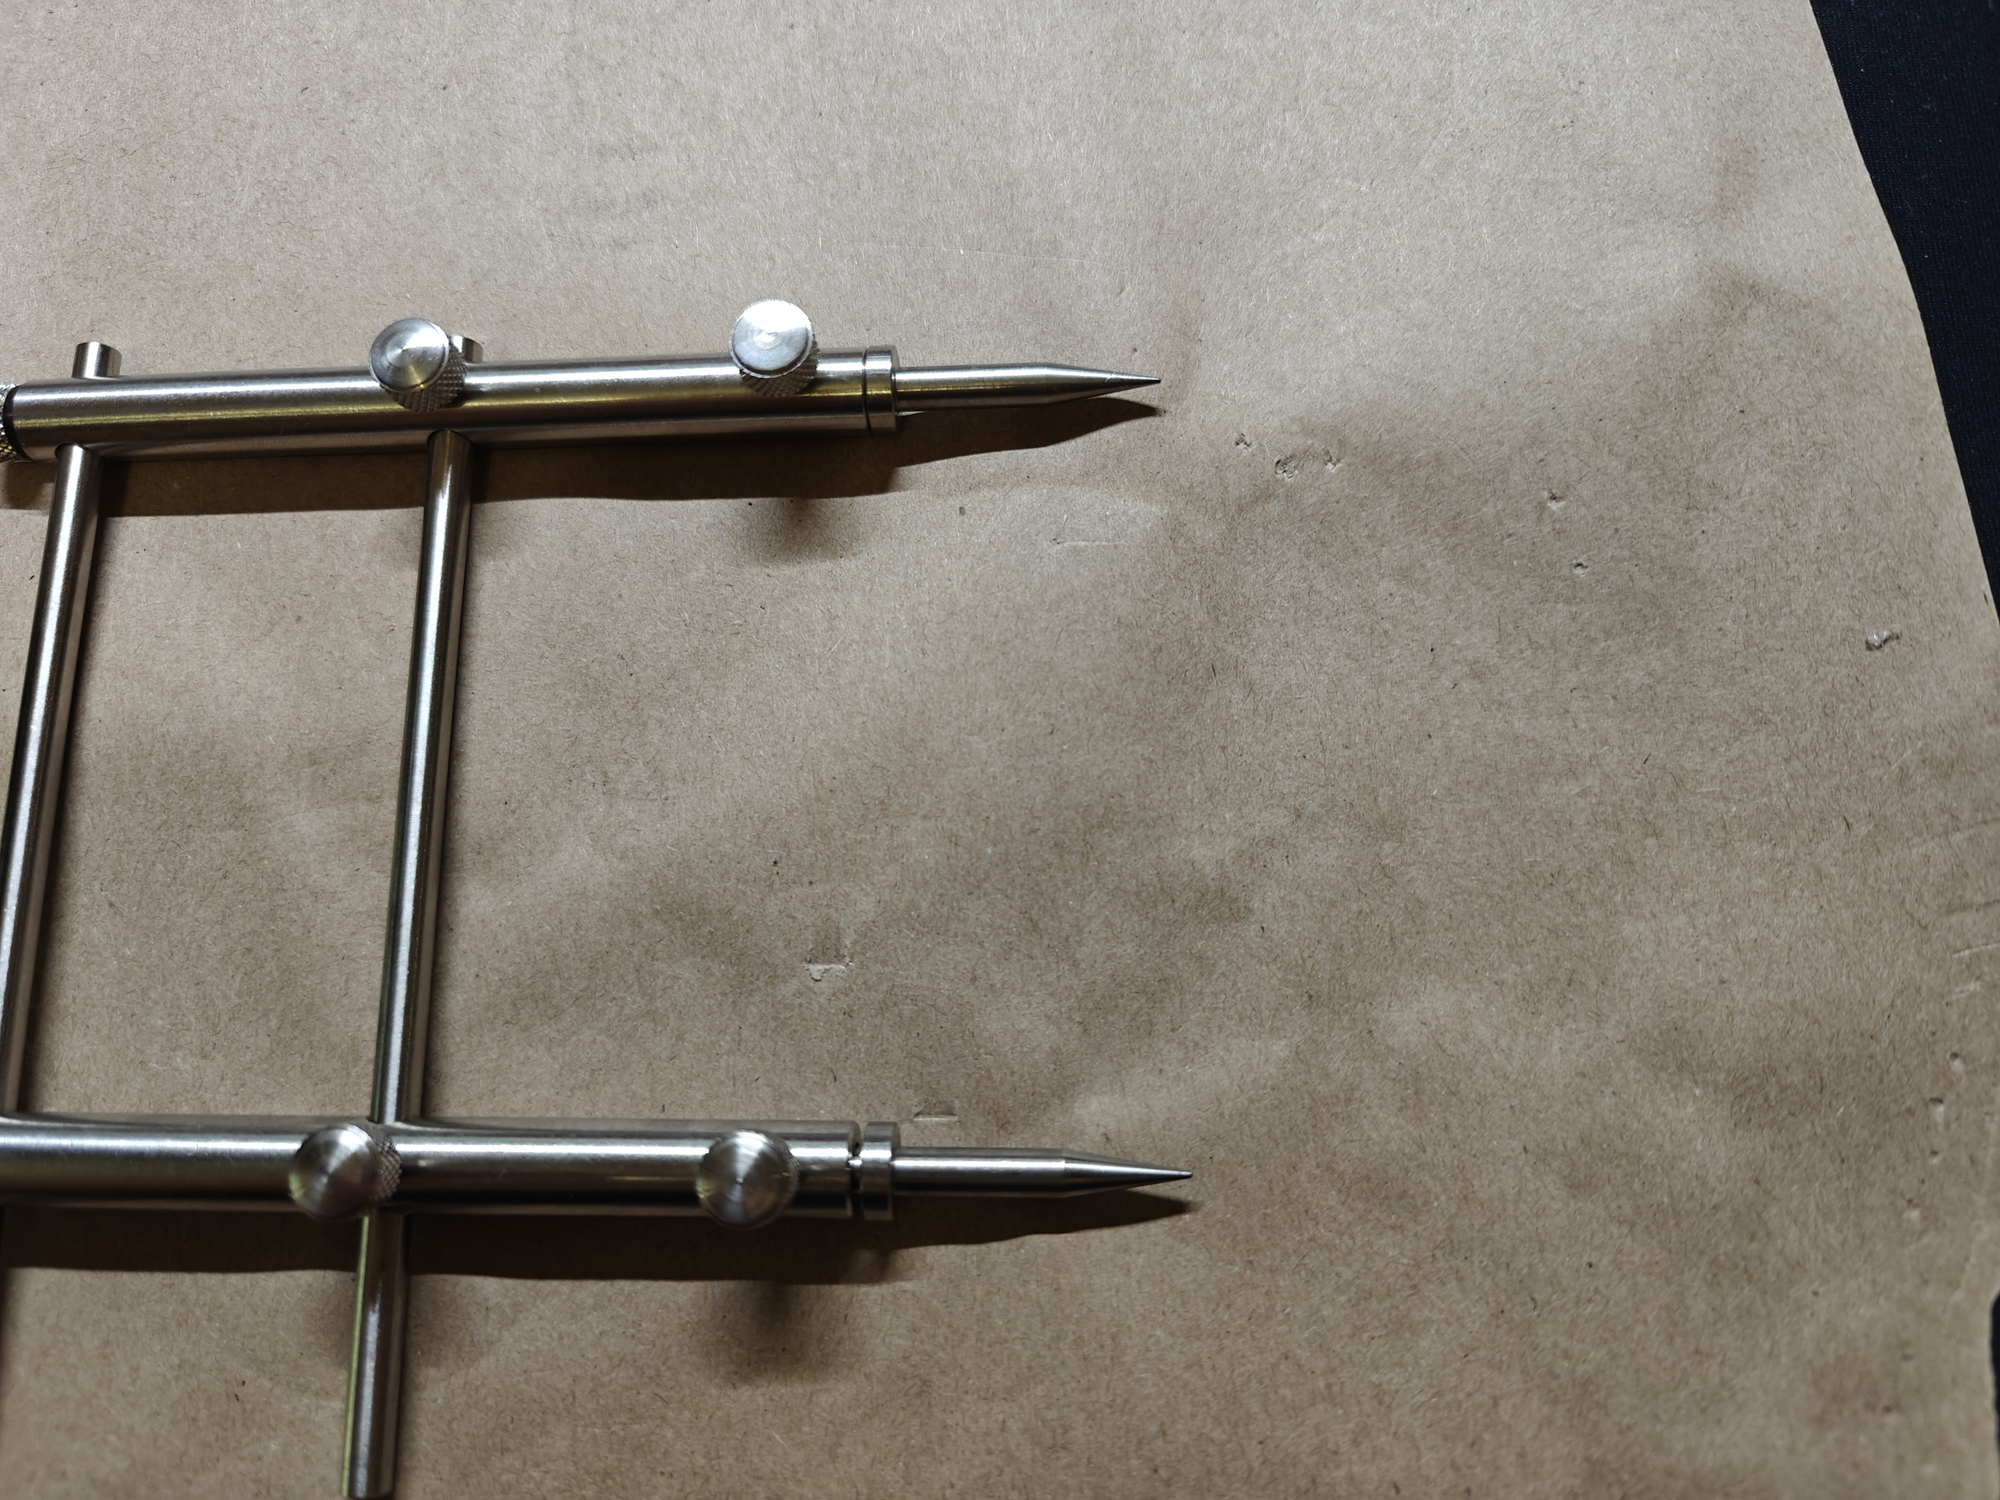
- Remove front element retaining ring, for this you will need lens wrench, for me this setup worked well
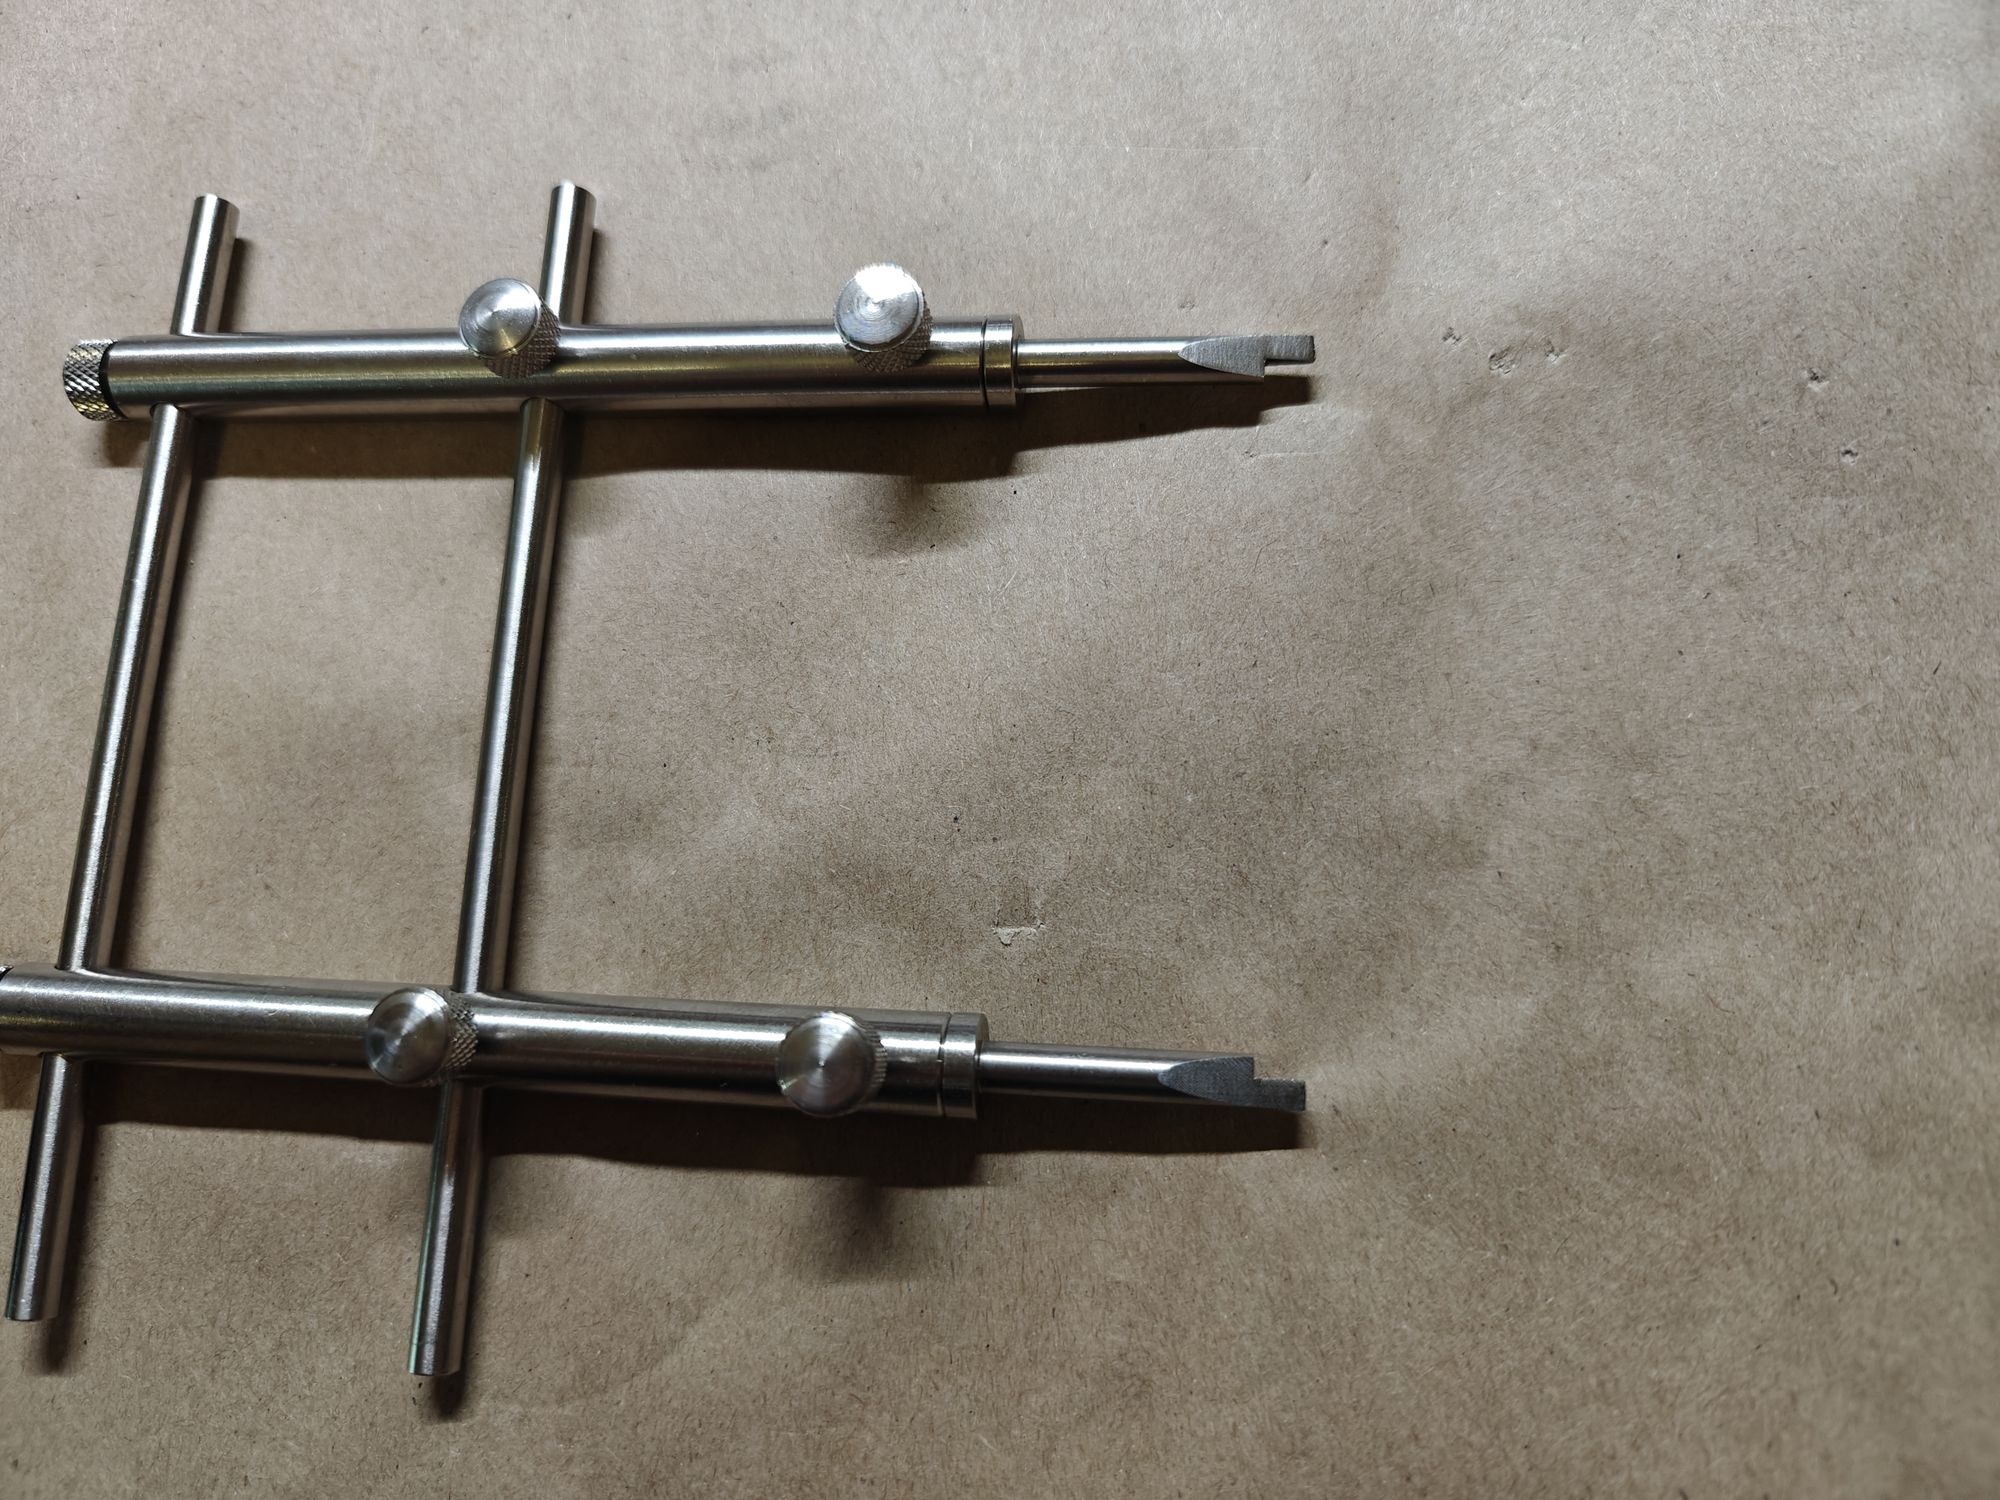
At first the element ring did not seem to move, by applying some isopropyl around it's perimeter and leaving for couple minutes seemed to help greatly. Be extra careful when using the tool
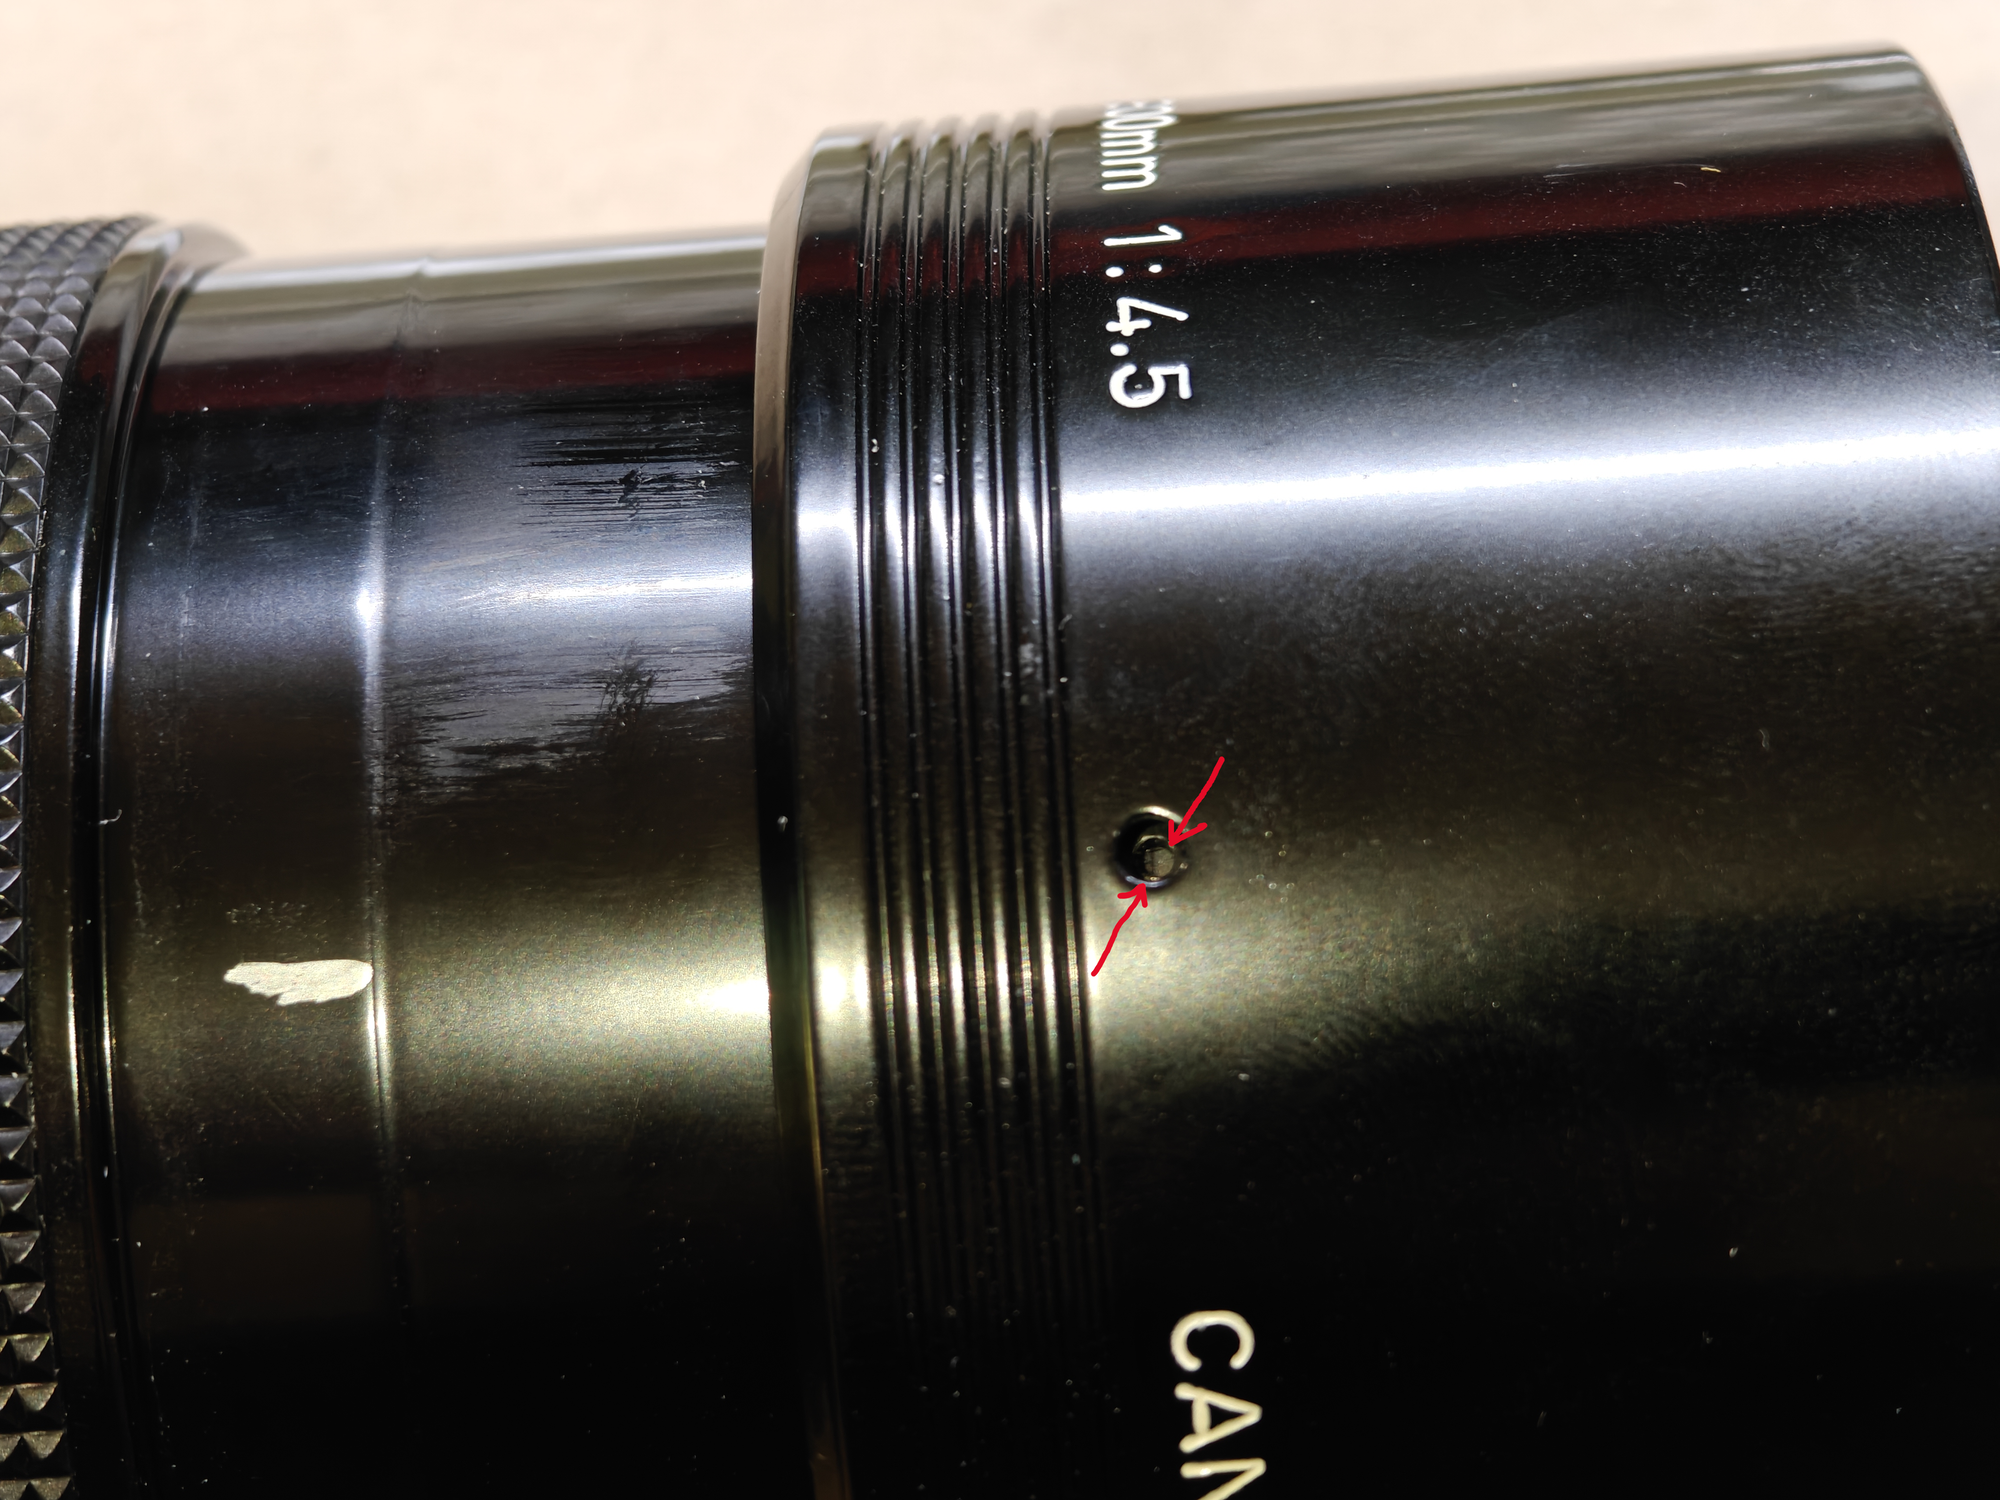
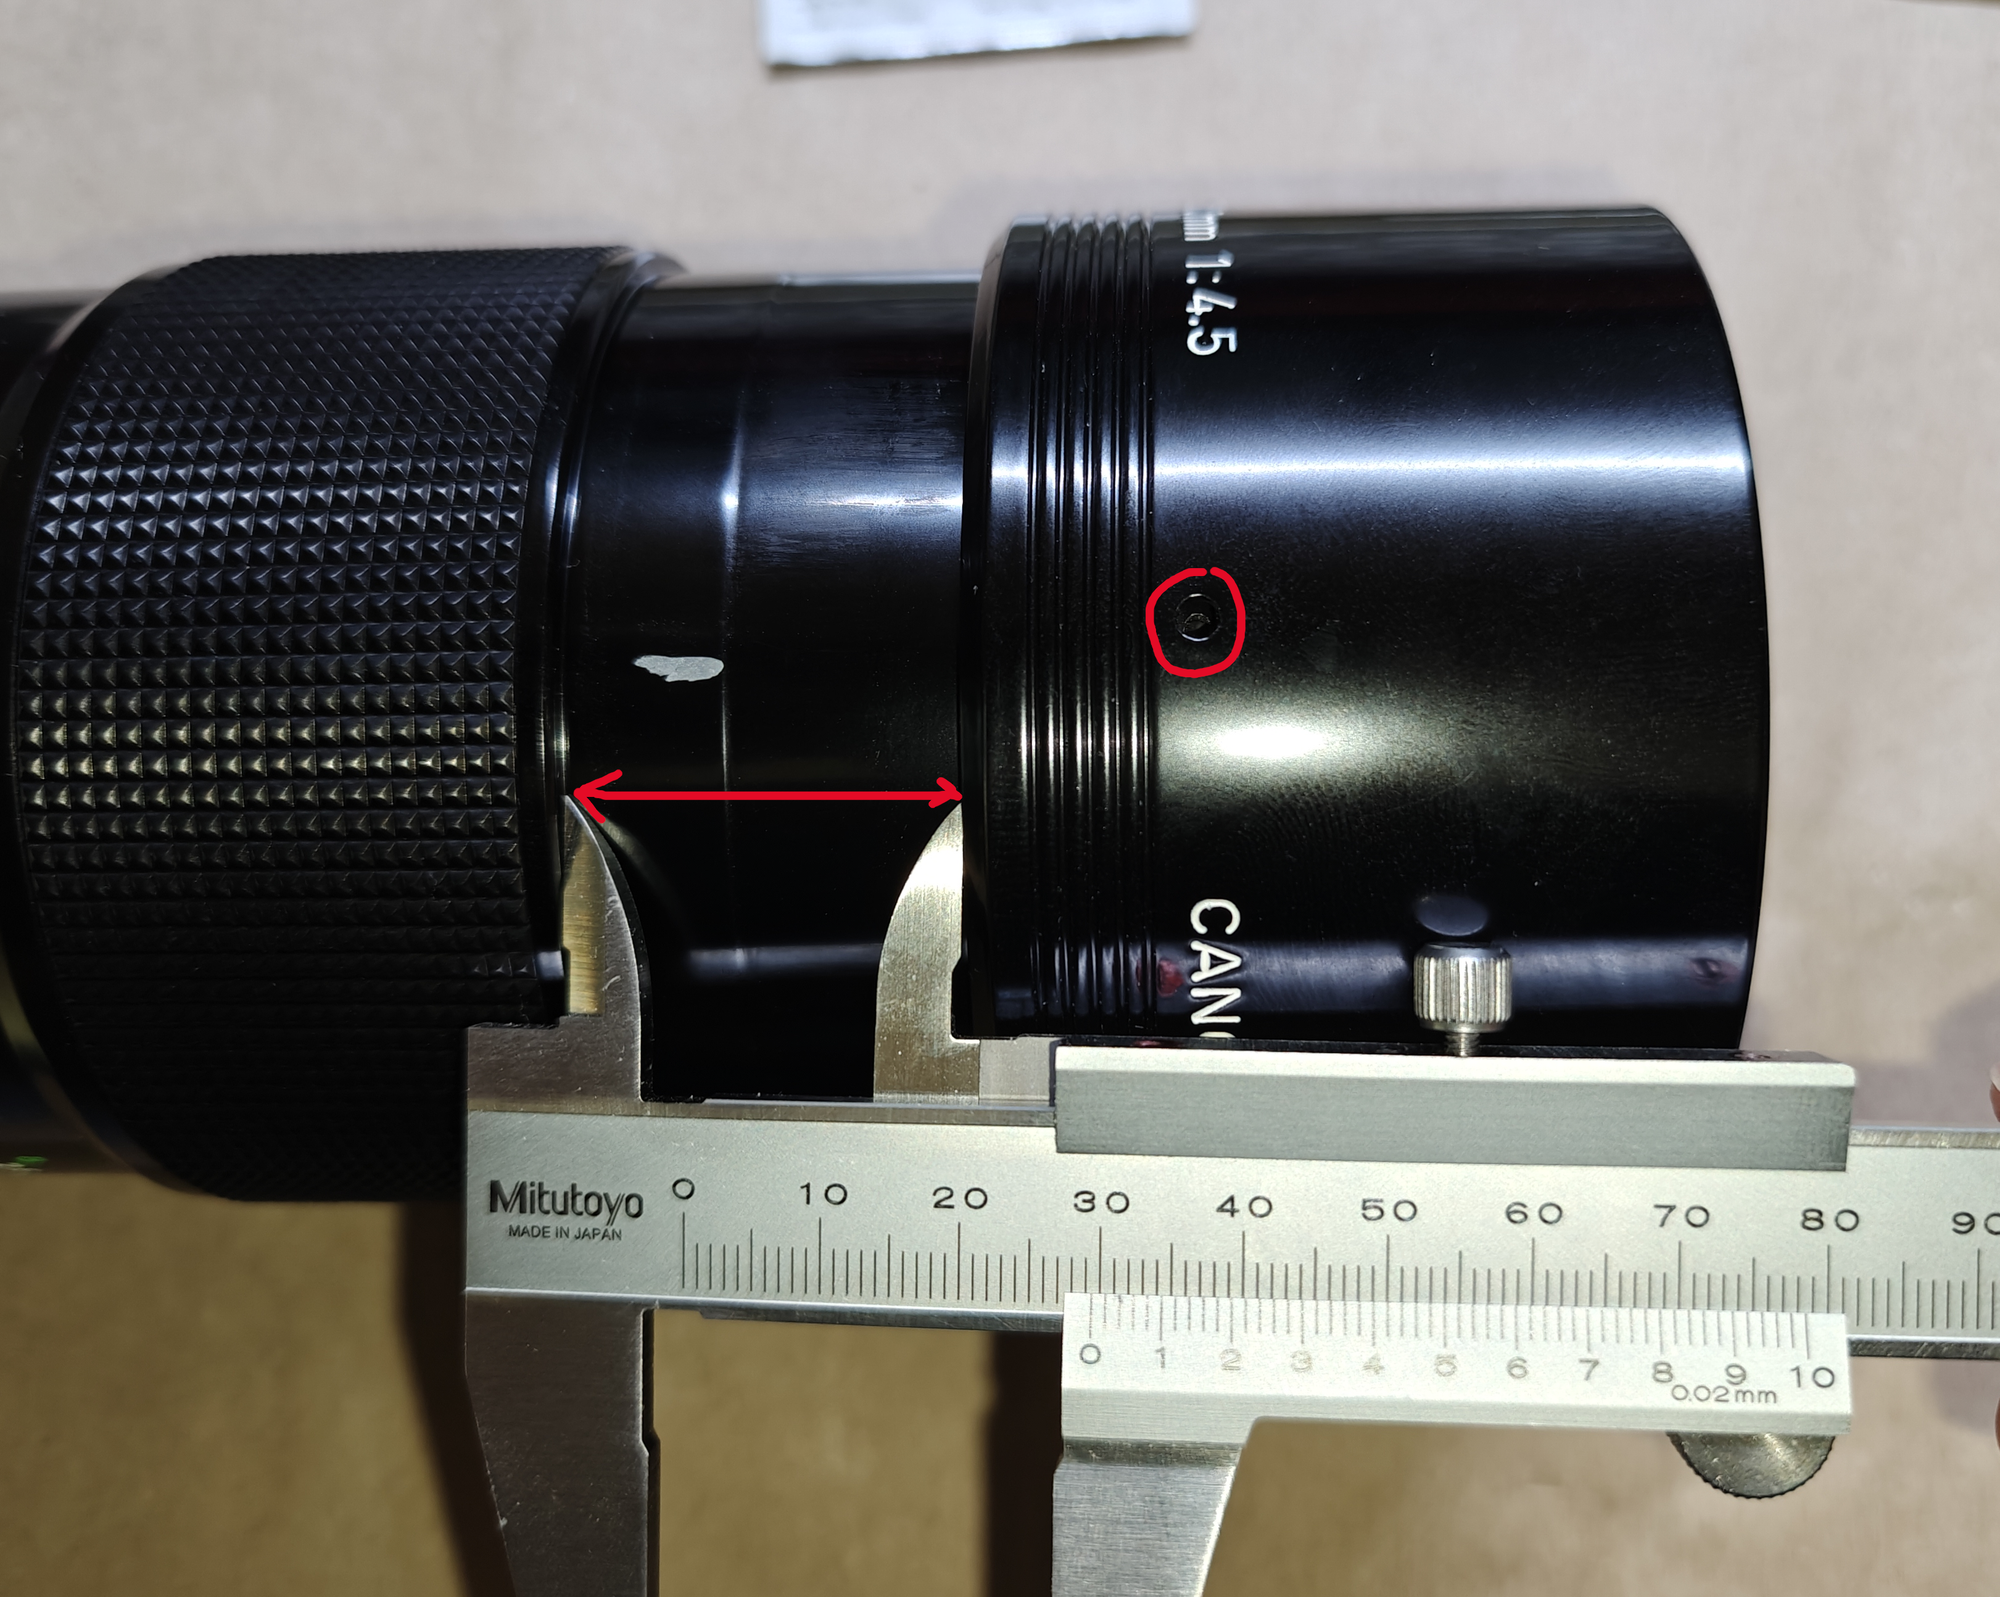
- Remove 3 hidden grub screws behind the lens hood, grub crews are spaced equally around the perimeter and the hood must be retracted about 29-30mm from it's base
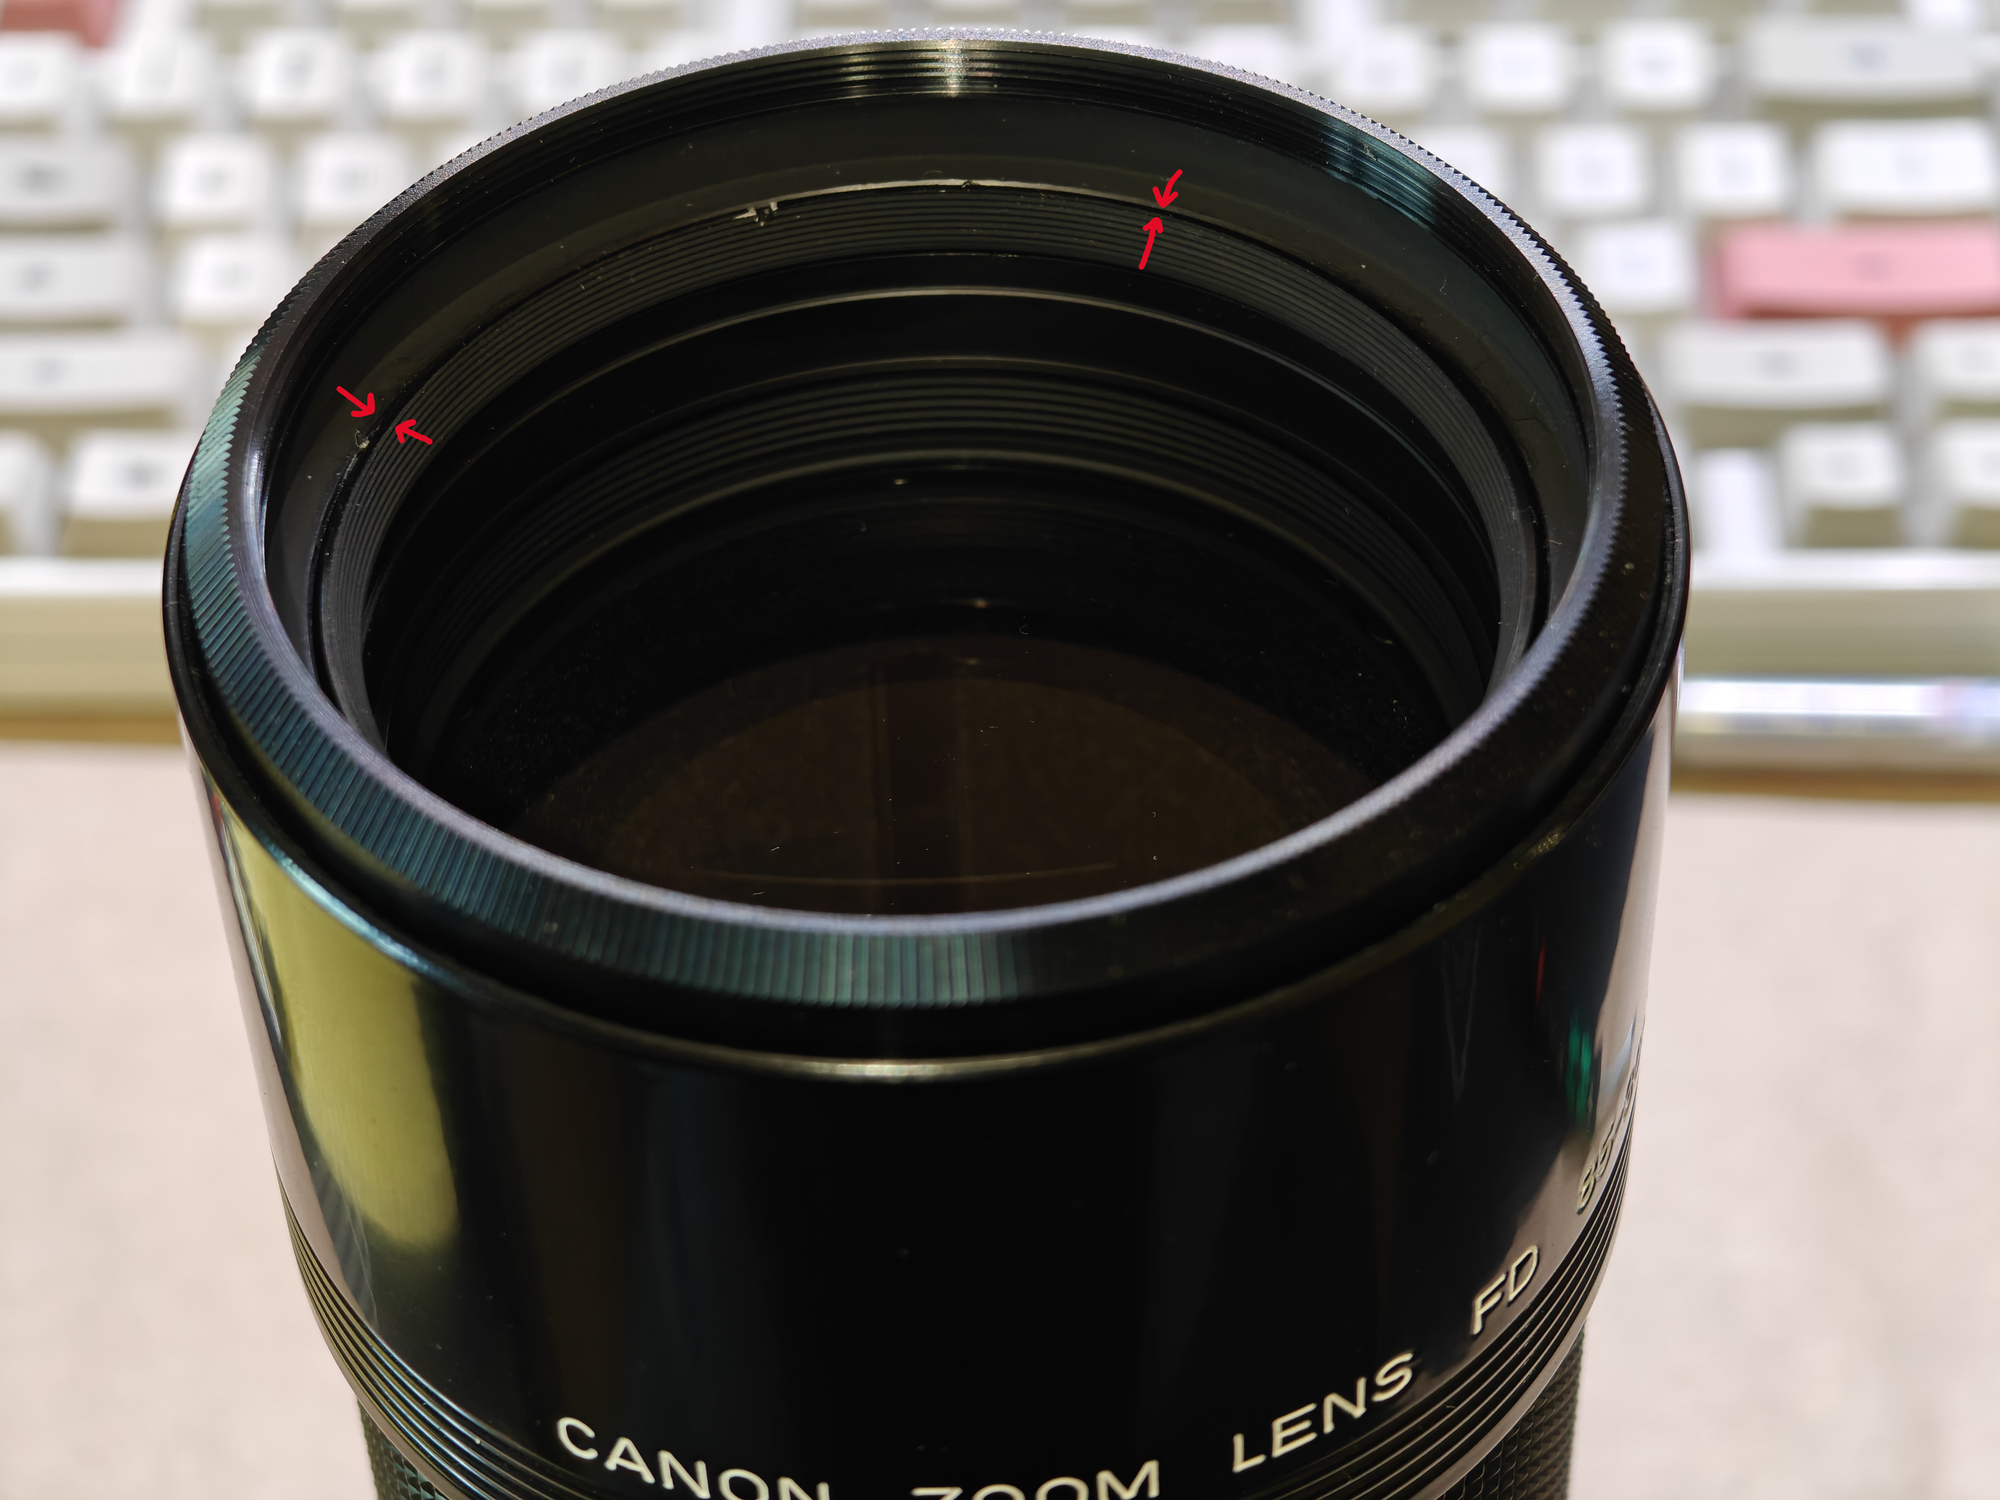
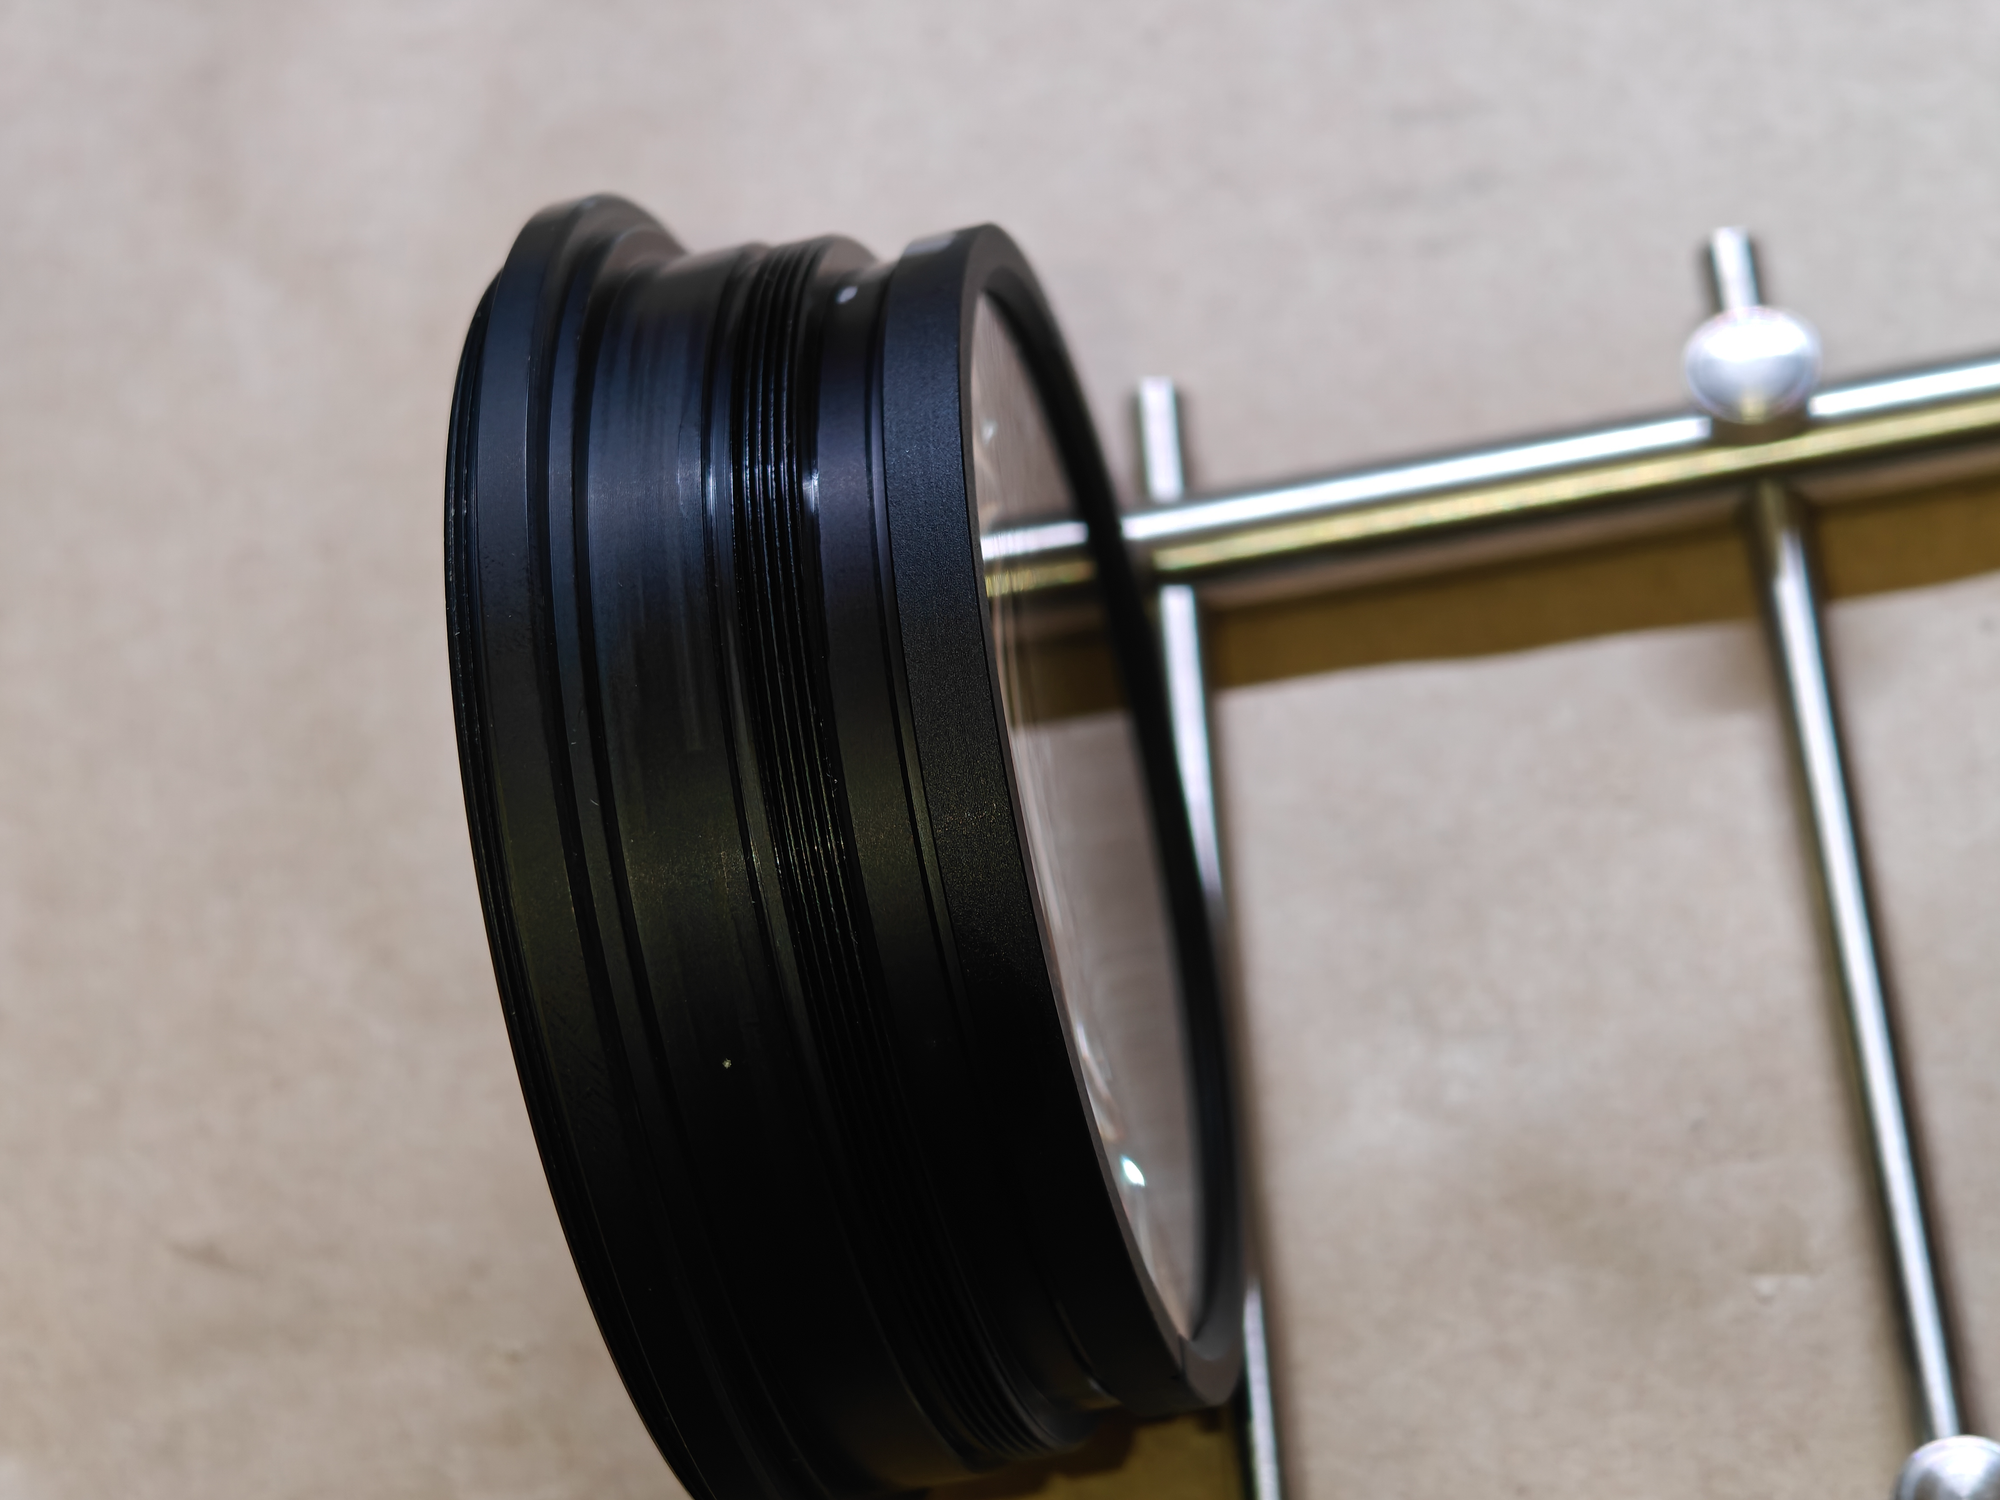
- Remove 1st inner element, for this you will need pointy bits of the lens tool
Stick the tool into these holes and turn counter-clock-wise

This will free up element and you will be able to unscrew it by hand
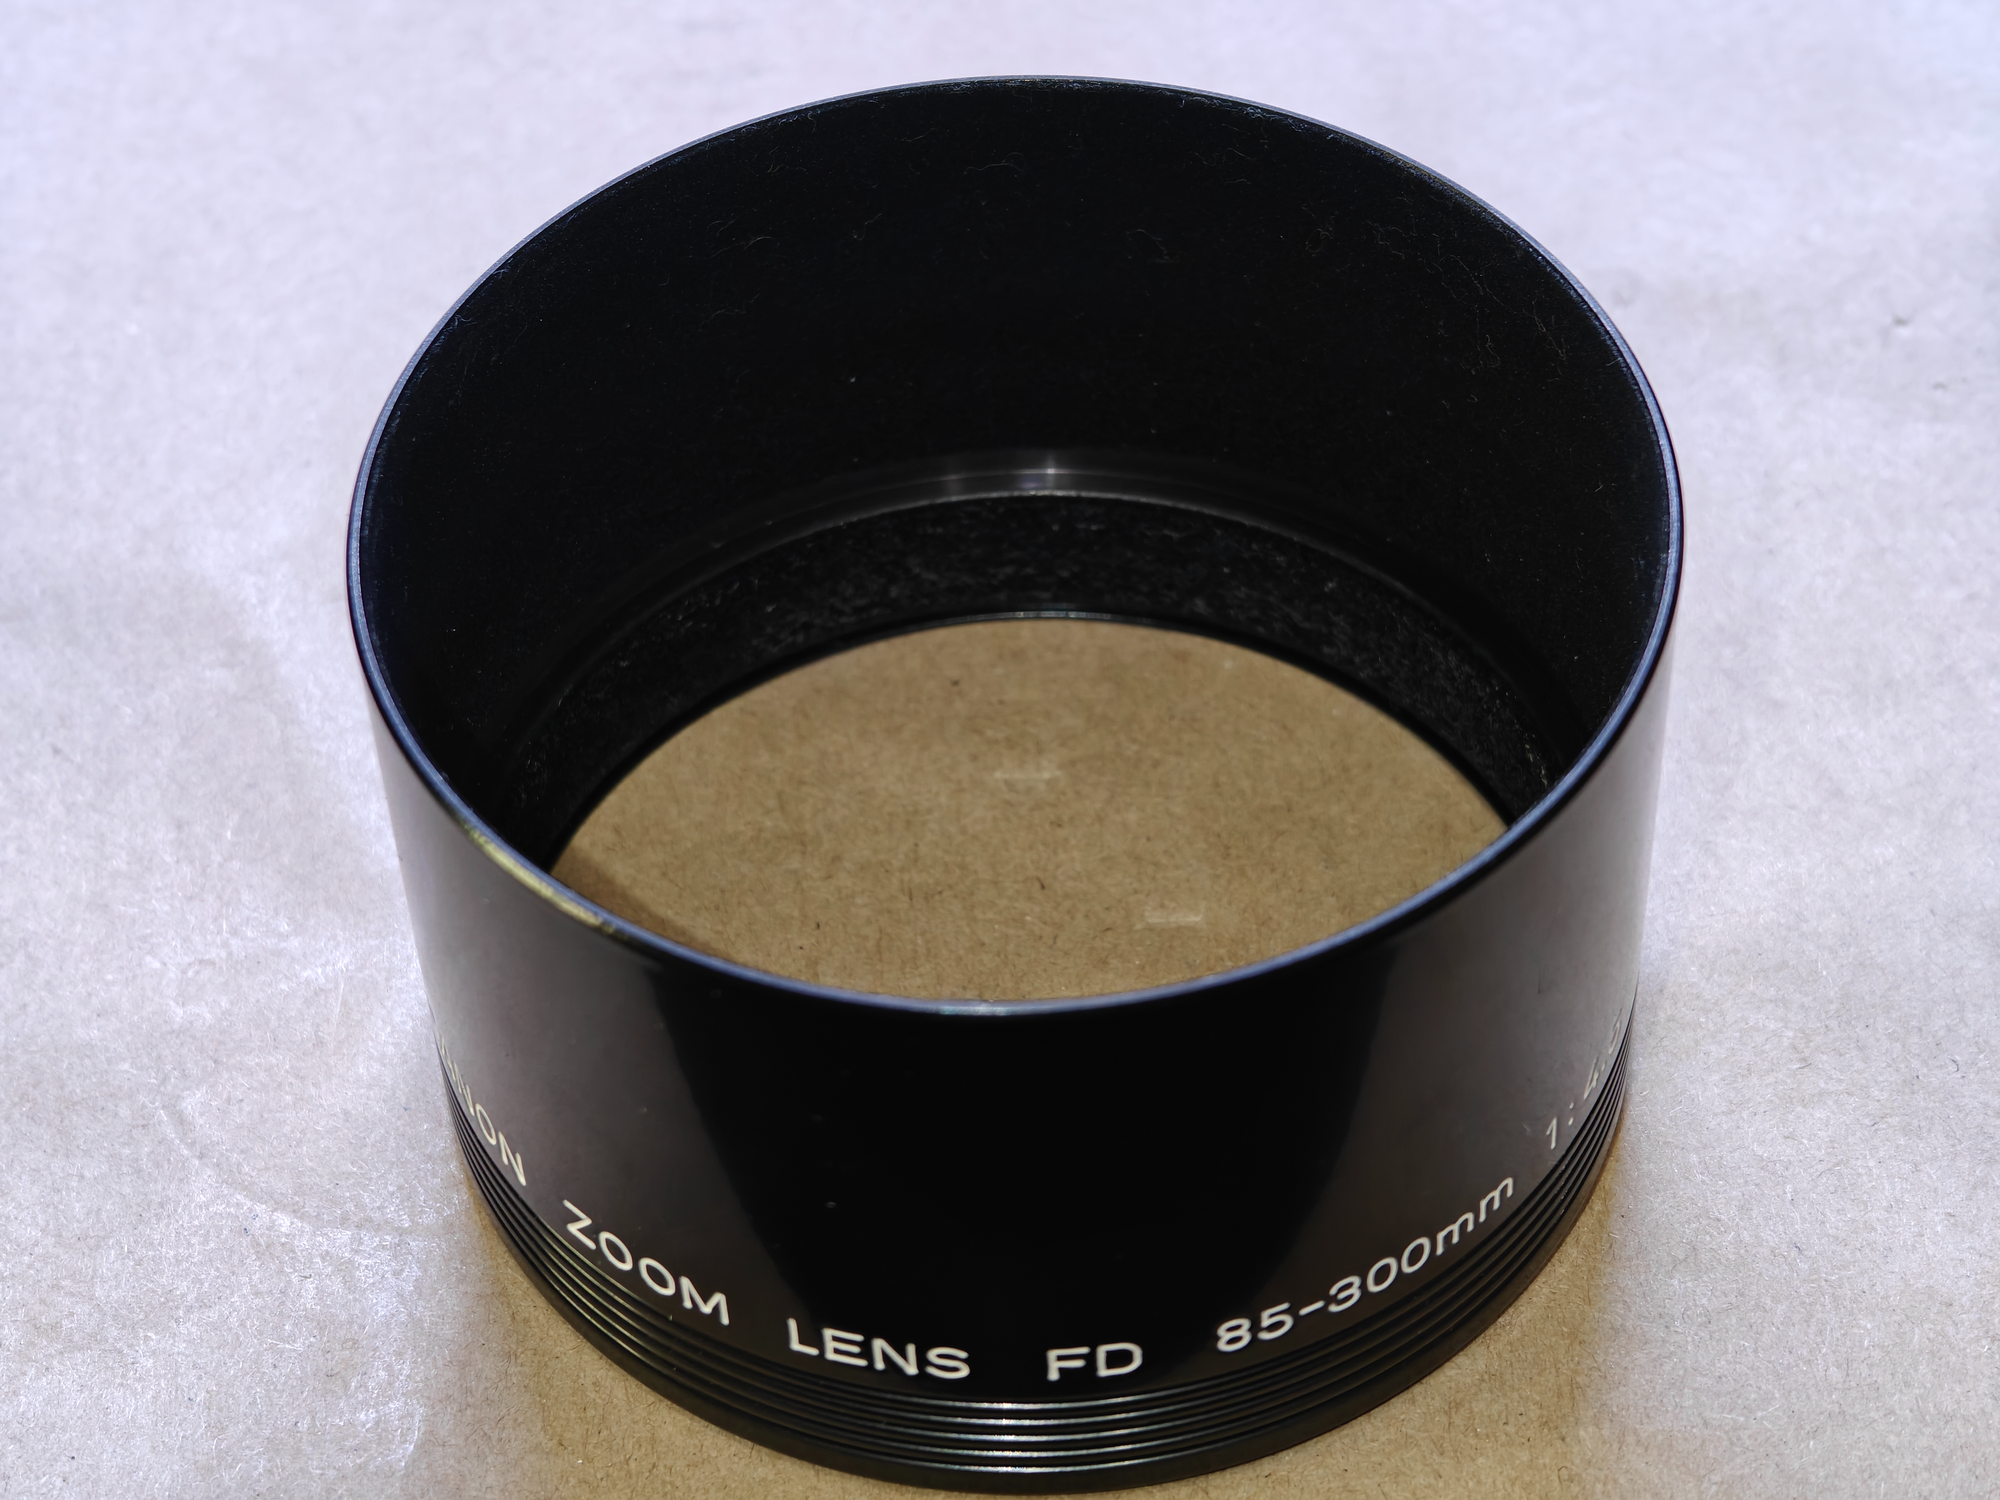
After this element is removed, you can also remove the integrated hood, simply lift if off the body
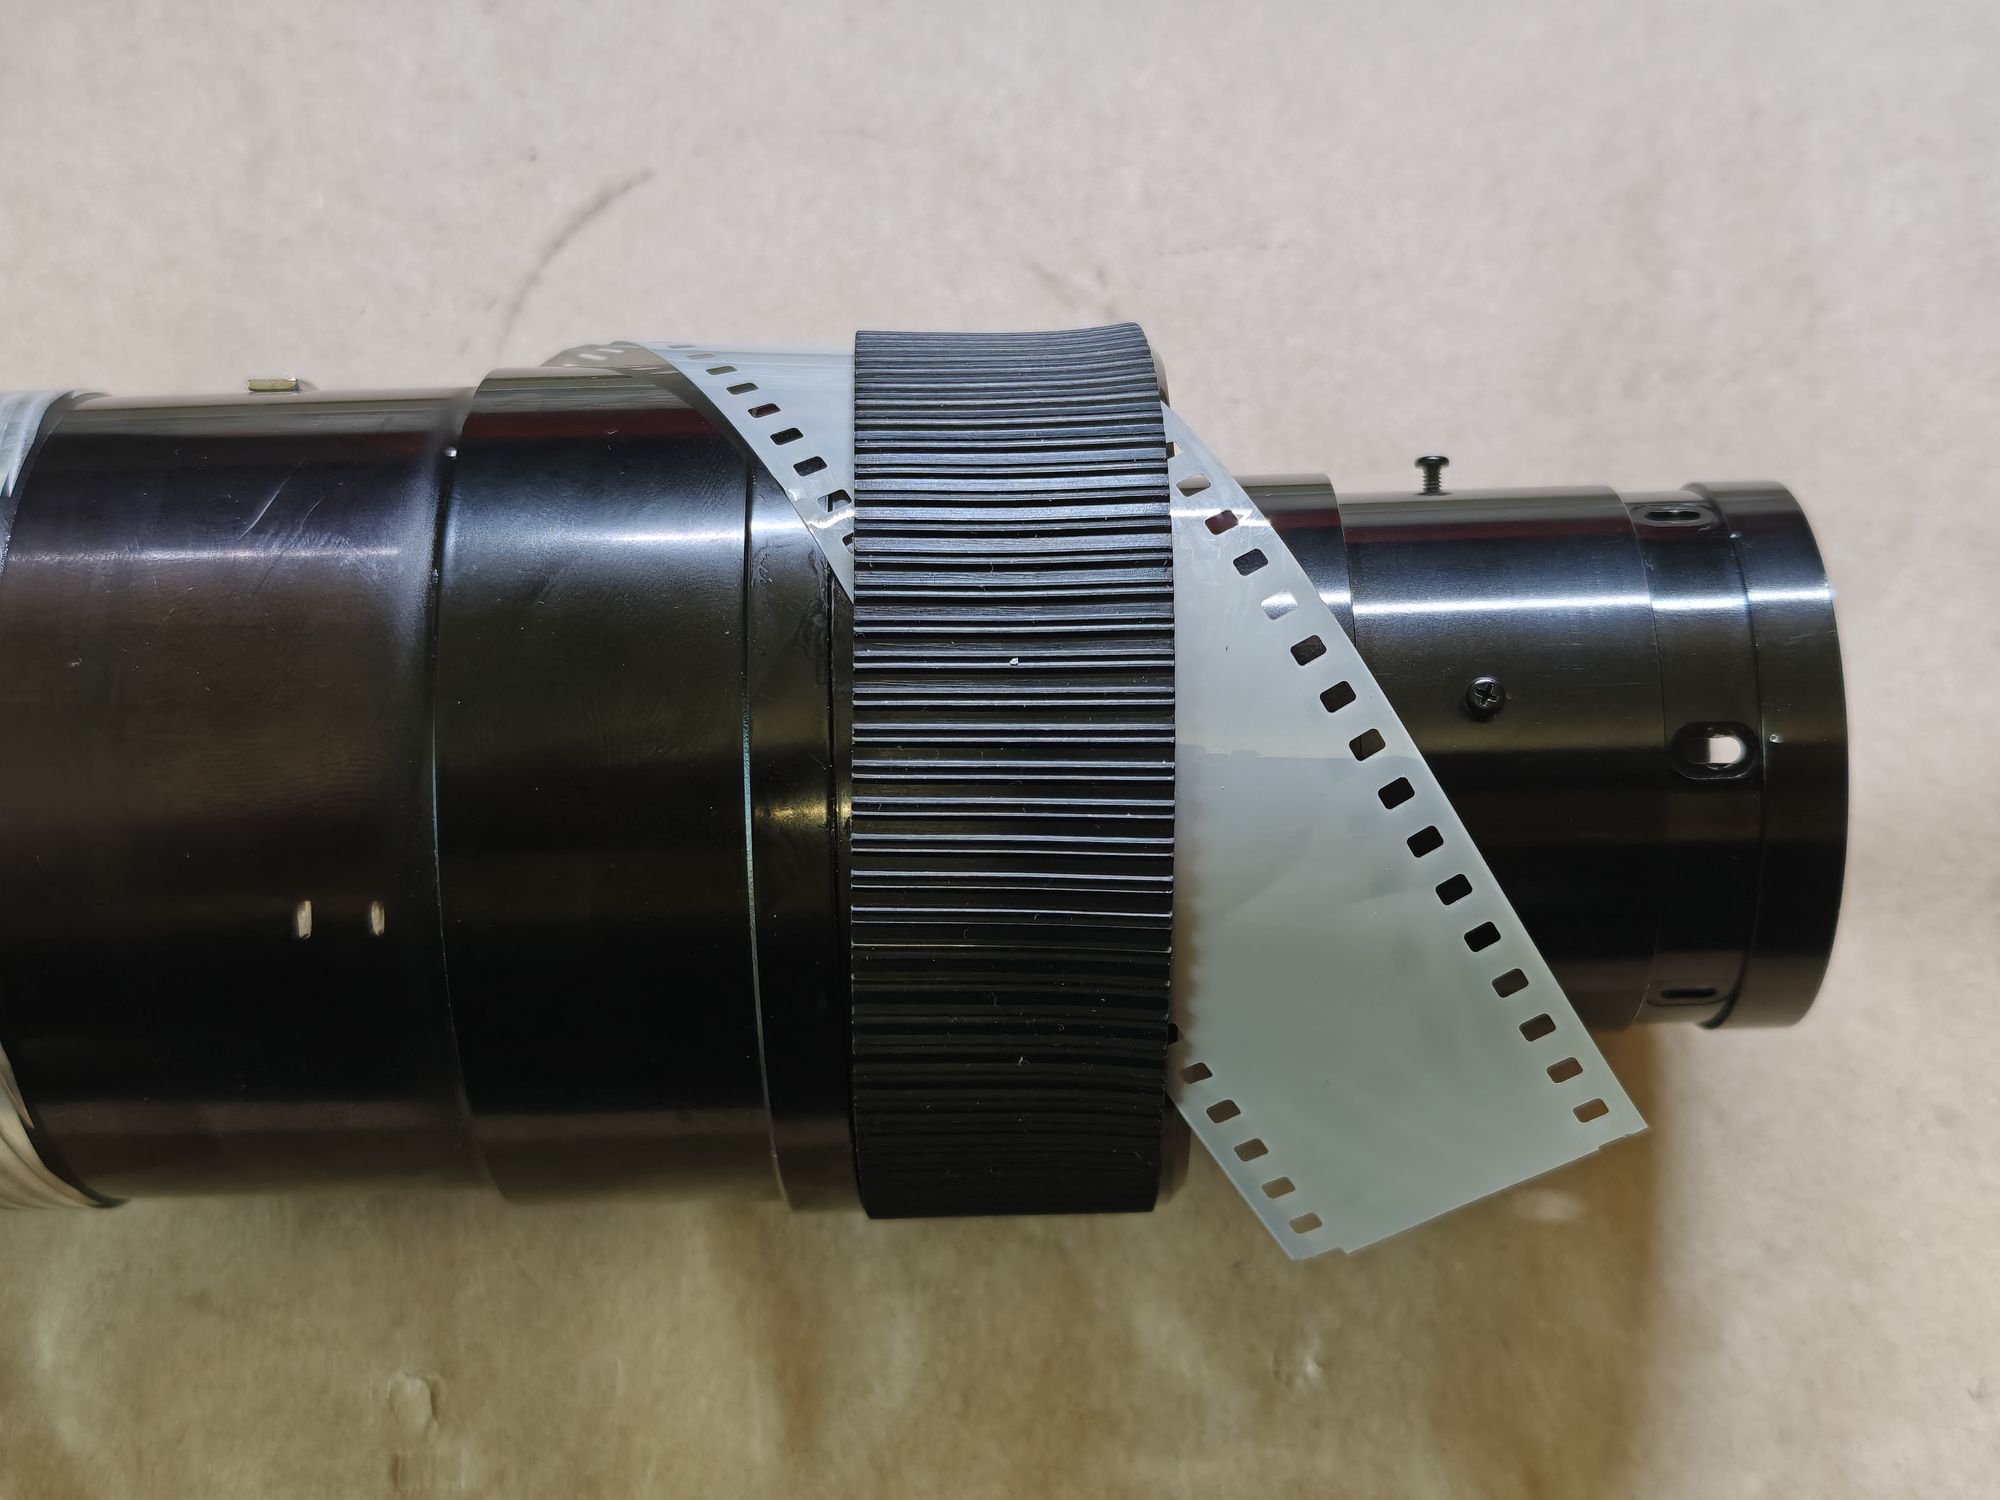
- Remove focusing ring rubber
I initially started by applying some alcohol between the metal casing and rubber ring and pushing small film strip by pushing it under the rubber, this created small gap
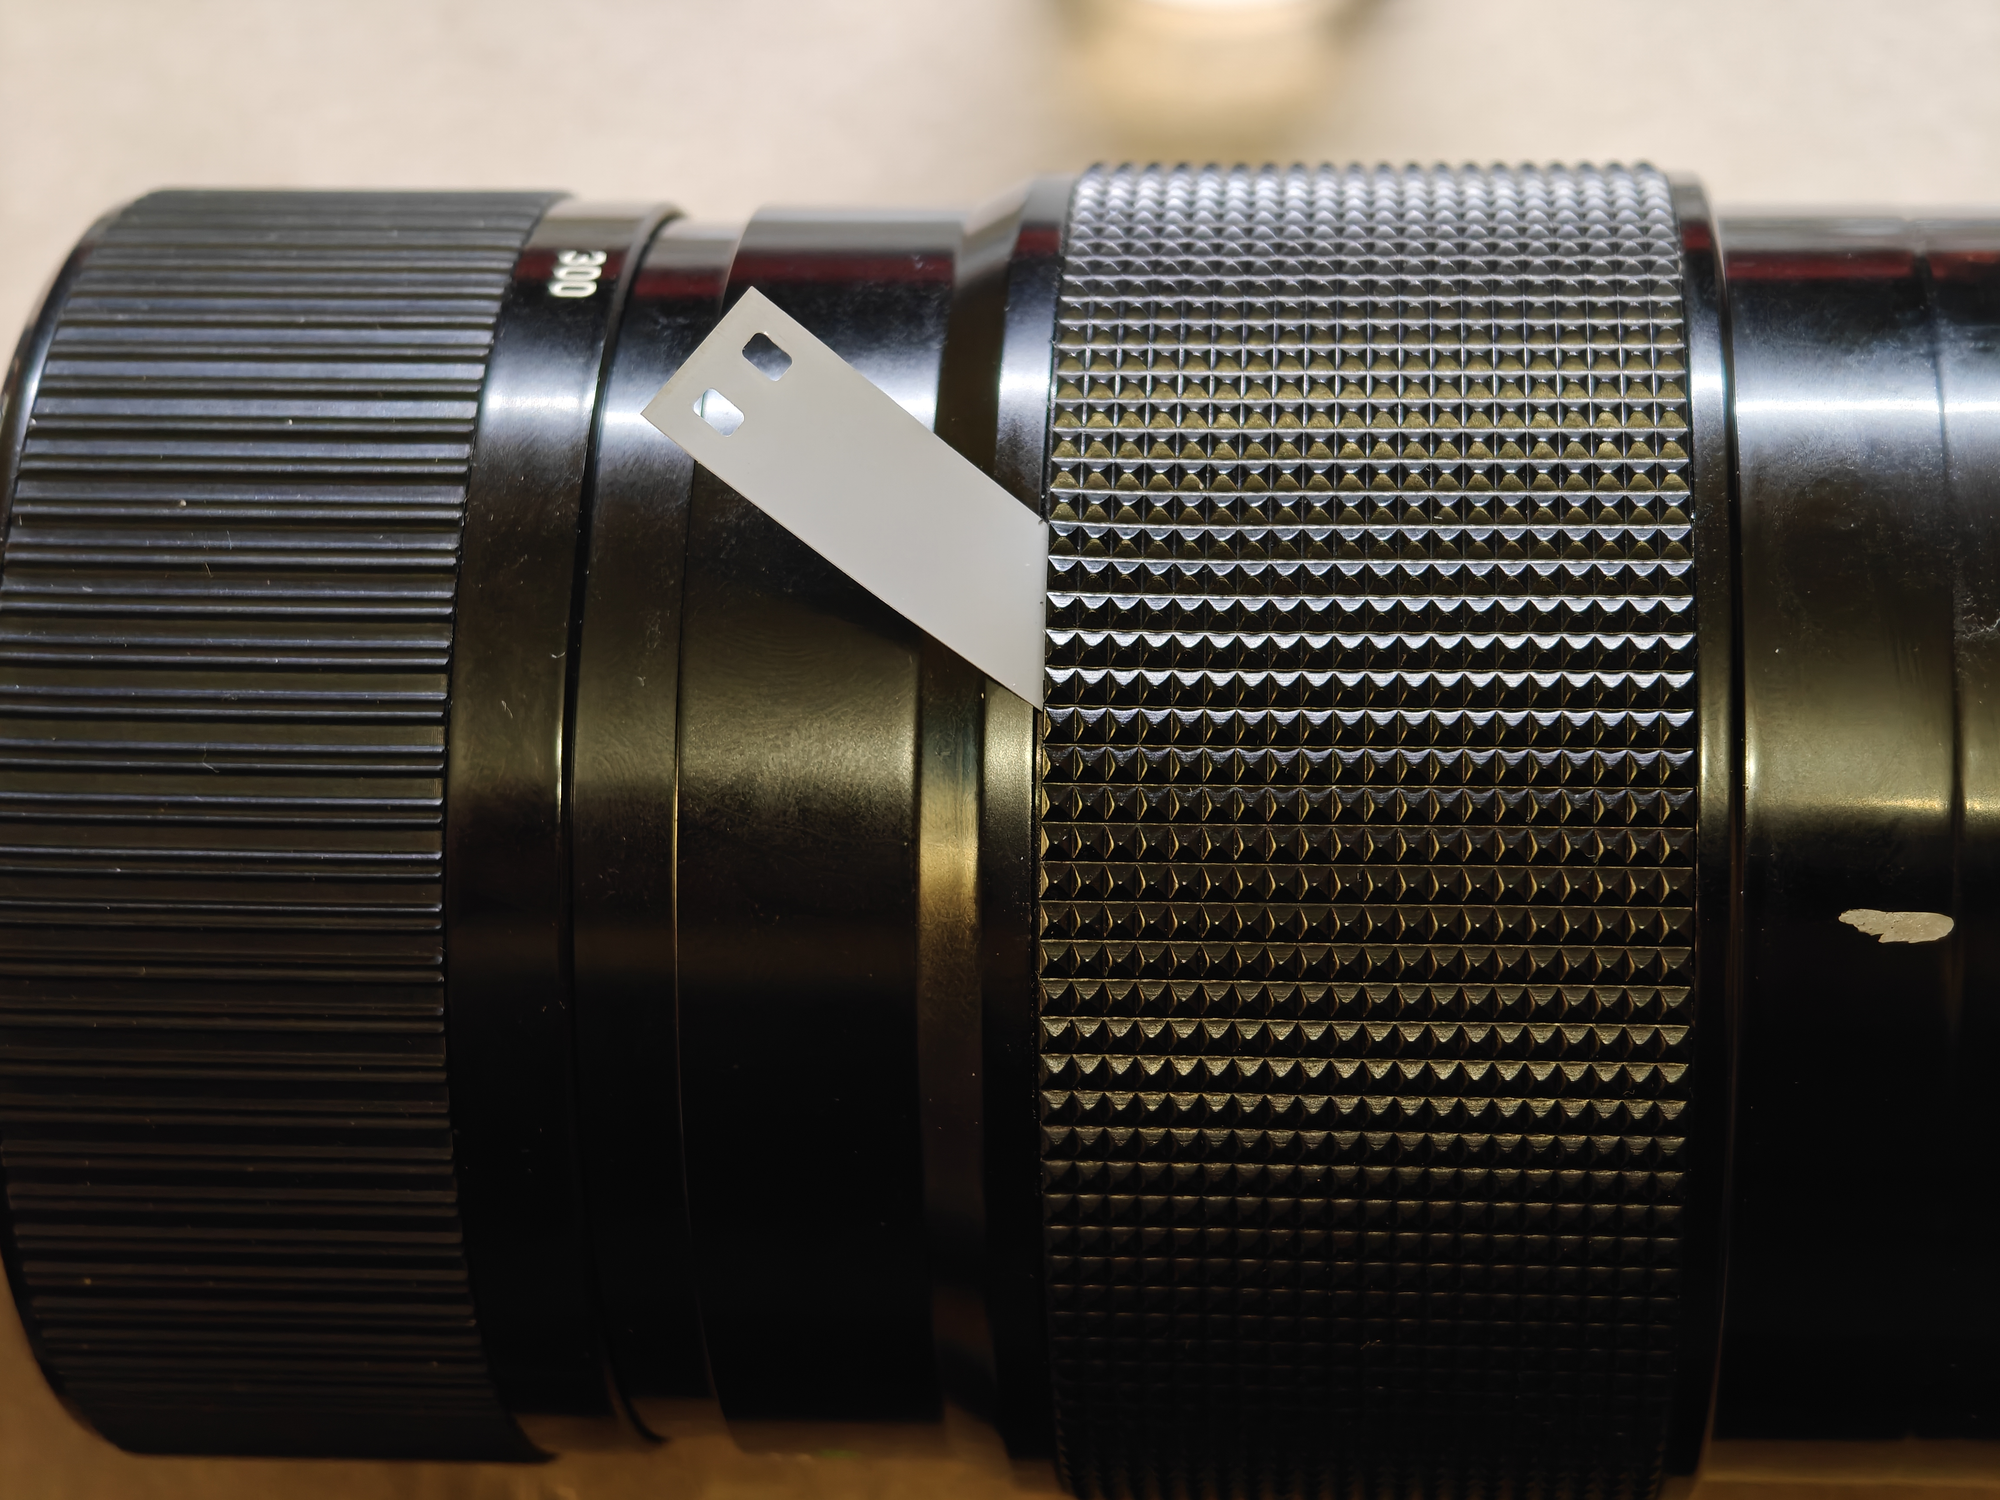
After the small peace i pushed entire 35mm strip and worked it's way until it hit the other side of the rubber ring, and then thread another film strip from the other side
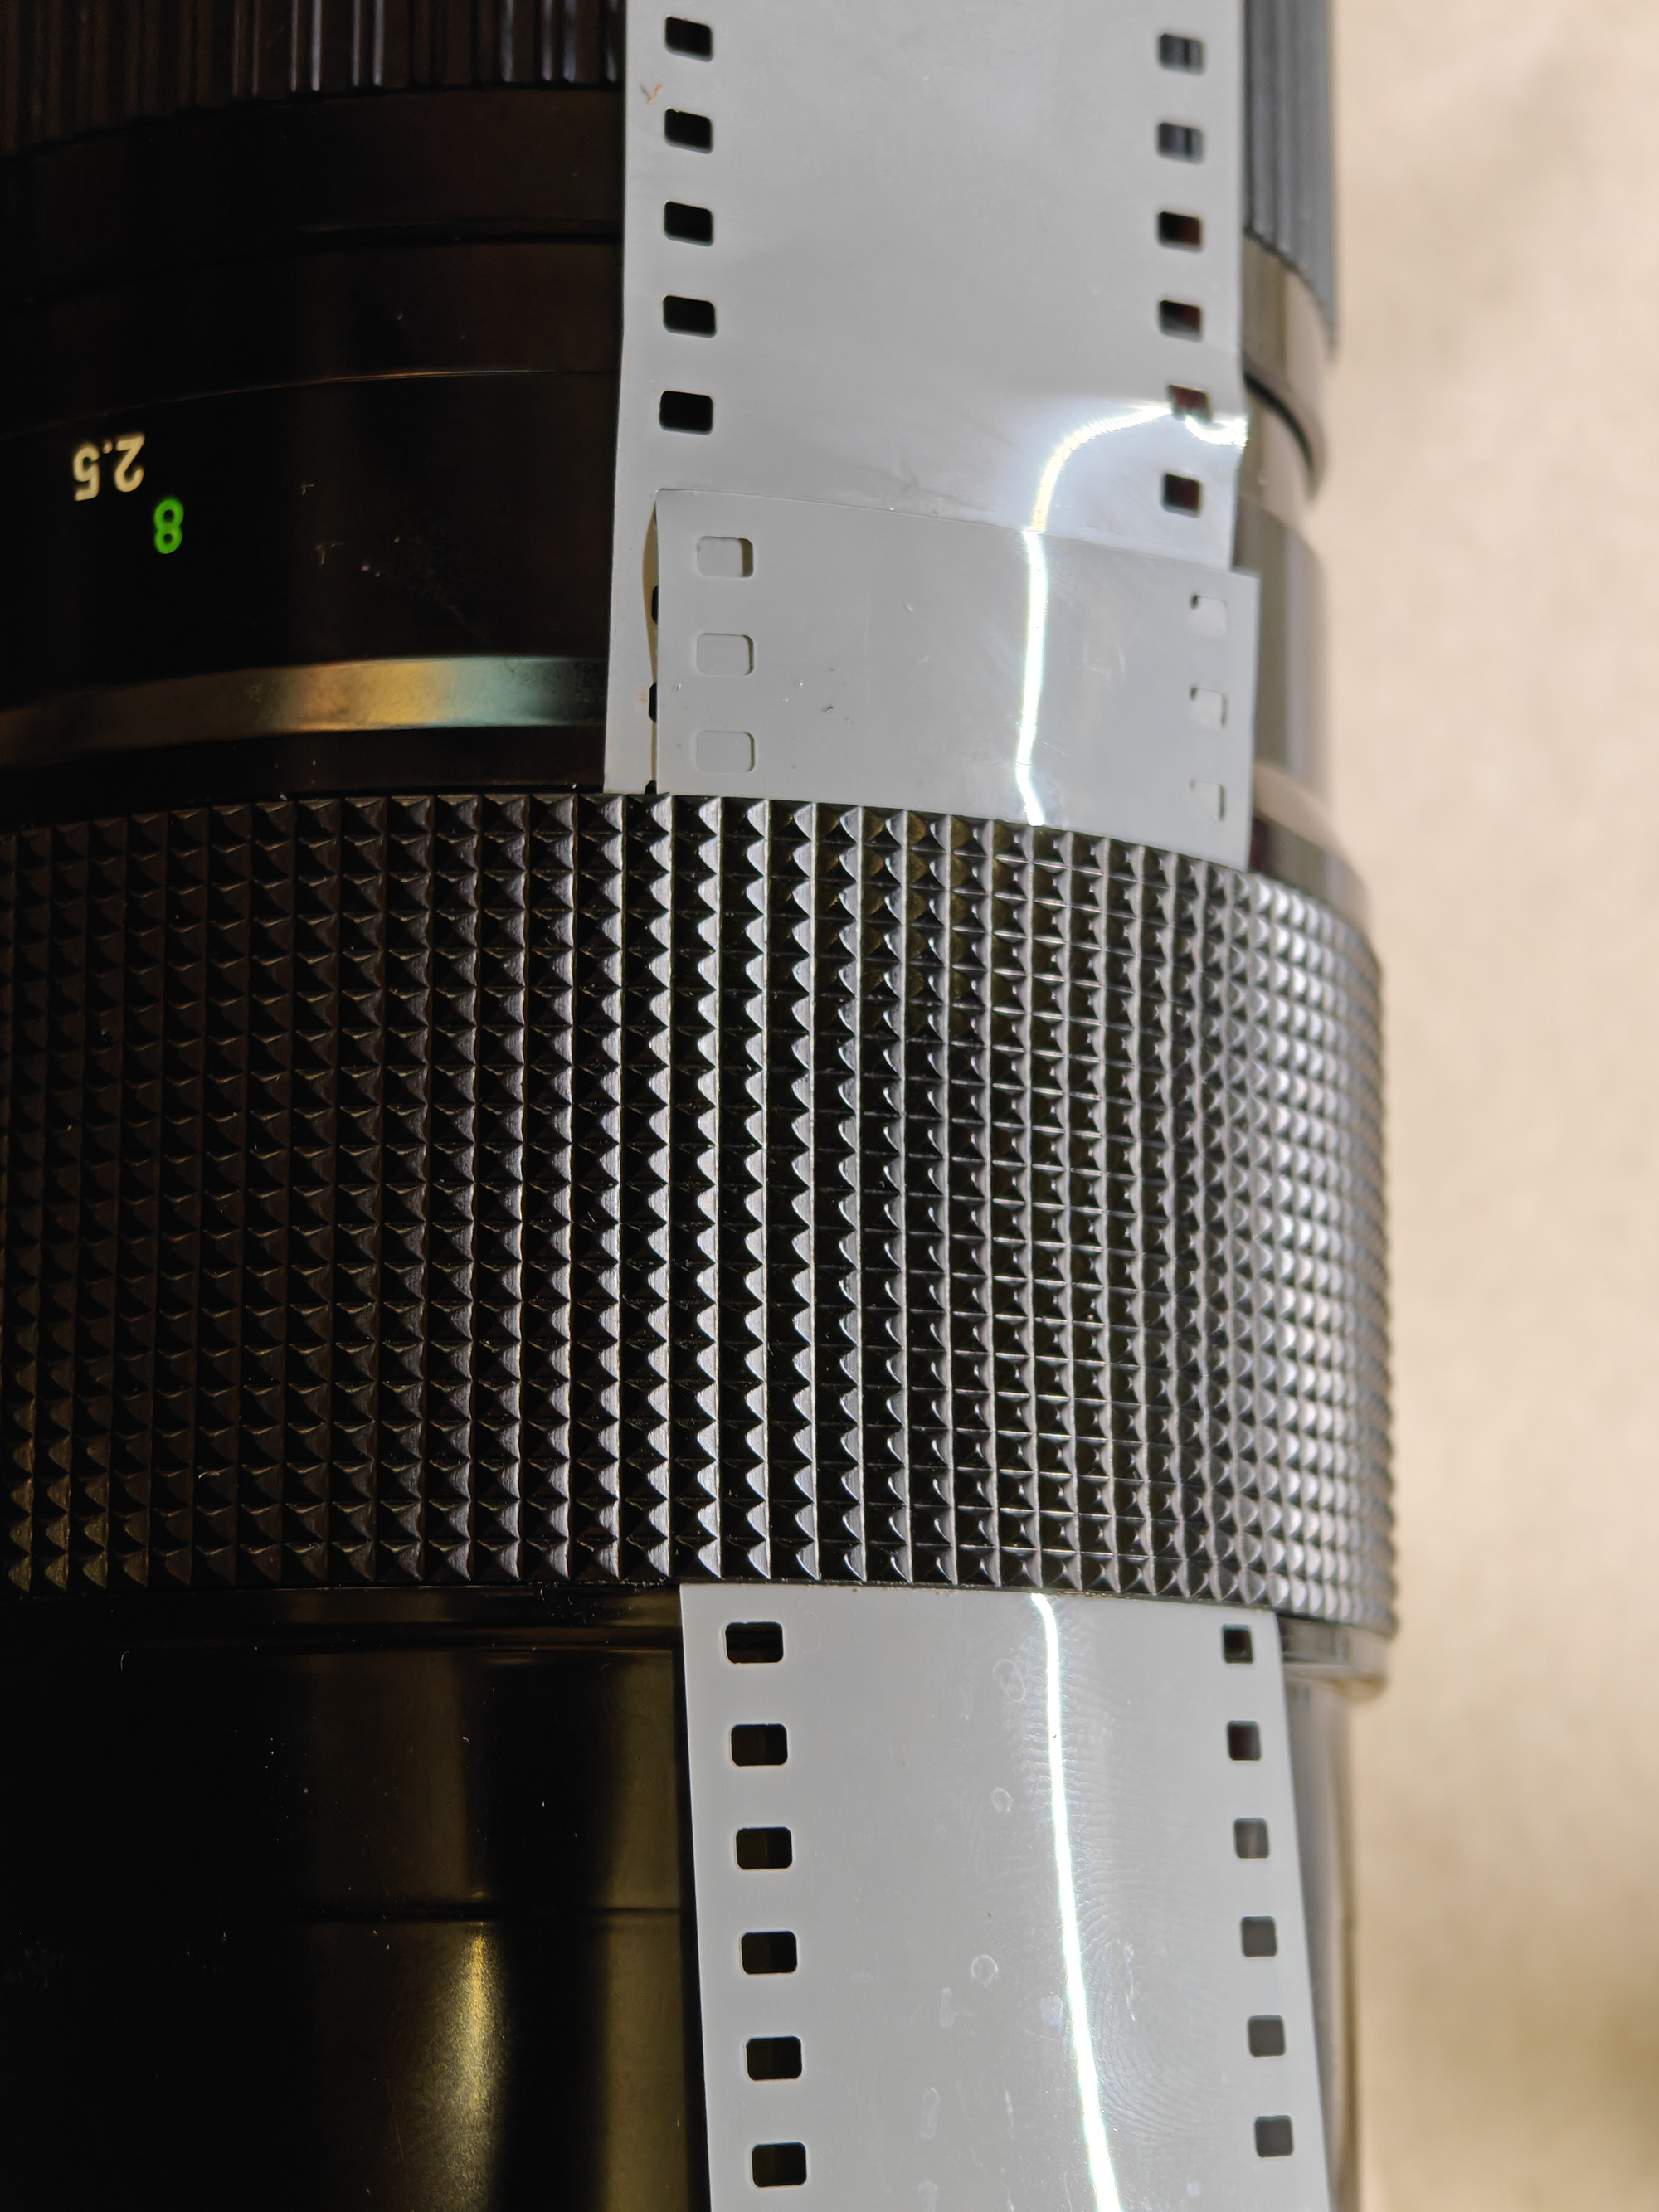
Pulled the first strip out and used the second one to slowly work around the perimeter of the rubber, it appears to have tiny amount of glue, isopropyl appeared to help a lot
Once you go around the perimeter once, film strip can be andled and used as a ramp to push the rubber ring on to
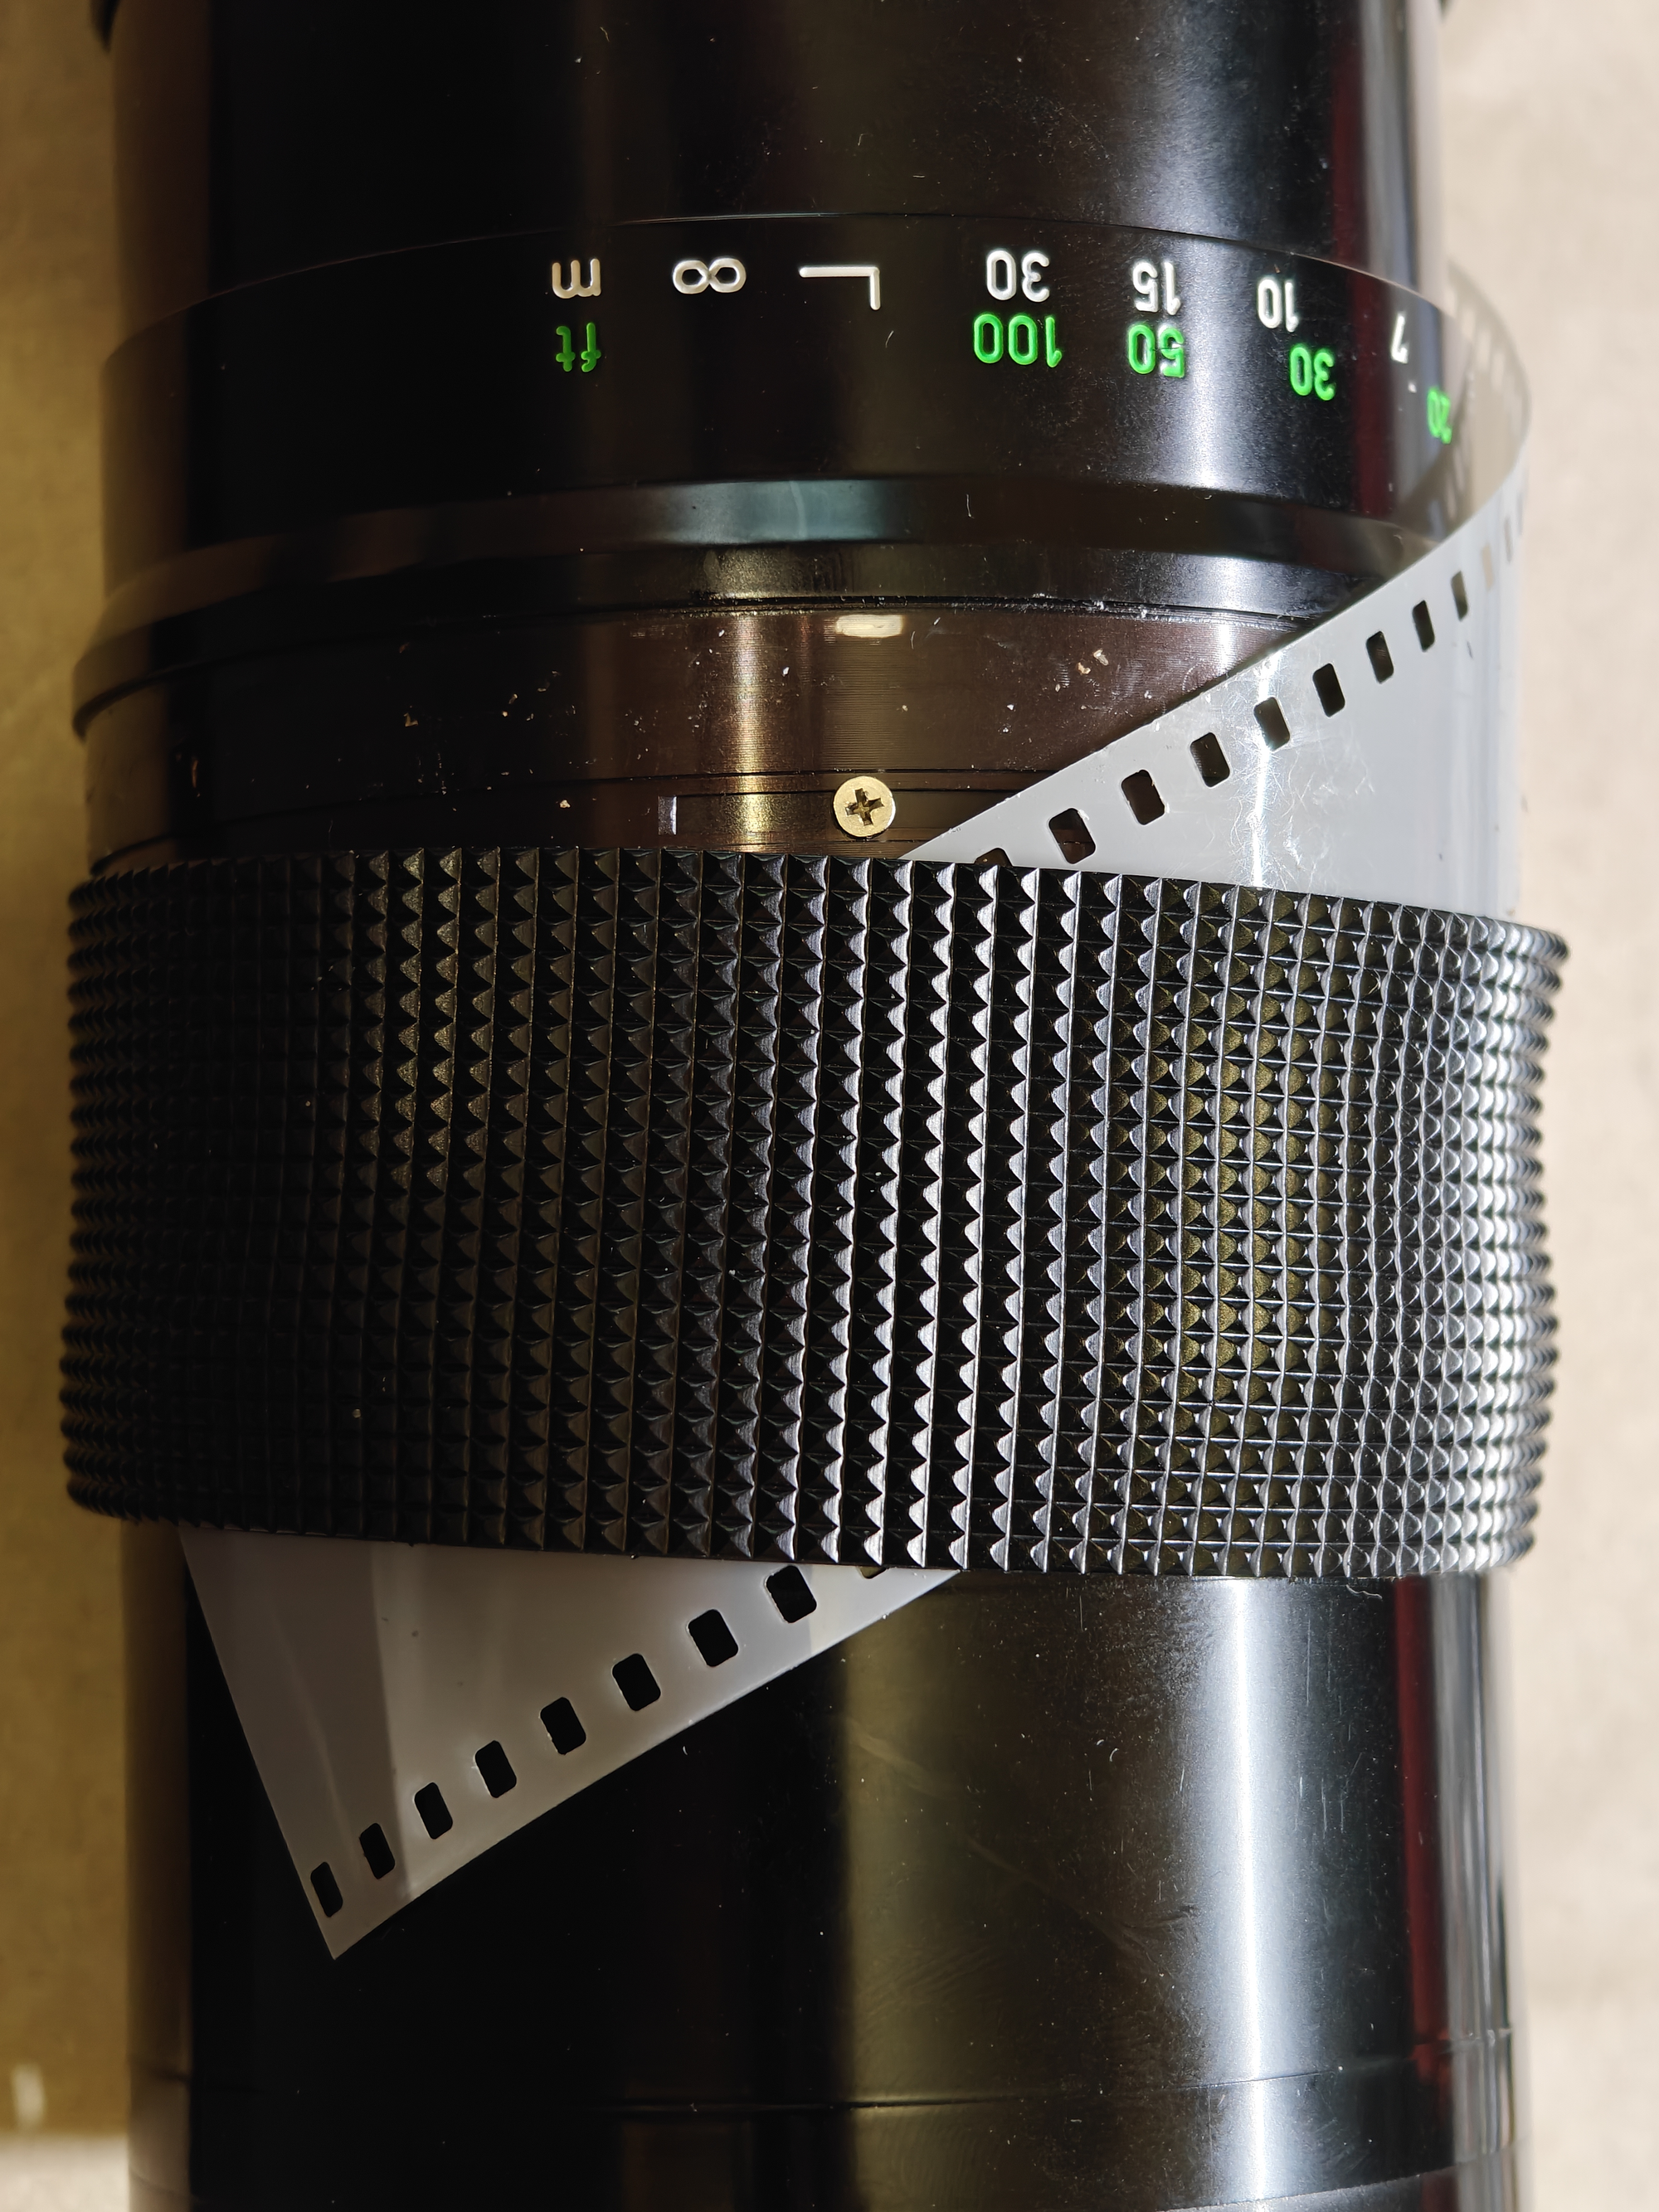
And then the rubber ring can be removed entirely
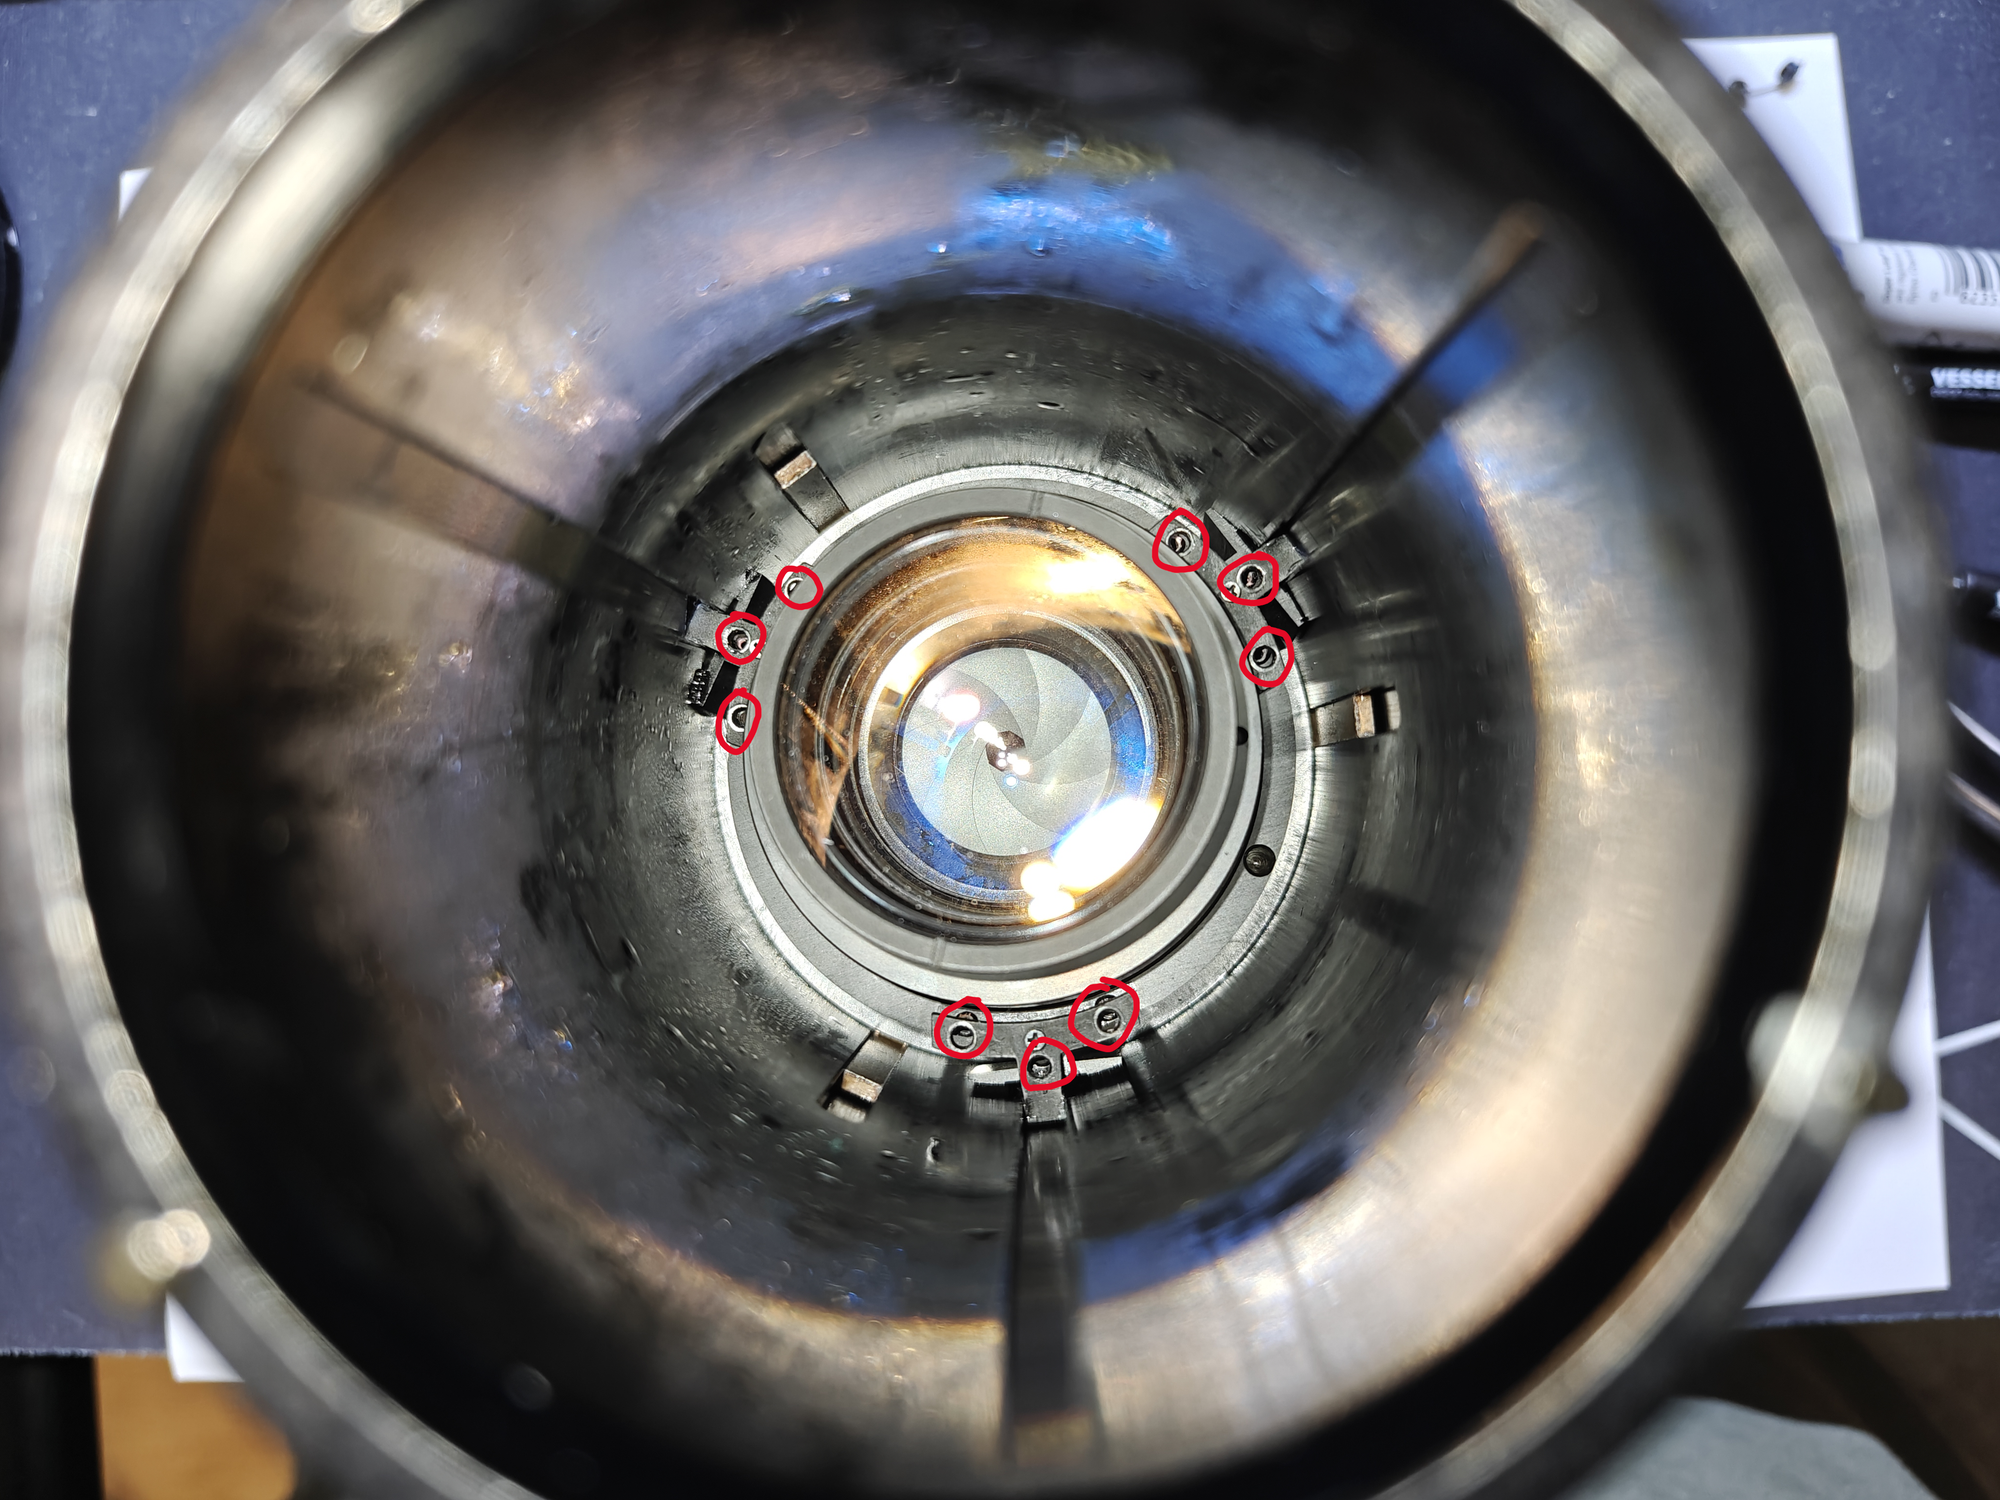
- Remove 3 screws around the perimeter of the focusing element
Unscrew focusing element helicoid
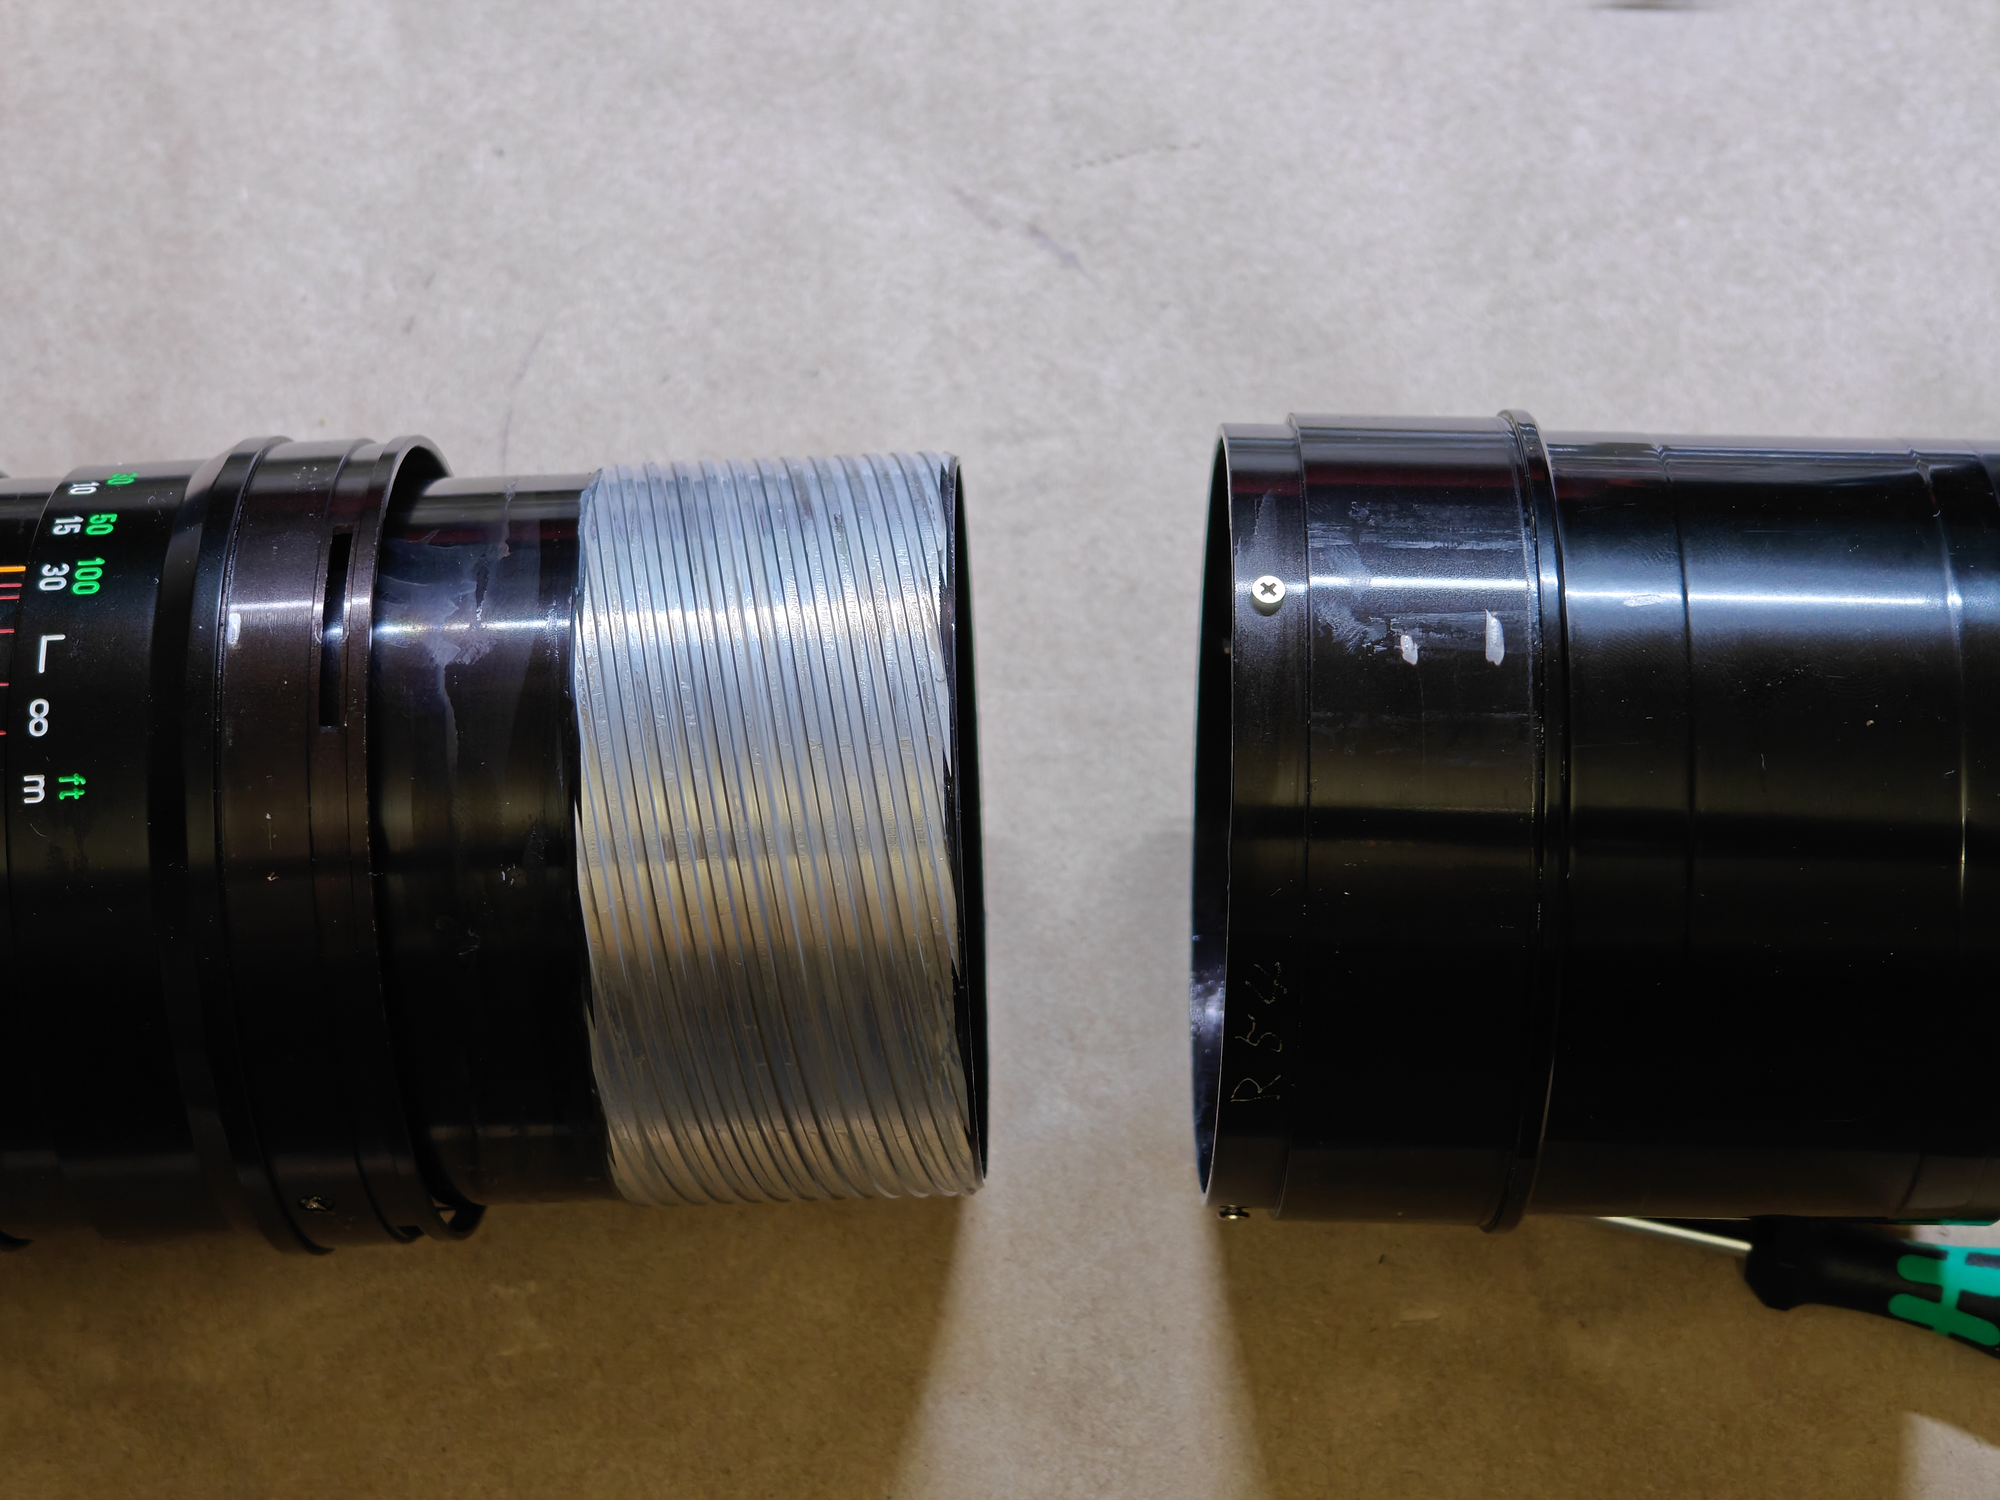
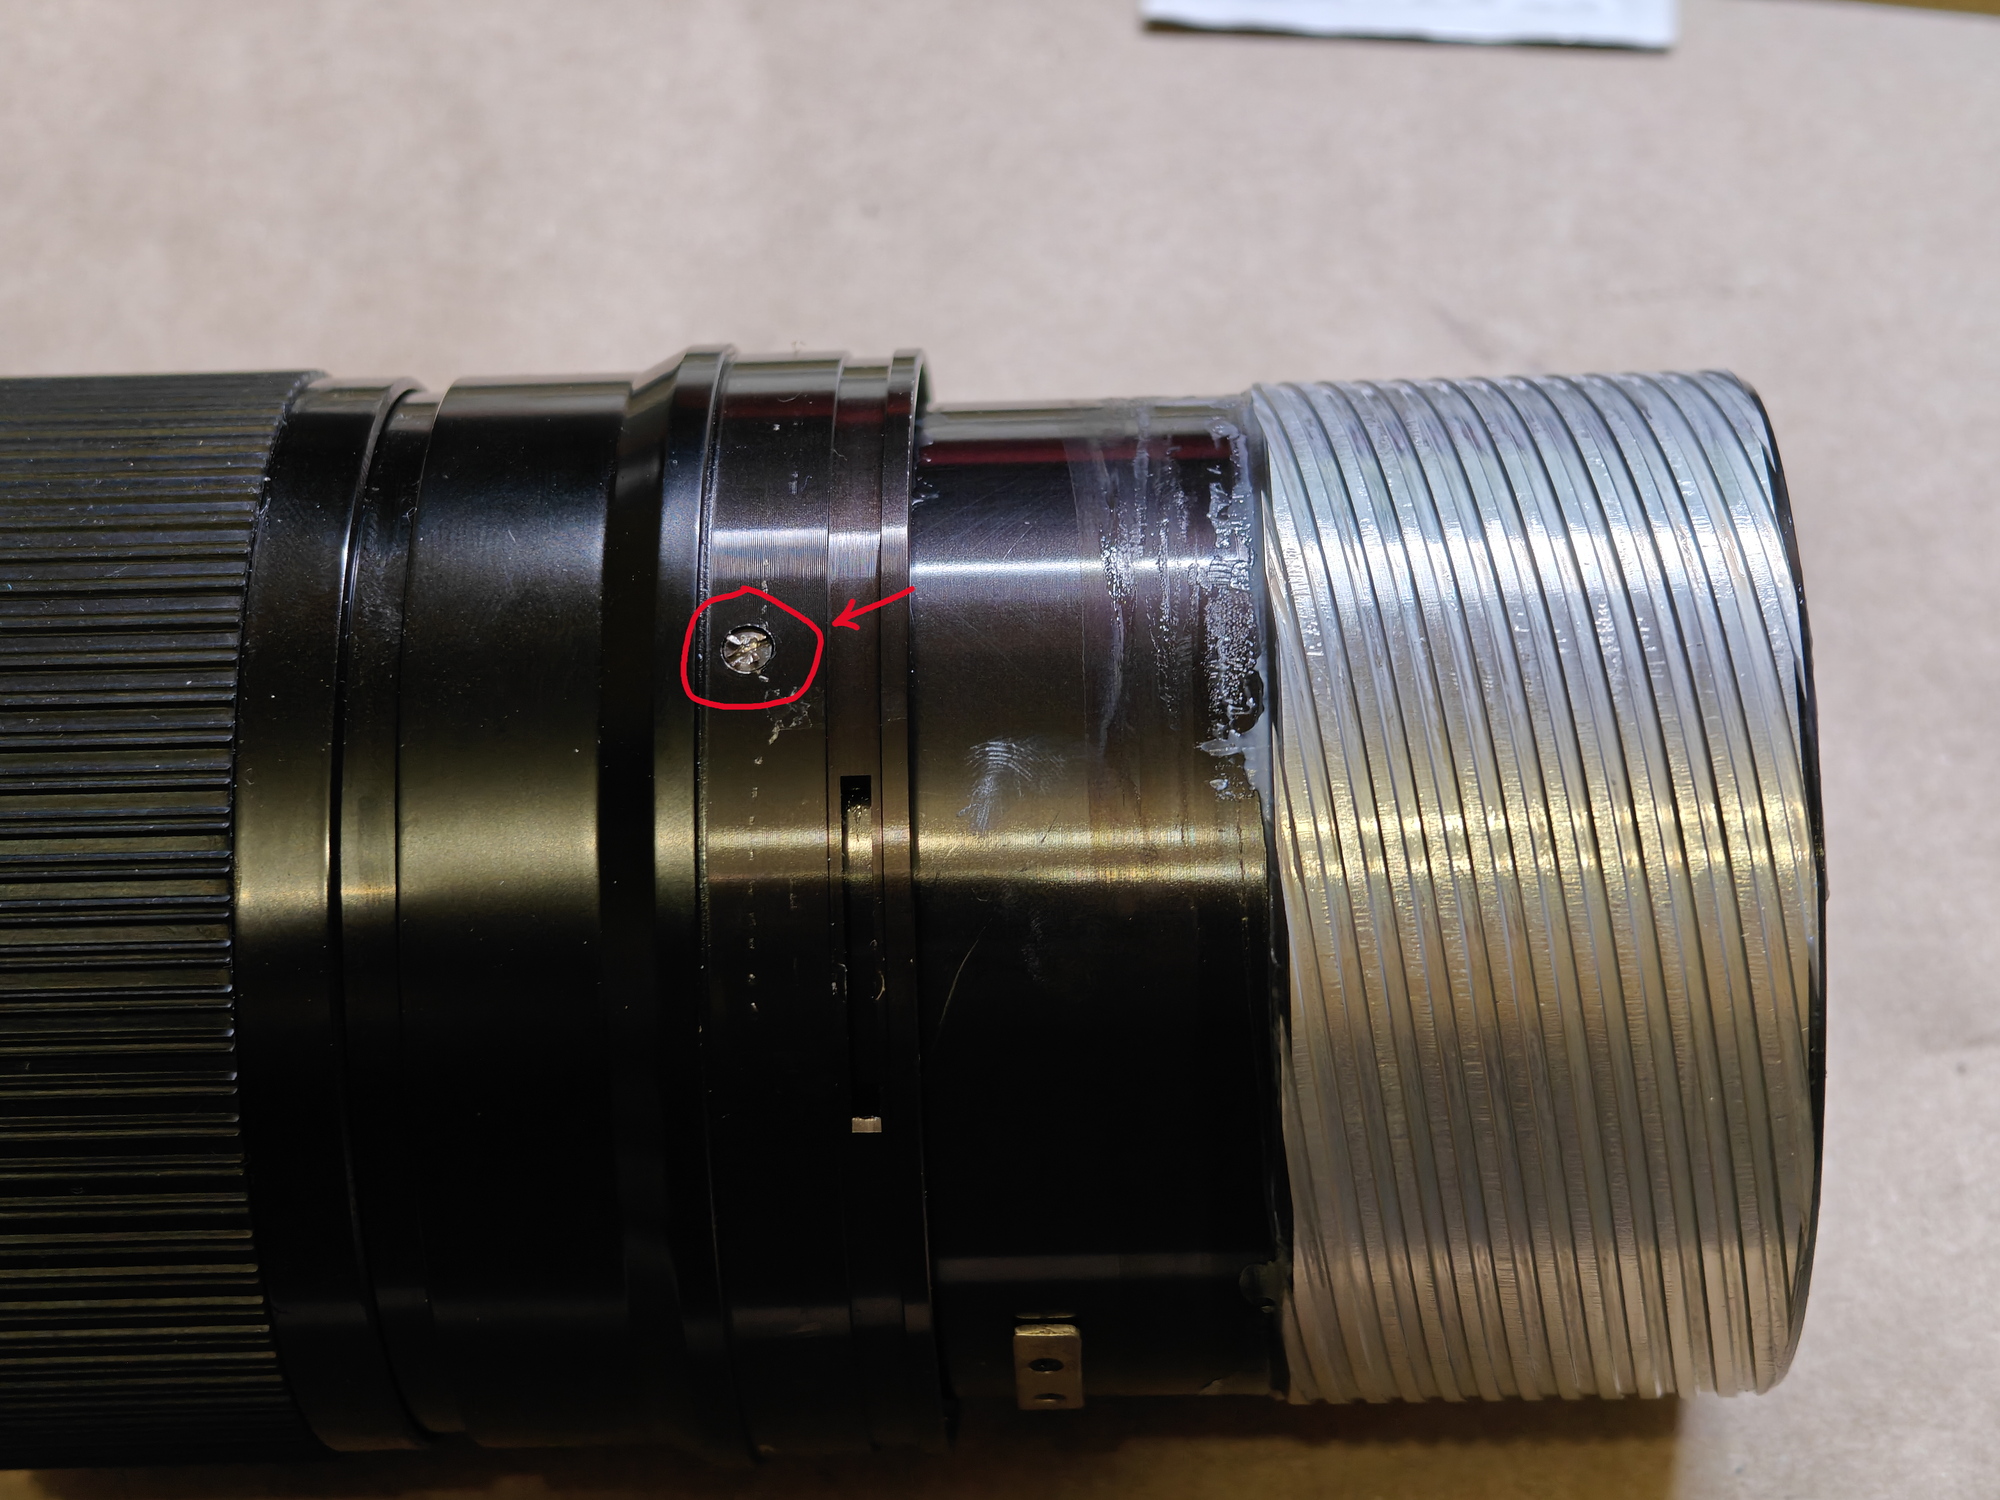
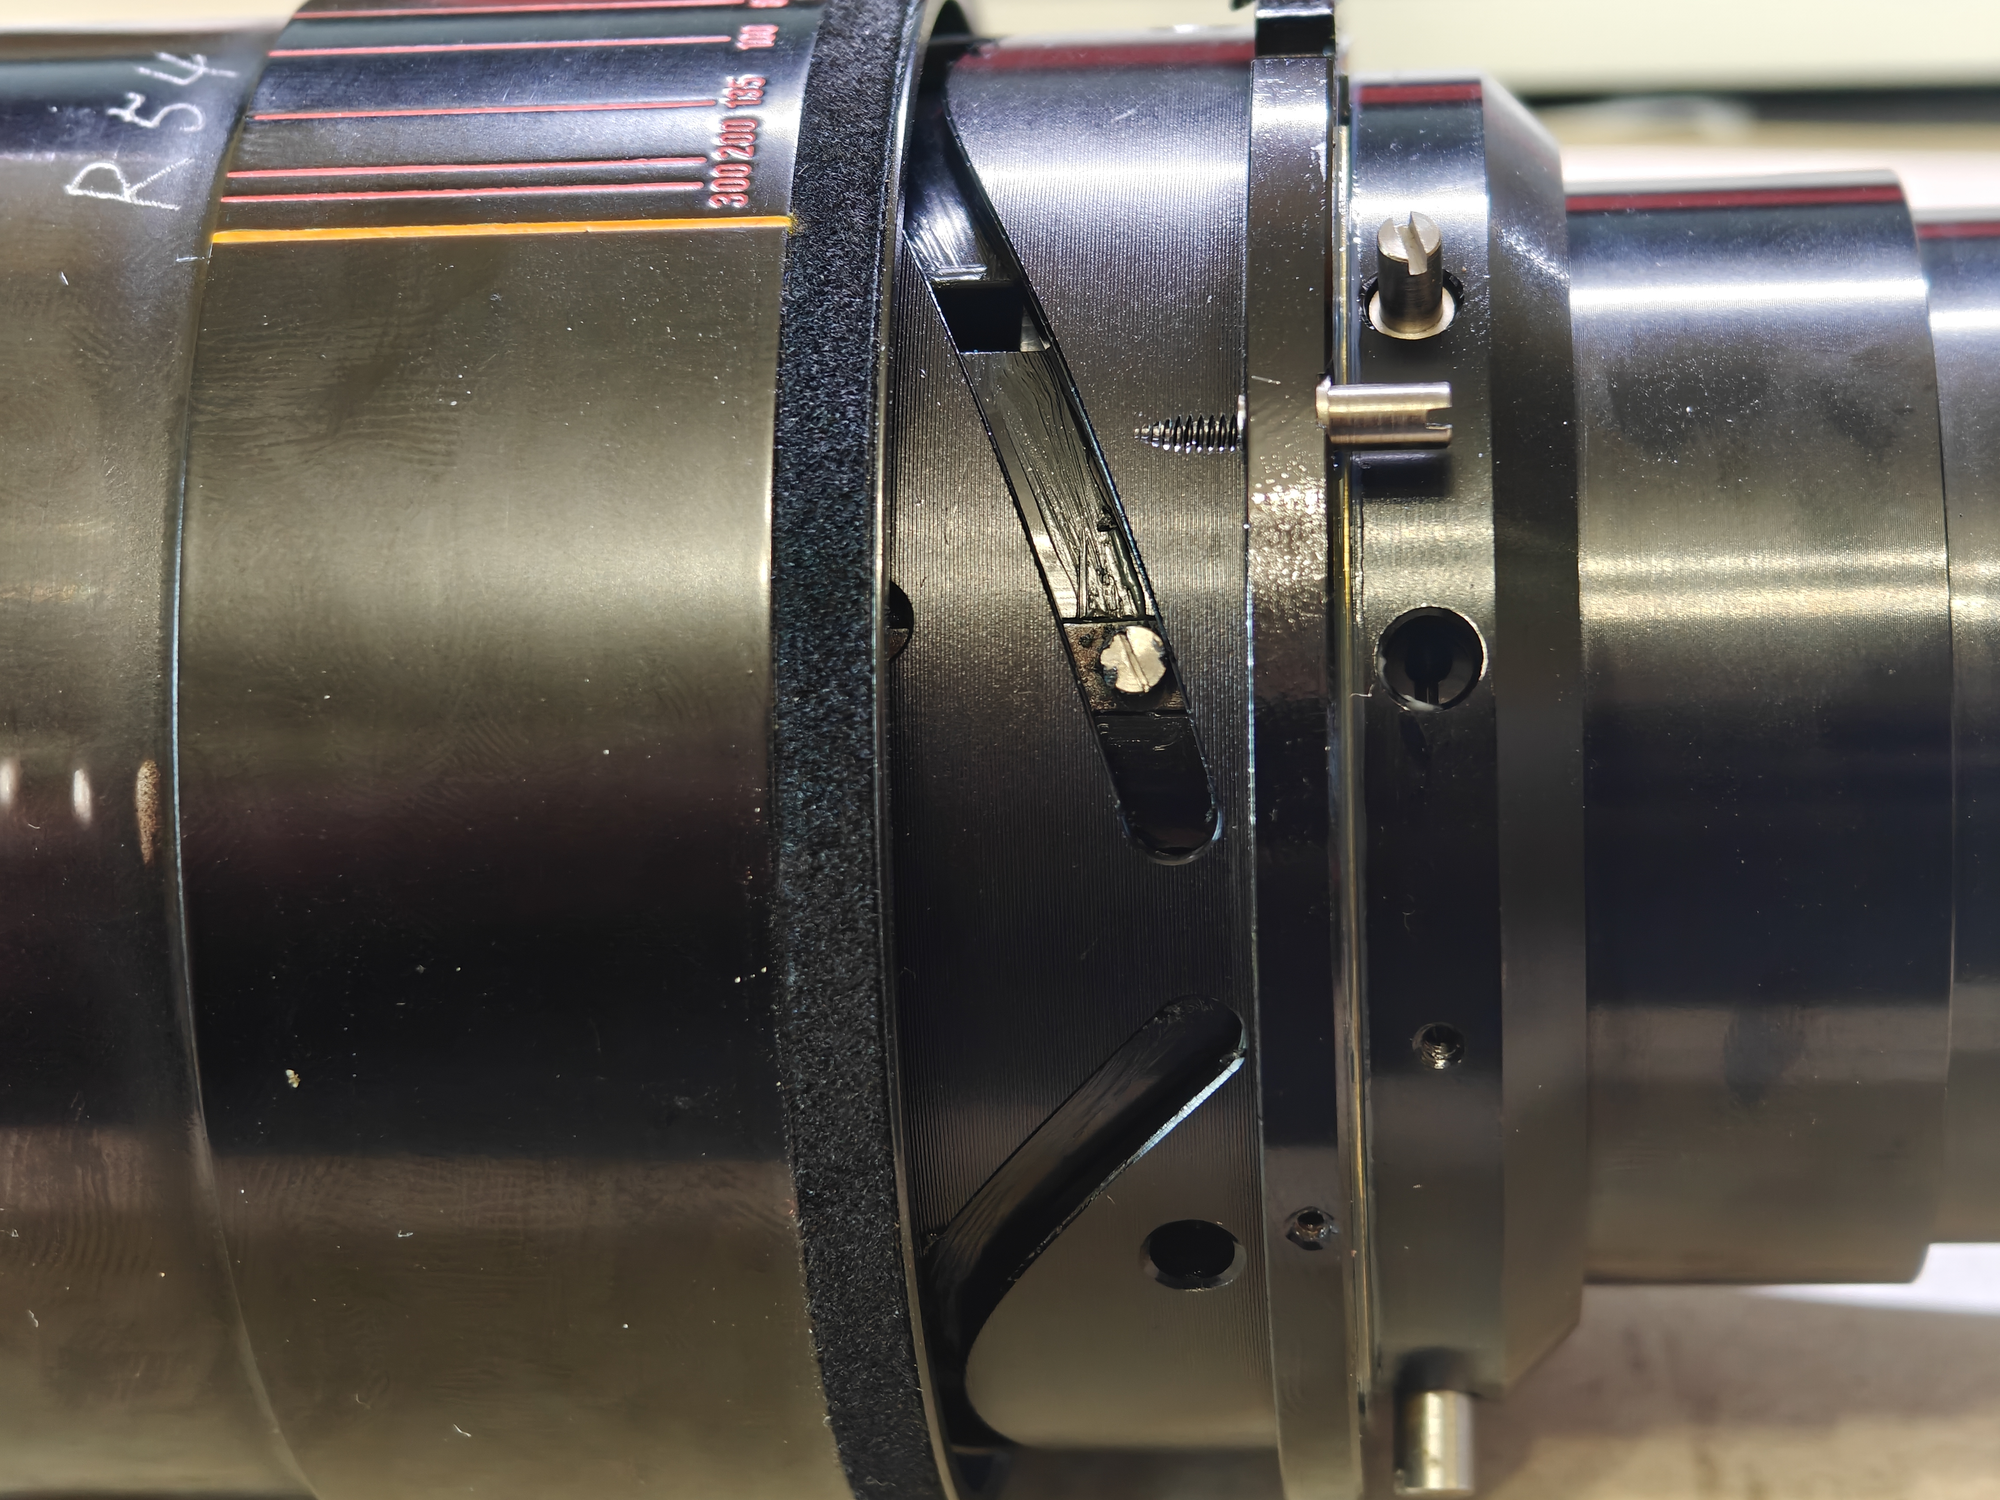
Then remove part which acts as helicoid endstop, by locating flathead screw (it's not a screw) and pinching the ring with your hand, making sure that the endstop screw is a high spot
Apply force with fingers like this
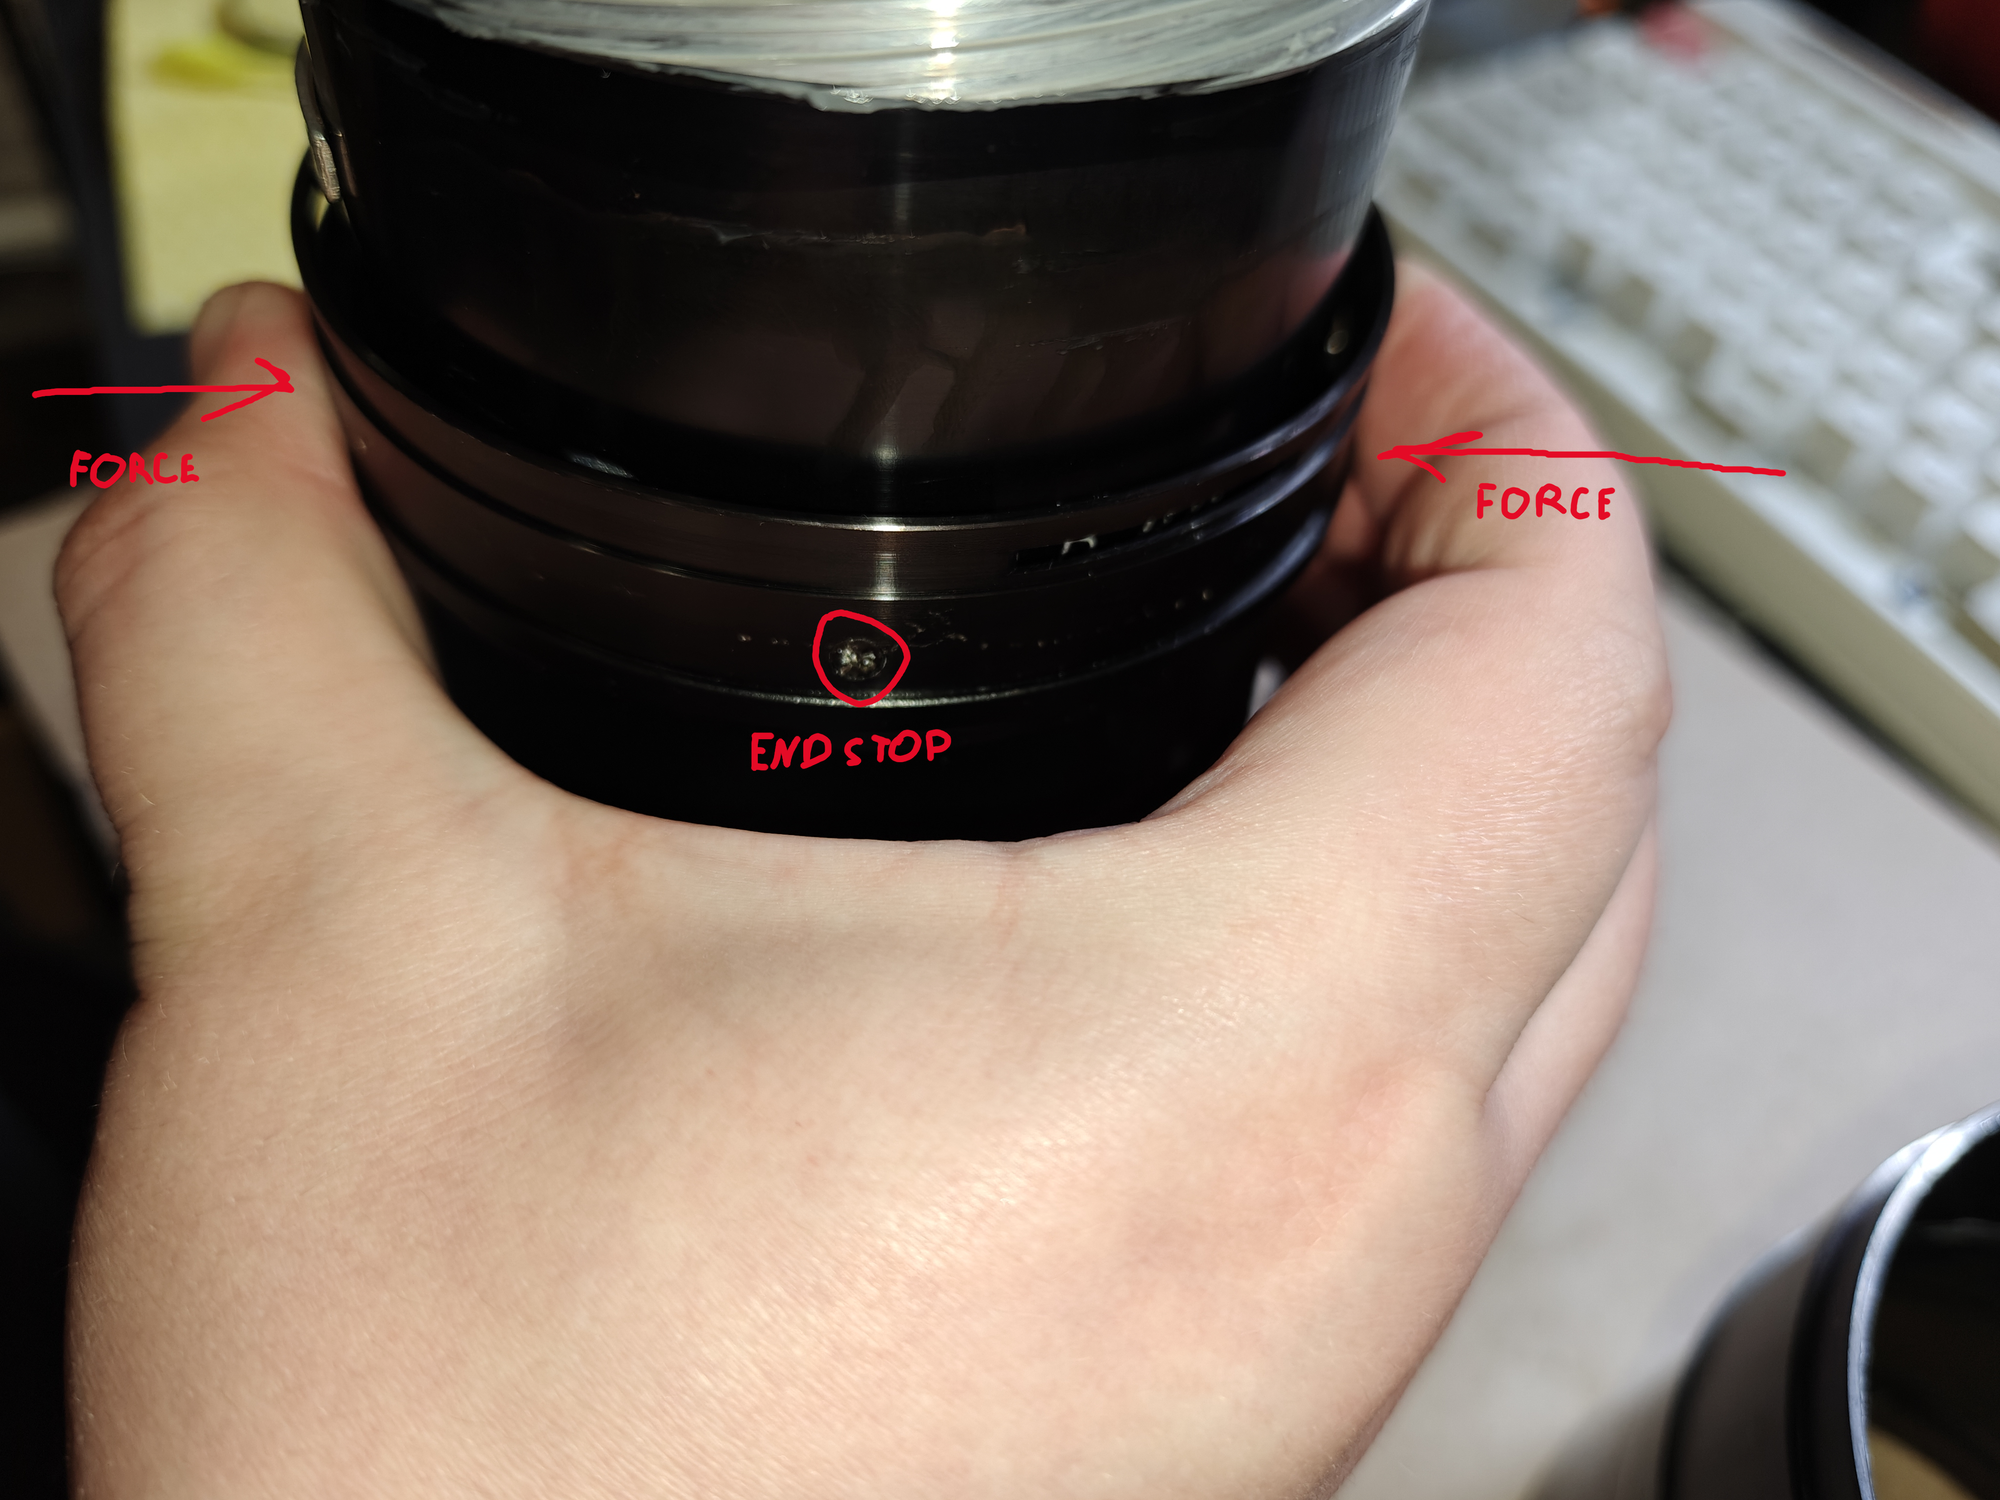
You only need like extra millimeter of clearance, so don't overdo it. Simply try lifting the ring over the helicoid ensuring that the side with the pin has the most space, to avoid damage to the helicoid.
- Remove rubber ring from zoom mechanism
- Remove 3 screws arround the perimeter, this will expose part of zoom mechanism

- Remove internal light absorber
- Remove helicoid shell
- Remove zoom element retainers, make sure zoom element is at lowest position
Carefully remove retainers
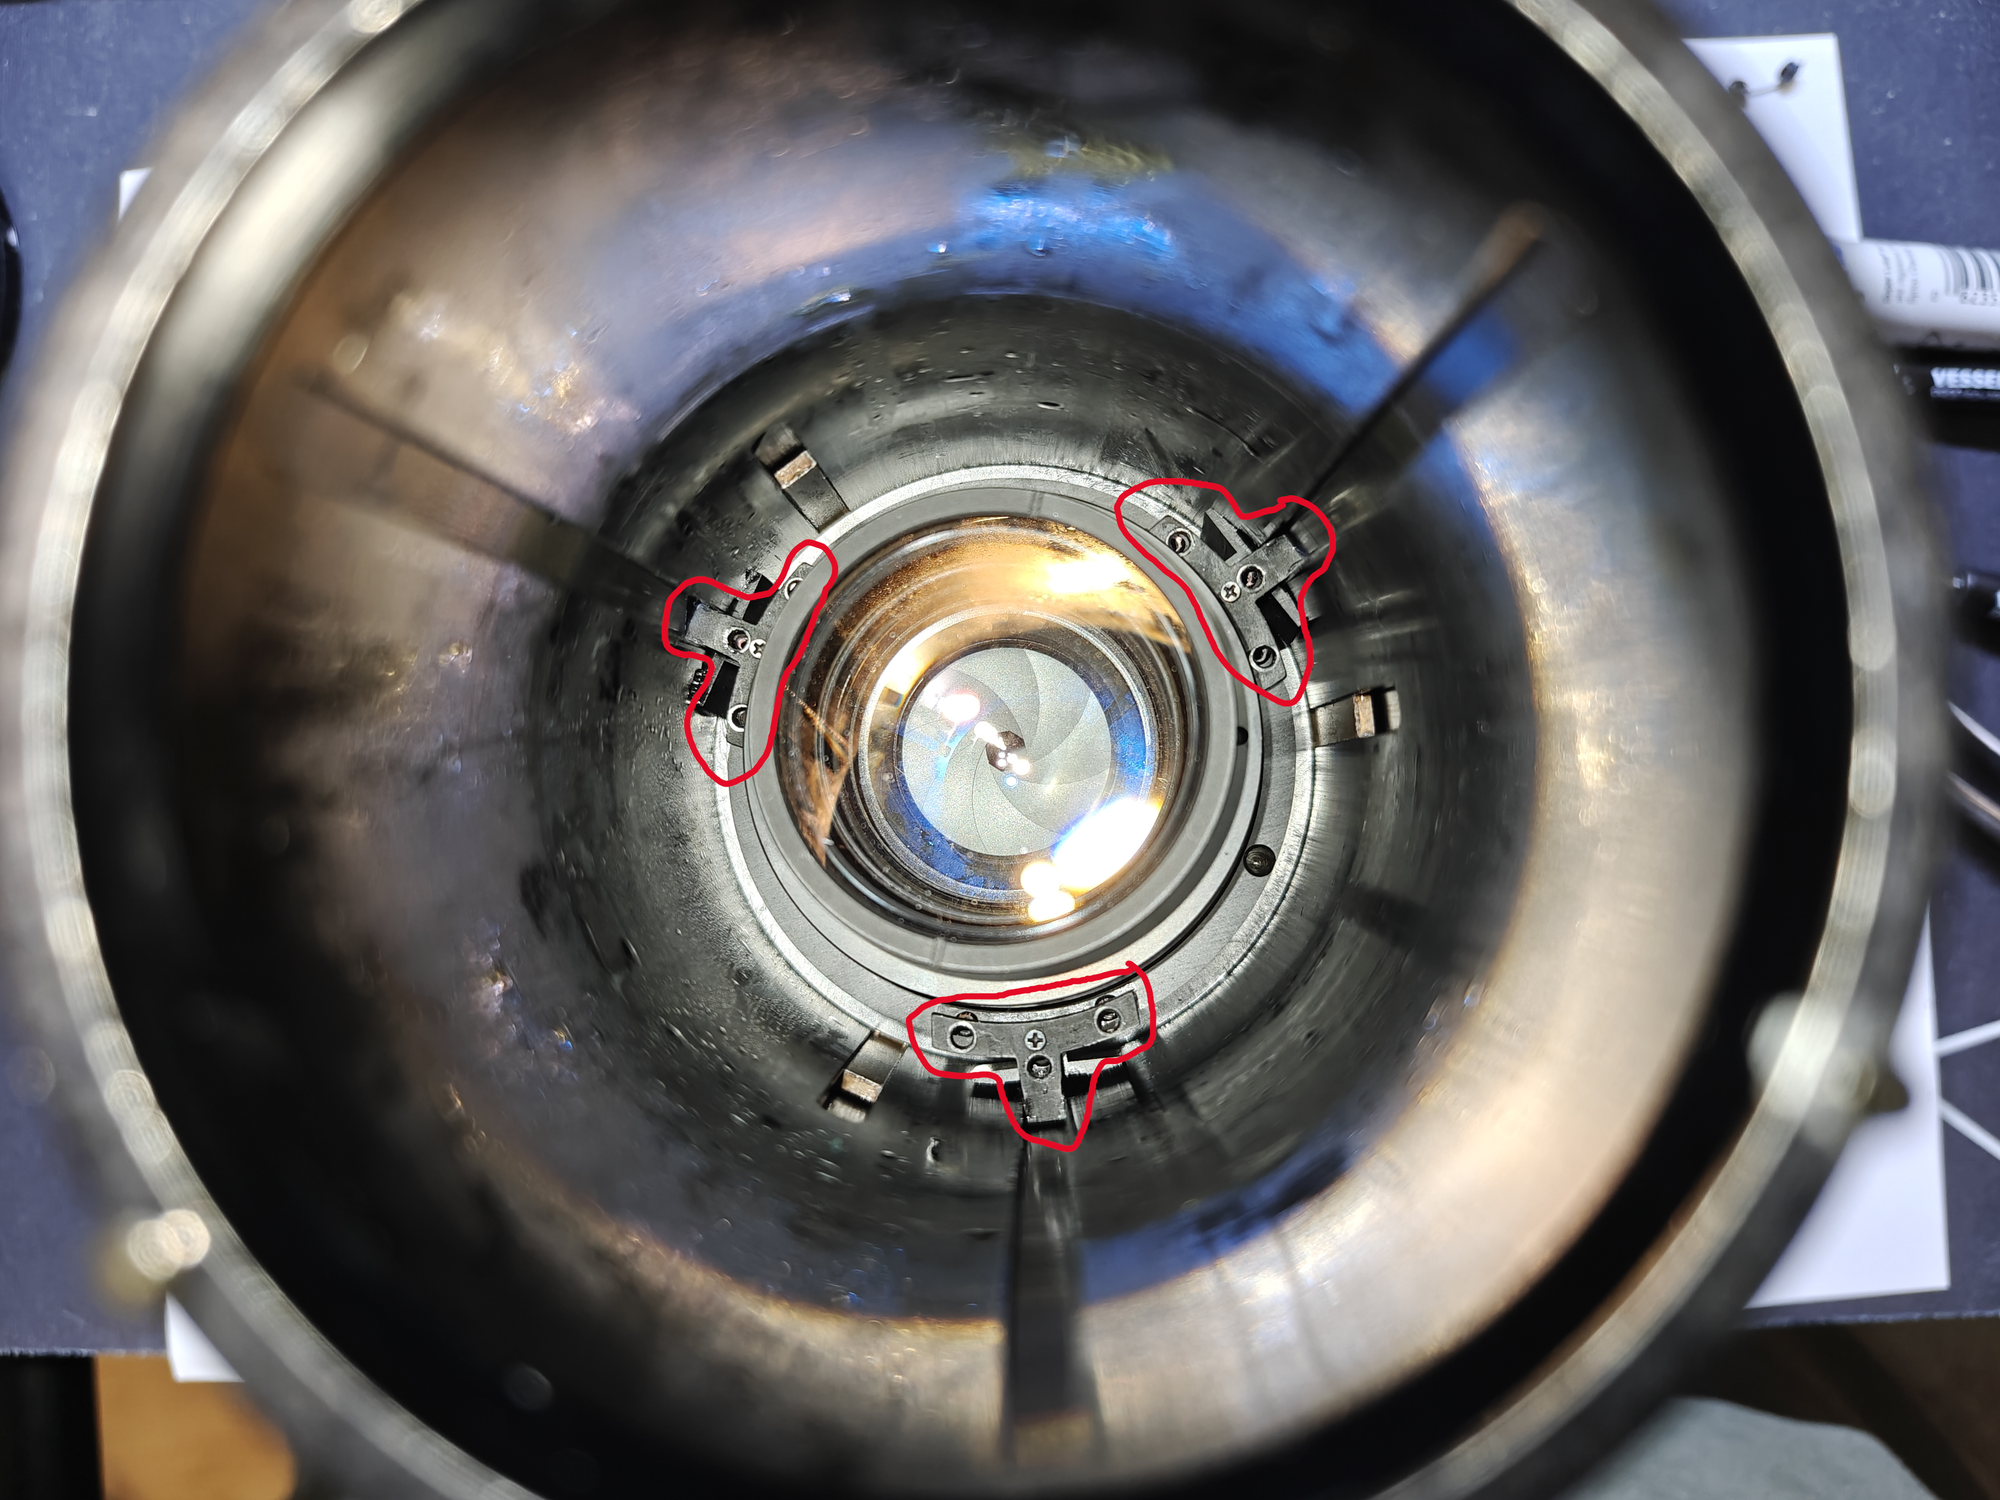
- When retainers are removed, zoom element can now be removed.
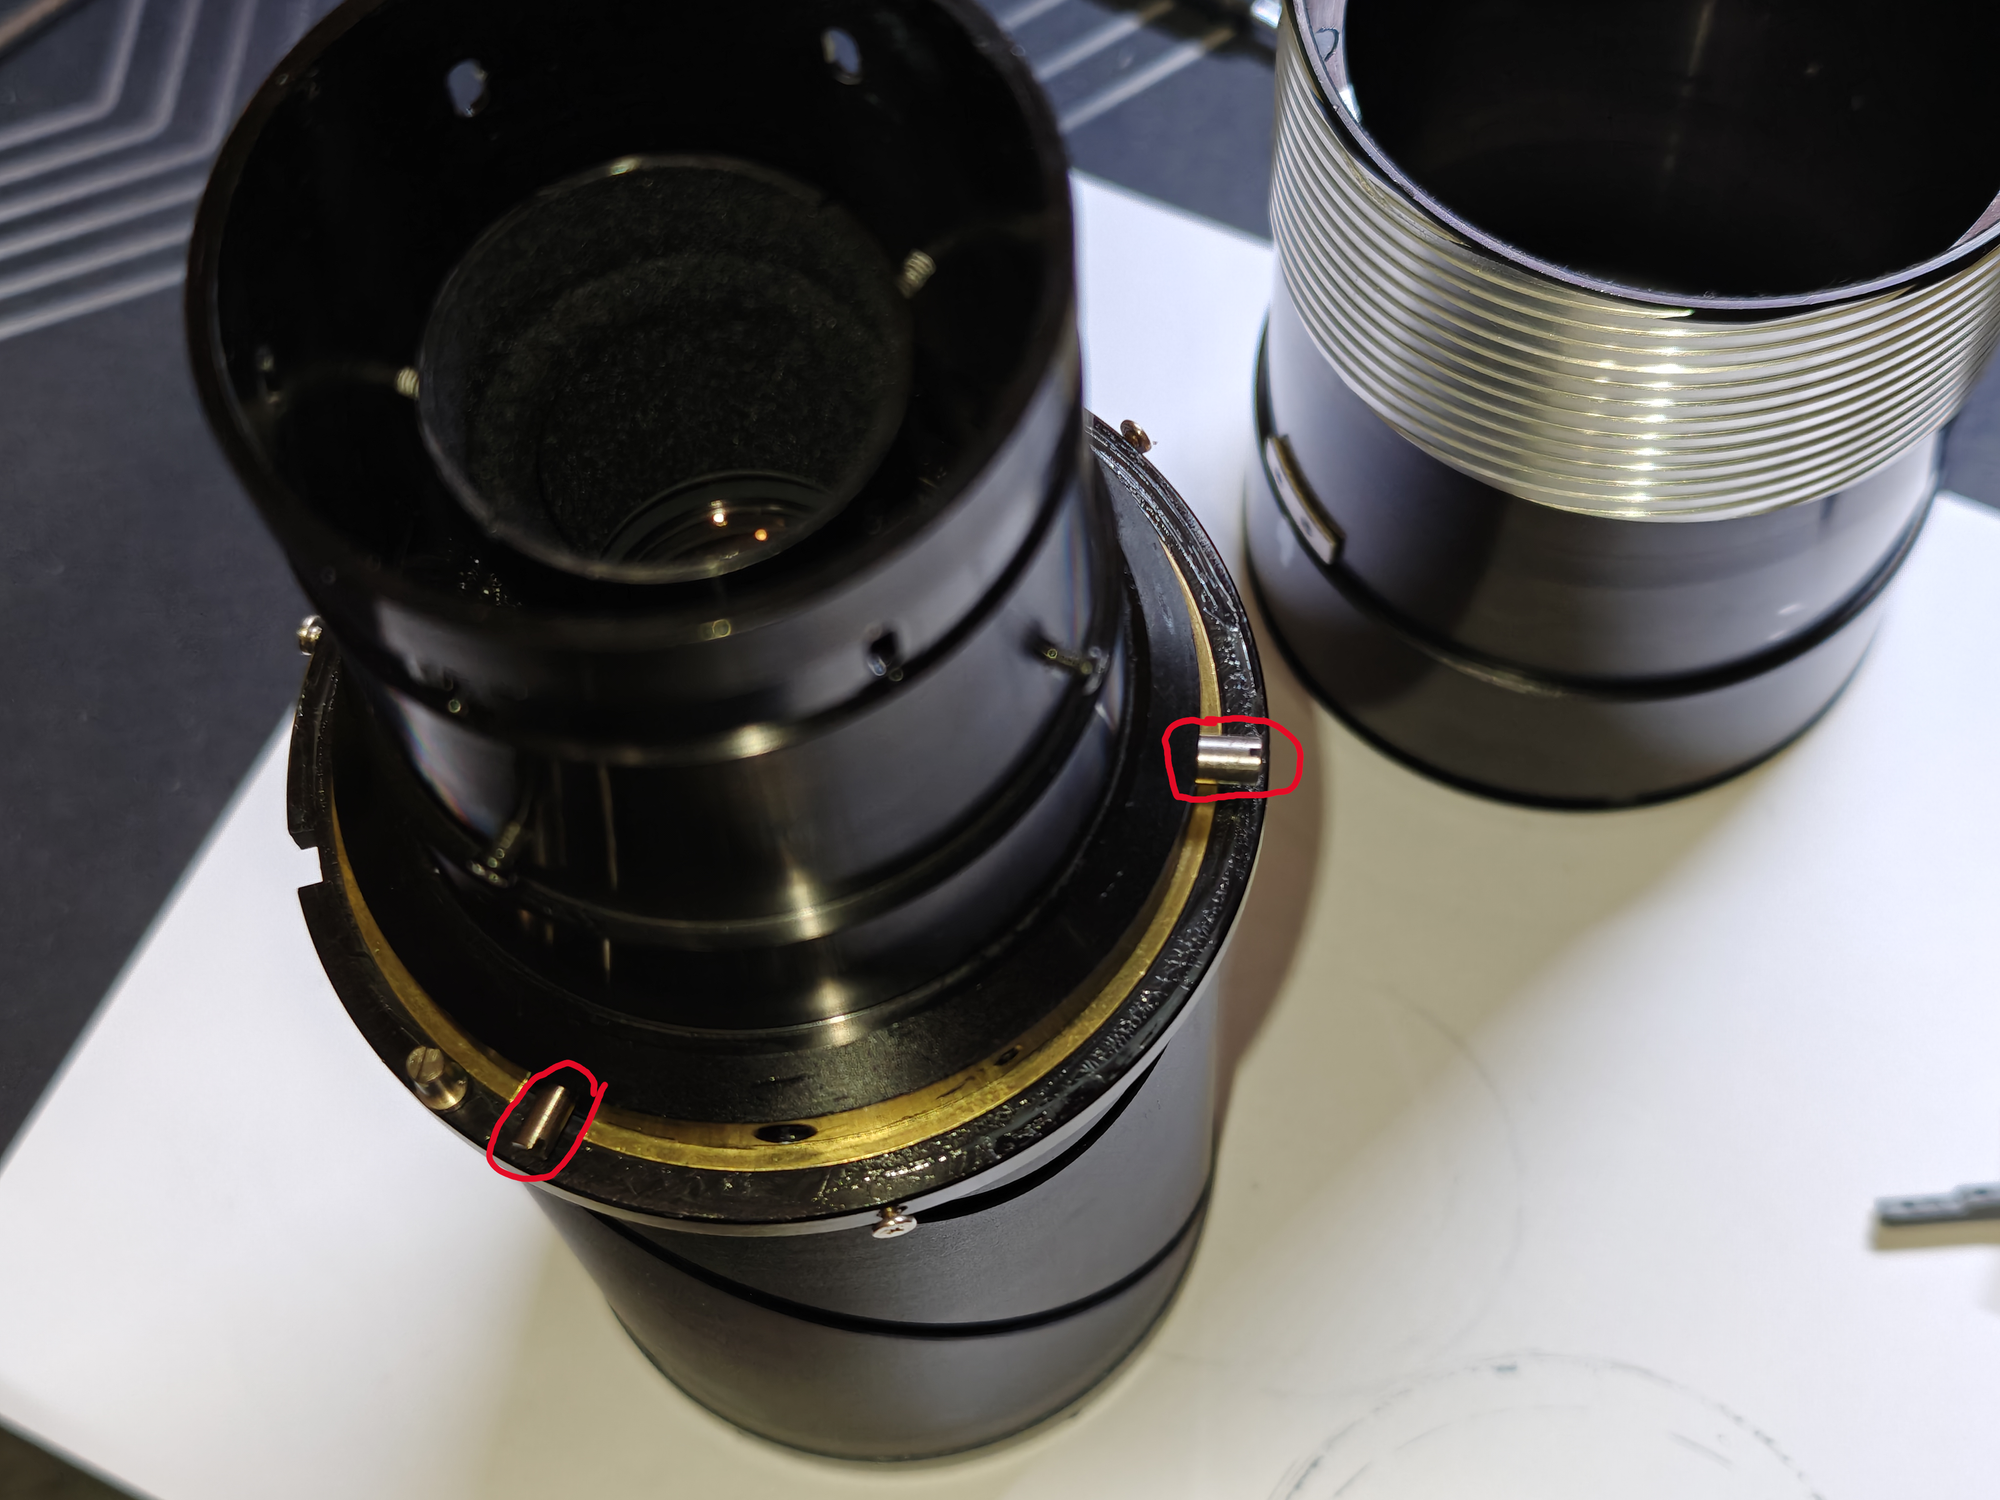
Place your fingers on its edges to hold it in place and carefully flip body over, so the element will slide out in your fingers. - Remove end-stops
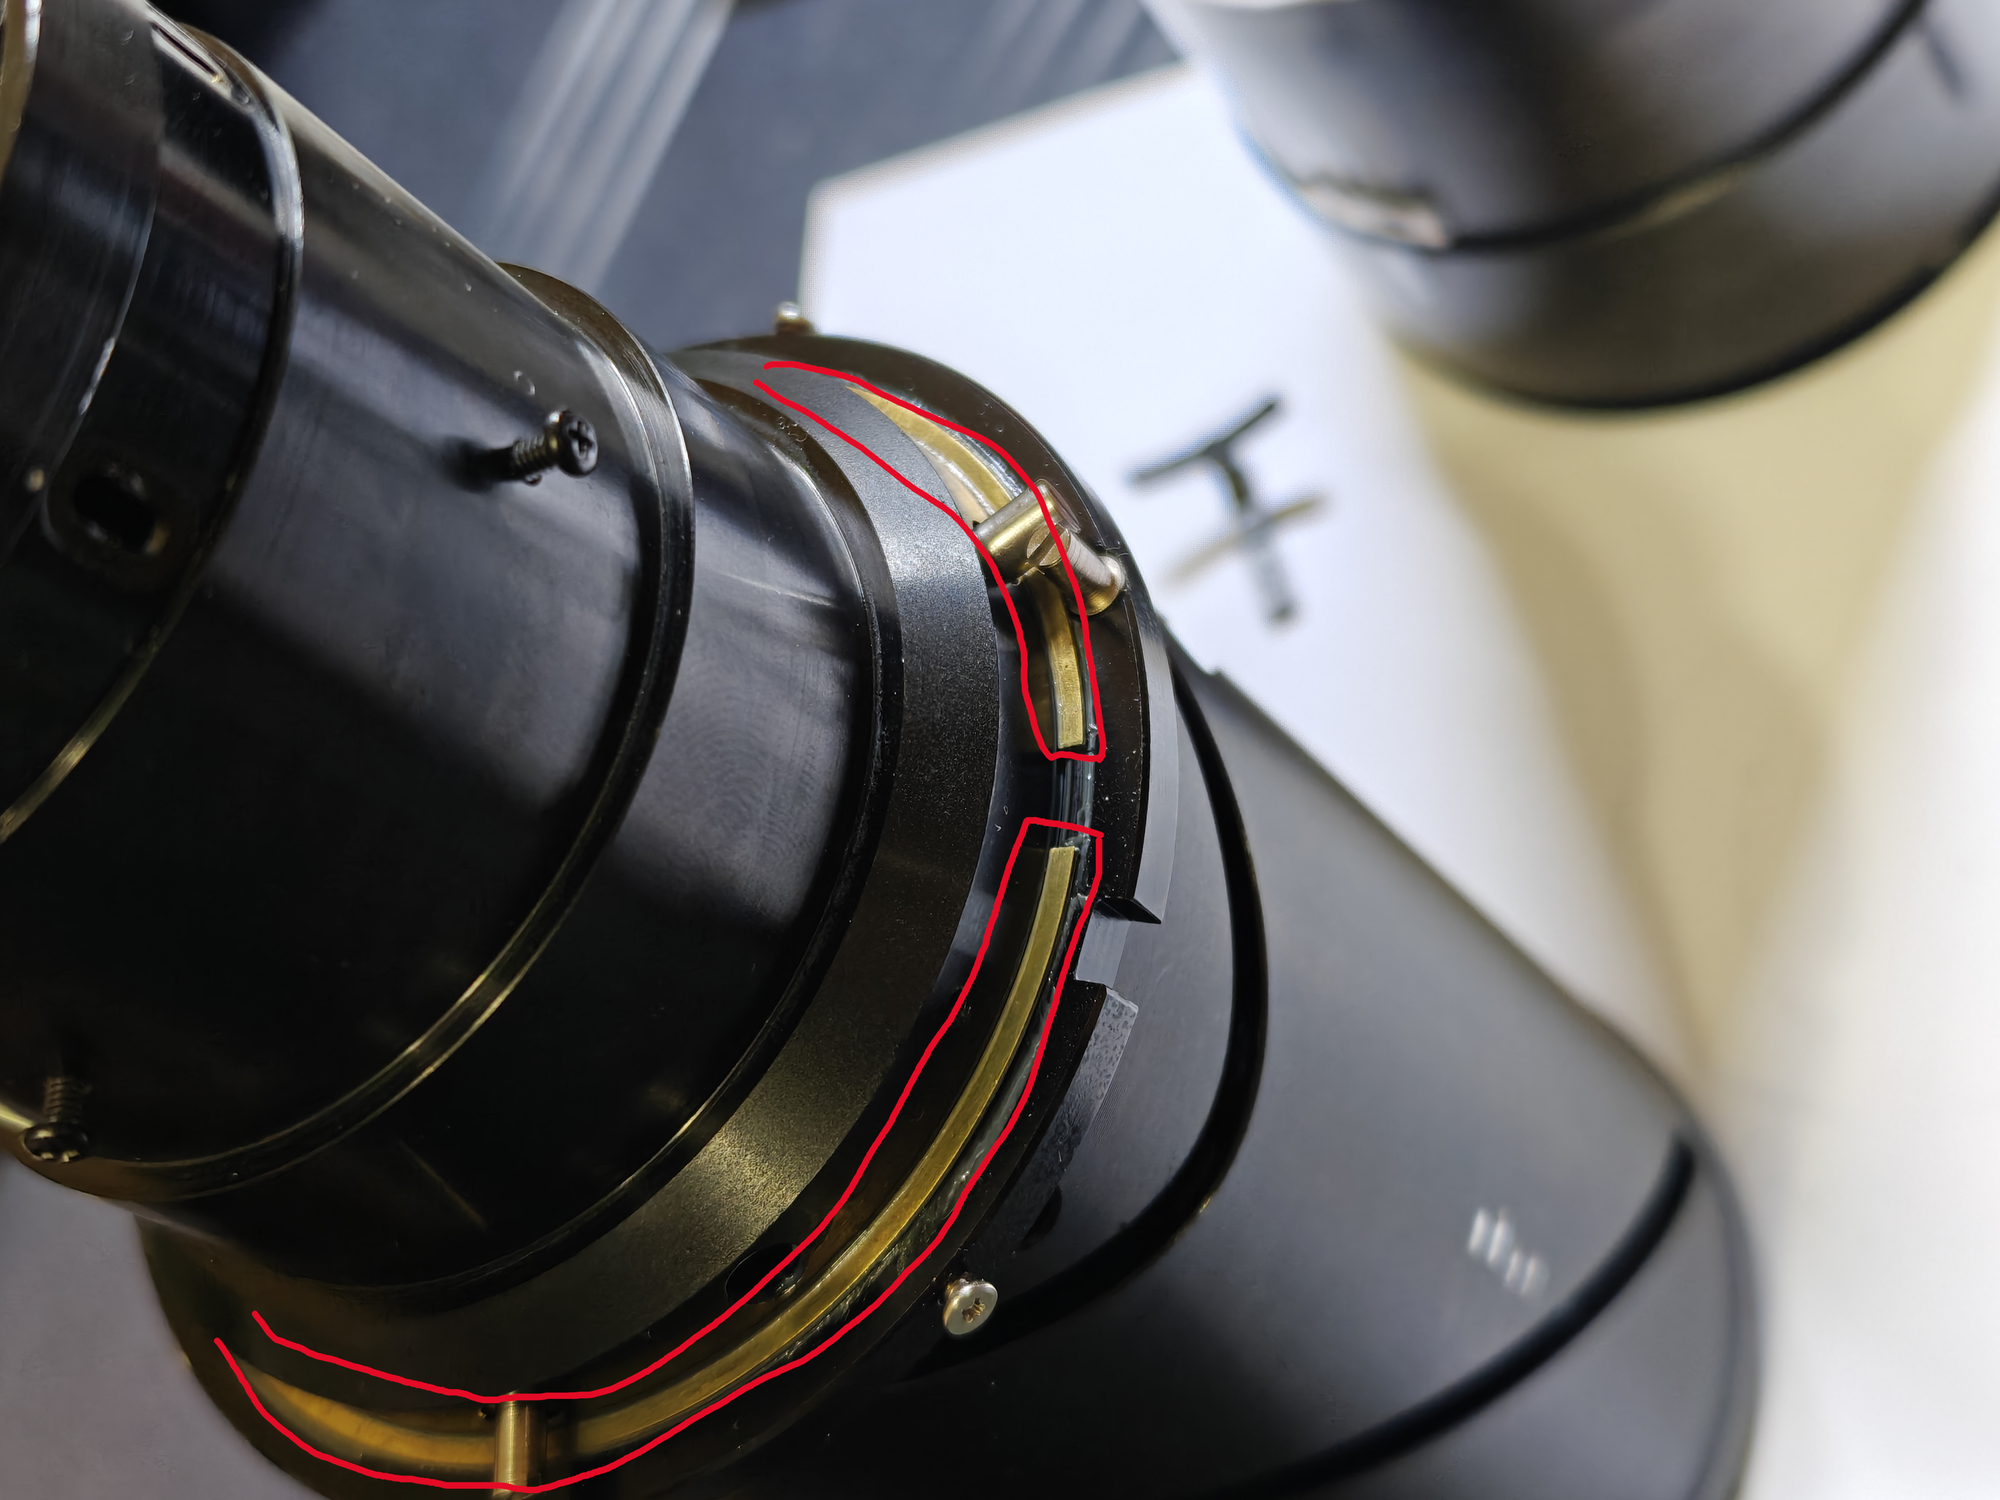
- Remove collar, expand the clip
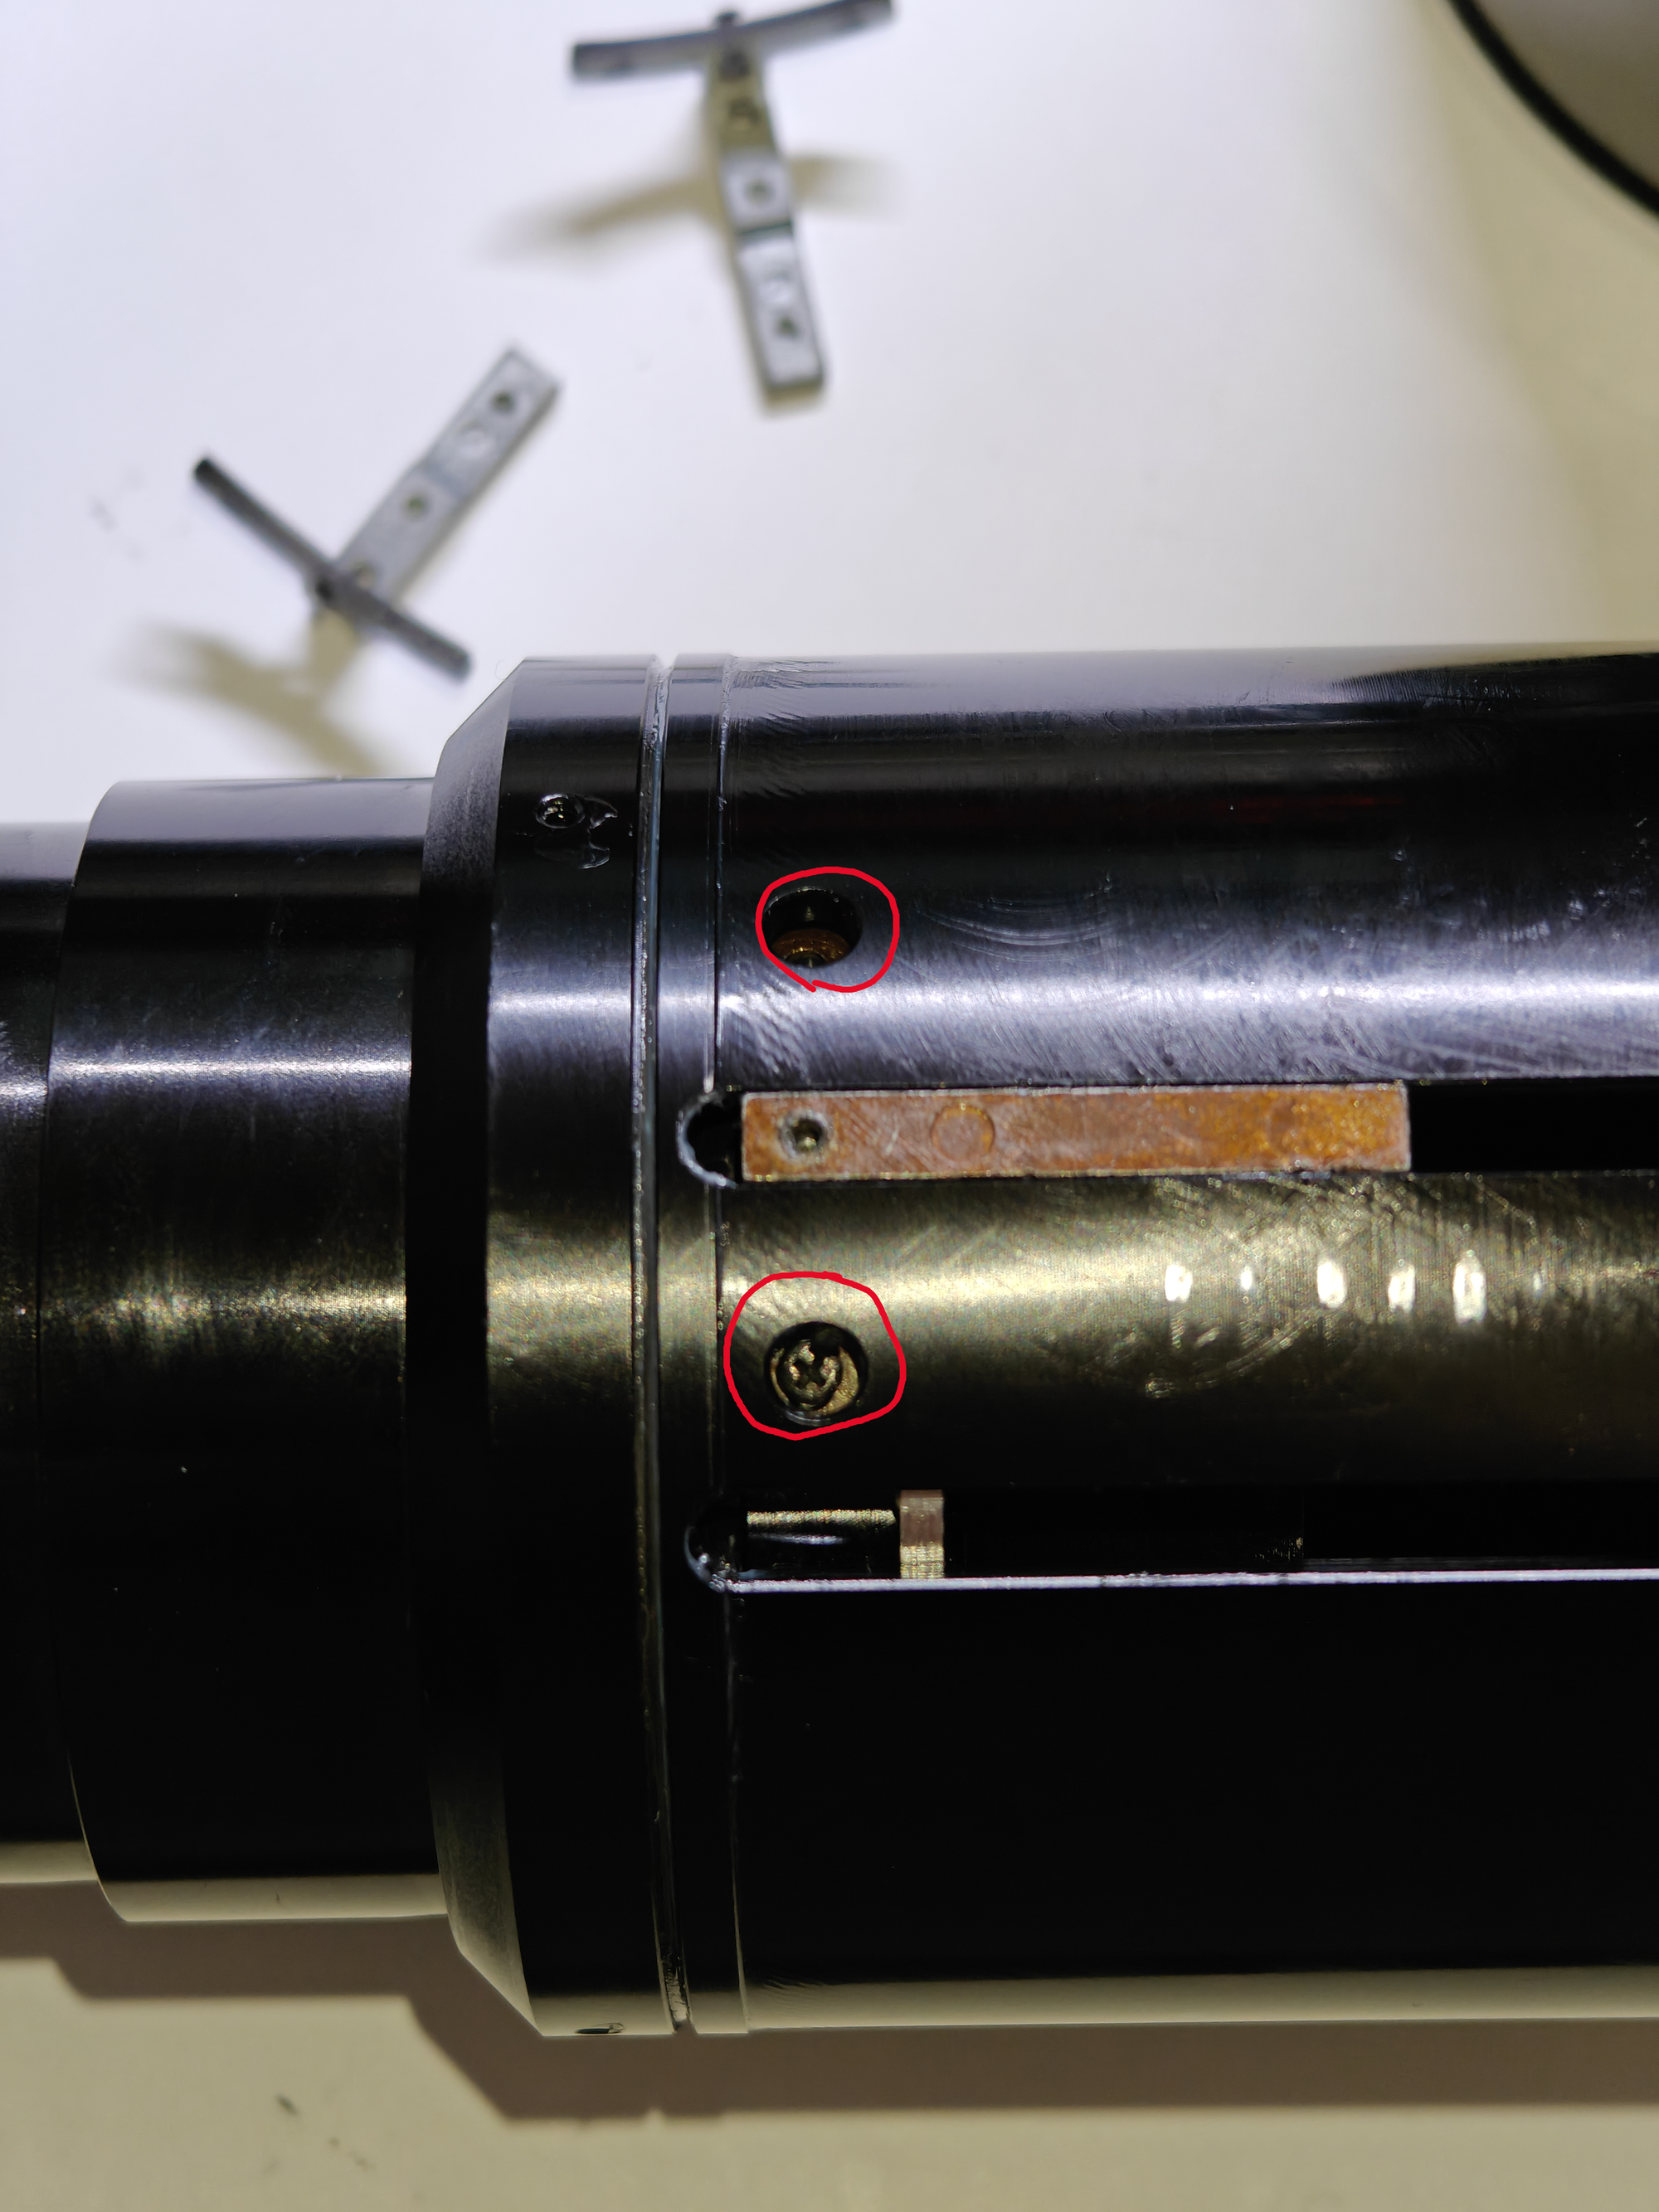
- Remove all screws from zoom mechanism which were is helical cuts
- Lift zoom helix shell
- Remove screws holding second zoom element
- Remove second zoom element
- Remove sliders from second zoom element

Comments ()